Skip to content

Drone - hooks & labels

Advertising
Advertising
?
Creation quality: 5.0/5 (1 vote)
Evaluation of members on the printability, utility, level of detail, etc.

  • 365 views
  • 6 downloads

License
3D design format
F3D and STL Folder details Close
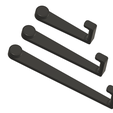
  • 40mm_Arm.stl
  • 60mm_Arm.stl
  • 80mm_Arm.stl
  • Block.stl
  • Droning-Ben_Labels.f3d
  • Virgin-100mm_Label.stl
  • Virgin-110mm_Label.stl
  • Virgin-90mm_Label.stl

Learn more about the formats

Last update 2023-10-11 at 23:39
Publication date 2023-10-11 at 10:48
Design number 1507463

3D printer file info

3D model description

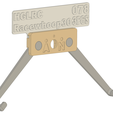
For a long time I have wanted to organize my fleet of drones by hanging them on the wall, so here is this versatile kit including:

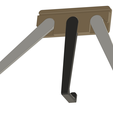
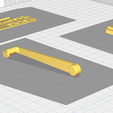
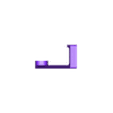
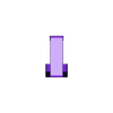
  • arms with hook (3 differents lenghs)

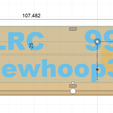
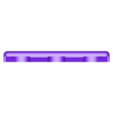
  • block (to hold arms & label)

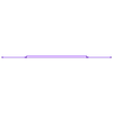
  • labels to be clipped by the block (3 differents widths)

ASSEMBLY

BLOCK:

  • print a block

  • drill holes using the marks; drill through where the small circle is if you want to use a small nail, or drill through the 2 larger circles if you use 2 screws

Trick: I print blocs in blue for manufactured drones, in yellow for DIY drones & in green for the manufactured ones I have upgraded ('cose blue+yellow=green)

LABEL:

  • print the virgin label of the appropriate size (& stick a printed paper label, or use a pencil)

or

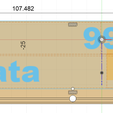
  • modify texts & generate your customized label modifying the sketches of the "Droning-Ben_Labels.f3d" file (to be opened with FUSION 360)

then

  • clip the label in the bloc's groove (nb: it has to be done before you nail the bloc to the wall)

ARMS:

  • use only one arm, plugged in the middle hole of a block (arm angle isn't free when plugged into this hole)

or

  • use a pair of arms, plugging them in the outside holes at the appropriate angle (to match the width of the drone's frame)

Nb: plug arms before you nail/screw the system to the wall

Trick: if you prefer hanging the drone by one one motor, use 2 hooks - angled toward the middle - & link the hooks using a zip tie

VERSION 2 MODIFICATIONS

There is only one model of block (AN & HD texts didn't print well facing the bed). It's possible to use a colour code instead; I use different colours of arms to show which is which.

Pre-holes are at the back now, to ease the printing & to avoid to mess the front with the unused marks.

The small centered hole is lower than it was, so it's possible to slide the label without removing the nail/screw.

3D printing settings

Printing orientation: have a look to my CURA's copies of screen

Advertising


Page translated by automatic translation. See the original version.
Issue with this design? Report a problem.

Would you like to support Cults?

You like Cults and you want to help us continue the adventure independently? Please note that we are a small team of 3 people, therefore it is very simple to support us to maintain the activity and create future developments. Here are 4 solutions accessible to all:

  • ADVERTISING: Disable your banner blocker (AdBlock, …) and click on our banner ads.

  • AFFILIATION: Make your purchases online by clicking on our affiliate links here Amazon.

  • DONATE: If you want, you can make a donation via Ko-Fi πŸ’œ.

  • WORD OF MOUTH: Invite your friends to come, discover the platform and the magnificent 3D files shared by the community!


Sharing and downloading on Cults3D guarantees that designs remain in makers community hands! And not in the hands of the 3D printing or software giants who own the competing platforms and exploit the designs for their own commercial interests.

Cults3D is an independent, self-financed site that is not accountable to any investor or brand. Almost all of the site's revenues are paid back to the platform's makers. The content published on the site serves only the interests of its authors and not those of 3D printer brands who also wish to control the 3D modeling market.

100% secure payment by credit card, PayPal, Apple Pay, Google Pay, etc.
View all payment options.