Skip to content

Crash Test Model Rocket

Advertising
?
Creation quality: 5.0/5 (1 vote)
Evaluation of members on the printability, utility, level of detail, etc.

  • 451 views
  • 6 downloads

License
3D design format
Folder details Close
  • DXChair.stl
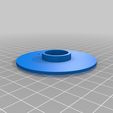
  • DXChairBase.stl
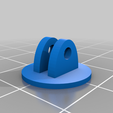
  • DXChairMount.stl
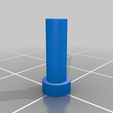
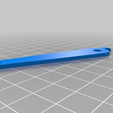
  • DXFootPeg_4X.stl
  • DXFoot_4X.stl
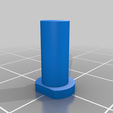
  • DXLegPeg_4X.stl
  • DXLeg_4X.stl
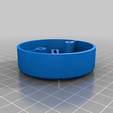
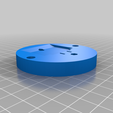
  • EngineBlock.stl
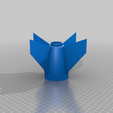
  • Fins.stl
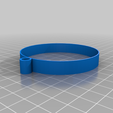
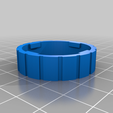
  • LugRing.stl
  • NoseCone.stl
  • NoseTip.stl
  • Retainer.stl
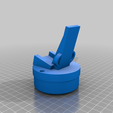
  • SimpleNoseChair.stl

Learn more about the formats

Publication date 2023-10-17 at 23:15
?
Published to Thingiverse on: 2023-10-17 at 23:57
Design number 1520854

3D printer file info

3D model description

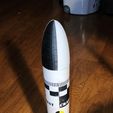
This rocket is not for dummies!! No, wait, that's EXACTLY who it's for!

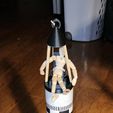
My "dummy" was a 4.5" posable figure from Hobby Lobby but your's can be any similar sized figure or doll. Doll?! It's an ACTION FIGURE!

The original concept occurred when my grandson said I should build a rocket to send a doll house doll up. But we didn't have one, so I bought the posable figure.

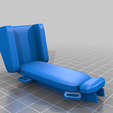
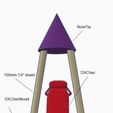
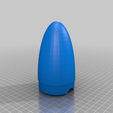
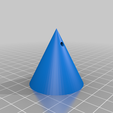
There are three nosecones you can use on this rocket. A regular old rocket nosecone. A "Simple Chair" nosecone, or the DX Deluxe chair with pop out landing legs!!

To build this rocket you will need the following:
* A BT-80 (66mm) body tube. I used 300mm of this.
* A BT-50 (24mm) body tube. I used about 100mm of this, enough for an Estes E motor and the engine block portion of the EngineBlock part. That goes inside the motor tube and when the glue dries, I cut the bottom of the motor tube flush to the bottom of an E-motor.
* Shock Cord, I used Kevlar line.
* An 18" Parachute for the main rocket.
* A 12" Parachute for the chair (either Deluxe or Simple)
* The 3D parts listed here.

You can print all three noses, or any combination you want. I took the main shock cord and attached the chute about 3/4 of the way up it. The extra 1/4 ends with a clip that I can use to clip on the normal nose when I want to fly with that, or just leave empty when I want to use one of the chairs.

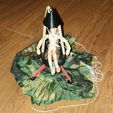
For the chairs you tie a lead line about a foot long to the NoseTip piece, attach the chute to the other end, then feed this down into the rocket when you load it (for the DX chair I nestle it between the legs as I fold them into the rocket).

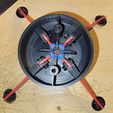
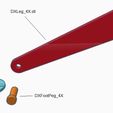
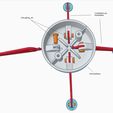
I provided assembly diagrams to show how the deluxe chair parts go together and a photo to show the routing of the rubber band for the legs. The chair base is held on to the chair mount with some 3mm bolts and nuts. Be sure to put the nuts in place BEFORE gluing the actual chair to the chair mount.

I've also included to OpenRocket (Ork) files so you can run your own simulations. The "Chair Nose" file is based on the simple chair and is only a rough approximation at that because you can't really make that shape well in OpenRocket. Nor can you simulate the dummy. But as you can see from the video below, it flew just fine. Though my brother had his doubts.

Launch Video: https://www.youtube.com/watch?v=XwfU6Bx3i0Q

Advertising


Issue with this design? Report a problem.

Would you like to support Cults?

You like Cults and you want to help us continue the adventure independently? Please note that we are a small team of 3 people, therefore it is very simple to support us to maintain the activity and create future developments. Here are 4 solutions accessible to all:

  • ADVERTISING: Disable your banner blocker (AdBlock, …) and click on our banner ads.

  • AFFILIATION: Make your purchases online by clicking on our affiliate links here Amazon.

  • DONATE: If you want, you can make a donation via Ko-Fi πŸ’œ.

  • WORD OF MOUTH: Invite your friends to come, discover the platform and the magnificent 3D files shared by the community!


Sharing and downloading on Cults3D guarantees that designs remain in makers community hands! And not in the hands of the 3D printing or software giants who own the competing platforms and exploit the designs for their own commercial interests.

Cults3D is an independent, self-financed site that is not accountable to any investor or brand. Almost all of the site's revenues are paid back to the platform's makers. The content published on the site serves only the interests of its authors and not those of 3D printer brands who also wish to control the 3D modeling market.

100% secure payment by credit card, PayPal, Apple Pay, Google Pay, etc.
View all payment options.