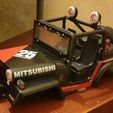
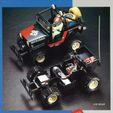
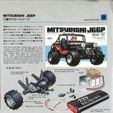
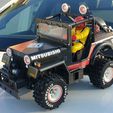
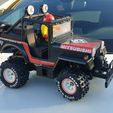
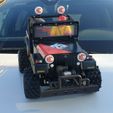
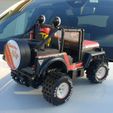
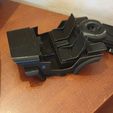
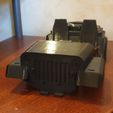
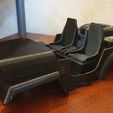
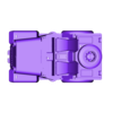
Back in the eighties, Marui released 12 models, and there was a kit which was displayed in Marui RC catalog from 1986 which was never released commercially for some unknown reasons. This was the kit MT60-RC09 Mitsubishi Jeep, and it would have been using the same chassis as the Marui CJ-7 Golden Eagle and the Marui Toyota Land Cruiser.
I modeled both those bodyshells to get a CAD rendering of the full Marui Super Wheelie and Big Bear family, and since it was the missing link in the family, I decided to model the Mitsubishi Jeep as well. You may have more details on the project itself in my threads related to Super Wheelie and Big Bear on rc10talk, tamiyaclub, tamiyabase and vintage-rc.
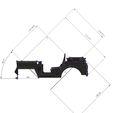
There was some unused parts in the CJ-7 and Land Cruiser kits providing some key indication about the dimensions of the Mitsubishi Roll Cage, and the bodyshell itself is highly derived from the CJ-7 and Land Cruiser Bodyshells definition as they both use the same chassis.
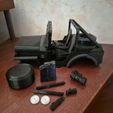
In this publication, you will find the files to build a Mitsubishi Bodyshell, including all the accessories (which are by the way common to the Land Cruiser and CJ-7 bodyshells at the exception of the rear of the spare wheel, which is different for the CJ-7, I used the same as the Land Cruiser for my Mitsubishi Jeep). **The driver figure file is not included, but I checked an original driver would fit in the seat. Some parts have been slightly simplified in terms of design compared to the original part such as the spare wheel, but the overall idea is there
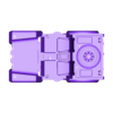
All the parts are provided as single part if you want to print them using FDM (filament) or Resin. However, I highly suggest to consider printing the parts using online services and Nylon PA12 powder based printing process (MJF and SLS processes : the powder based process removes the requirements for supports and the result is so much better, and stronger as well). My own bodyshell was printed in Nylon PA12 using MJF and it was done using JLCPCB printing services.
I used the following naming conventions :
• MAIN : Main bodyshell parts, not present in any clusters.
• CJ-7 : Alternative part for the Spare Wheel, which is similar in design to the CJ-7 ones
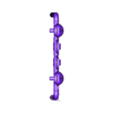
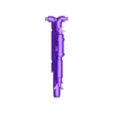
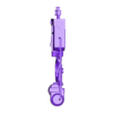
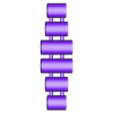
• CLUSTER : This is a group of parts, and will come as a cluster. This must be printed using powder based process such as Nylon PA12 MJF or SLS.
• MJF : Designed to be printed using powder based process such as Nylon PA12 MJF or SLS printed using powder based process.
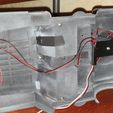
• LED : Those parts are optional, and they are designed to replace other components to include led. It include the bodyshell main part, the roll cage middle bar (or alternatively both fog lights) and the glass which are designed to be snapped on the optics, and parts to lock 5mm leds in place (2 or 4 white leds (front and roll cage), 2 red leds at the rear). Parts with CLEAR in the naming must be printed in clear or translucid material. Please note that CLEAR components are not within the cluster for roll cage, as they need to be printed in a different material.
• UNIT : part available unitarily. LED optional parts are not included in Clusters. I included white in the name of the file when the original component was supposed to be white. There is also an indication of number of parts needed in the name if more than one printed part is required. Most of the UNIT parts are included in clusters at the exception of the one use in optional LED installations
• CUT : This is for the windshield, and it is designed to cut in a clear lexan sheet. I don’t know what you are going to use for this, and therefore provided multiple format for this file.
Building tip : you may follow the manual of a Marui CJ-7 or a Marui Land Cruiser, most of the steps are the same, at the exception of the connectors in the front element of the roll cage : the Mitsubishi use the medium length, while CJ-7 is using the long length and Land Cruiser using the smaller length.
I painted my bodyshell using 3D printed masks I printed on my home printer. They are included with MASK in the naming convention. I used a mask to keep the internal of the bodyshell (seats, top rear and dashboard main face) as printed as I wanted to keep it the way it was printed initially.
Tip for painting nylon : 3 layers of Tamiya Surface primer/fine sanding, and then apply your favorite Tamiya TS paint.
The stickers were designed by a friend who post on Tamiyaclub (yogi-bear). He made them for me. You may contact him to buy a set of Mitsubishi Jeep stickers thru Tamiyaclub.
This bodyshell work on both 6V and 7.2V Marui original chassis, and as well on my enhanced chassis already available in another publication. The Big Bear chassis uses different and longer rear arms, and you would need to replace the rear arms by Super Wheelie rear arms if you are willing to use a Big Bear chassis.
NOT INCLUDED IN THIS PUBLICATION : Please note that this publication doesn’t include Chassis parts, Driver figure, Tires and Rims.
Please note that those files can’t be used for creating a prototype for the contest of Montluçonnaise 2024, as my Super Wheelie is already an entry for this contest
These files are for personal use only.
Update 05/04/2024 :
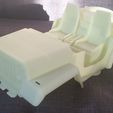
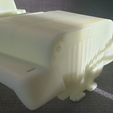
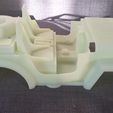
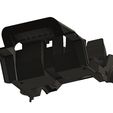
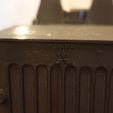
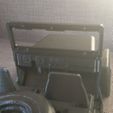
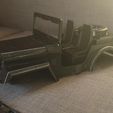
- I've tested a resin print of the Bodyshell, dashboard and windshield using JLCPCB online service, and it gives very nice result with some warping on the rear end which is not really an issue (pictures of the body printed before any paintjob have been added to the publication)
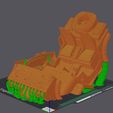
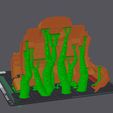
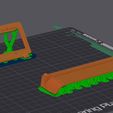
- added a splitted version of the body designed for FDM and printing volume of 180x180x180. I've printed it on my Bambulab X1C with good result in PETG except some delamination in the rear end of the main part due to a 7 hours power outage in my area 28 minutes before the end of the print. Pictures are attached, as well as the pictures of the slicing I use for the bodyshell, dashboard and windshield. The dashboard may be improved by choosing another orientation but there is absolutely no perfect solution for this. To set the splitted parts together you will need 2 M3x8 countersunk screws and 2 M3 nut at the front (use glue as well to complete this), and just two M3x6 screws at the rear (there was no easy way to put a nut cage here - complete with glue as well).

/https://fbi.cults3d.com/uploaders/18599880/illustration-file/a3b912f7-12f6-4e51-bae4-02ccd4522e5f/20231022_221923.jpg)
