Skip to content

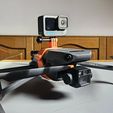
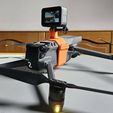
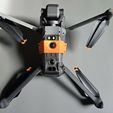
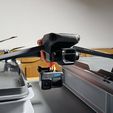
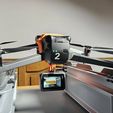
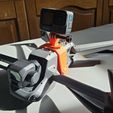
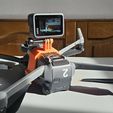
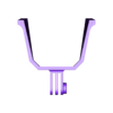
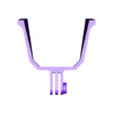
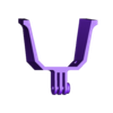
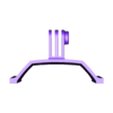
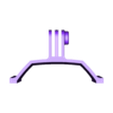
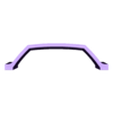
GoPro mount for drone DJI Mavic 3 - top and bottom

Advertising
Advertising
?
Creation quality: 5.0/5 (1 vote)
Evaluation of members on the printability, utility, level of detail, etc.

  • 1.8k views
  • 2 likes
  • 20 downloads

License
3D design format
STL Folder details Close
  • gopro_bottom_back_inserts.STL
  • gopro_bottom_back_noinserts.STL
  • gopro_bottom_front_inserts.STL
  • gopro_bottom_front_noinserts.STL
  • gopro_top_back.STL
  • gopro_top_front.STL
  • naked_bottom_inserts.STL
  • naked_bottom_noinserts.STL
  • naked_top.STL

Learn more about the formats

Publication date 2023-10-26 at 06:41
Design number 1537970

GREUBS

3D printer file info

3D model description

  • GoPro cameras can be mounted on top and/or bottom.

  • Each part exist in two versions ("front" or "back") so you can choose to locate the camera closer to the gravity center ("back" version), or a bit (16 mm) more in front ("front" version) to optimize the point of view. Although the "front" configuration do not have a dramatic effect on the drone balance, I would recommend the good practice to prioritize a good balance for the drone.

  • The bottom part is proposed with or without brass inserts. However, I highly recommend to use the version with brass inserts, which makes it stronger and gives a longer lifespan.

  • Note that the drone cannot be folded when the support is mounted.

  • When the camera is set on the top mount only, all sensors are clear and working as usual.

  • When the camera is mounted on bottom, it will mask some of the bottom sensors. It is still possible to fly, but some drone capacities will be altered, so be careful.

  • Take-off with camera on bottom will require extra legs or to hold the drone by hand (take-off and landing). It's a common but dangerous operation, be careful.

Extra parts:

  • 4 x M3 brass inserts (max. 6 mm long) for the bottom part. They must be inserted with the tip of a warm soldering iron (~200Β°)

  • (or threading the 2.5 mm holes with a M3 tap)

  • 4 x M3 screws (at least 8 mm long)

  • 1 x M5 nut for the GoPro mount

3D printing settings

In the slicer:

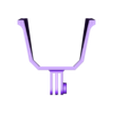
  • The parts must be printed as a flat U shape

  • Rotate the part so the GoPro mount is at the bottom.

  • For the bottom part without GoPro mount ("naked" version), rotate the part so the grooves are at the bottom.

Setting:

  • 3 walls

  • 30% infill

  • Support

Depending on your printer settings, it might be necessary to rectify holes with 2.5/3/3.9 (or 4)/5 mm drills.

Advertising


Page translated by automatic translation. See the original version.
Issue with this design? Report a problem.

Would you like to support Cults?

You like Cults and you want to help us continue the adventure independently? Please note that we are a small team of 3 people, therefore it is very simple to support us to maintain the activity and create future developments. Here are 4 solutions accessible to all:

  • ADVERTISING: Disable your banner blocker (AdBlock, …) and click on our banner ads.

  • AFFILIATION: Make your purchases online by clicking on our affiliate links here Amazon.

  • DONATE: If you want, you can make a donation via Ko-Fi πŸ’œ.

  • WORD OF MOUTH: Invite your friends to come, discover the platform and the magnificent 3D files shared by the community!


Sharing and downloading on Cults3D guarantees that designs remain in makers community hands! And not in the hands of the 3D printing or software giants who own the competing platforms and exploit the designs for their own commercial interests.

Cults3D is an independent, self-financed site that is not accountable to any investor or brand. Almost all of the site's revenues are paid back to the platform's makers. The content published on the site serves only the interests of its authors and not those of 3D printer brands who also wish to control the 3D modeling market.

100% secure payment by credit card, PayPal, Apple Pay, Google Pay, etc.
View all payment options.