NOTE: I have NOT tested this design yet. I have every reason to believe it will fly, but it's getting cold here and I don't plan any more rocket launches until spring.
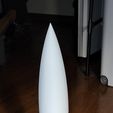
You are expected to know how to balance a rocket for flight before building this. Printed with Polymaker LW-PLA it passes the "Swing Test" but that's not always a good indication. Open rocket says it needs weight in the nose (I printed mine hollow), so I added weight.
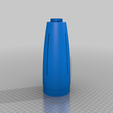
Use a standard Pringles can cut down to 200mm in length for the body for scale (They're about 224mm normally with the ends cut off).
I've included pieces for a 24mm and 29mm motor mount. For the 29mm mount you'll have to have your own retainer as there is not one in this design. Size the length of your 29mm motor tube accordingly.
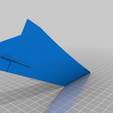
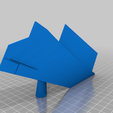
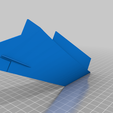
I've oriented the fins the way they should be printed though I had to move the Z-height down by .1mm to get the raft to form under the entire fin. Use rafts when printing. The fins are tall skinny things and many printers will have trouble printing them without producing wobbly lines in them. For this reason I've included "supported" fins which have adjacent towers that are connected to the fins by 1mm posts. Use side snips to cut those posts off to remove the towers. This produces a MUCH smoother fin surface. But I also included the unsupported fins.
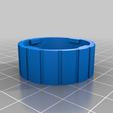
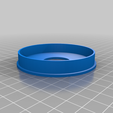
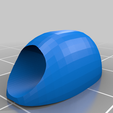
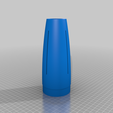
The tail cones have caps. This is so you can put the motor tube in, glue the fins through the slots to the motor tube, then add internal fillets if you desire before finally gluing the cap on top. There are 3mm holes in the caps for you to first run a shock cord through. I recommend making a loop on the lower side and putting that around the motor tube.
The 24mm motor version has an engine block you should glue in far enough to fit an E motor. That's 95mm up from the bottom. The 29mm motor tube won't use a block, of course.
This is a hefty bird, but it should fly to about 460 feet on an Estes E motor and about 200' on an D. I'd try the E first though because it's pretty fat for the D.
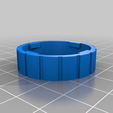
There are two motor retainers in the design, both for 24mm motors. The "AT" version is for Aerotech 24mm motors (or the RMS system) and has extra space to cover the lip at the bottom of the motor. It sims to over 1400' on an F32 so I might want to try that.
I've made some attempts to make this as scale as I can, doing math against a 3 side drawing I found online and the diameter of a Pringles can. This is 1/24 scale, near as I can tell. All the dimensions should be close enough for all but the really nitpicky people, who'd probably still have to pull out calipers to find the variations. The little bulges on the fins are wrong though, and I don't have information on the airfoil used for the fins, so I used the Swept Naca shape in tinkercad as my bases for the fins, then cut out chunks to get the correct final shape (retaining the original front edge).
I've provided two OpenRocket (ORK) files, one for the 24mm version and one for the 29mm version but use those as guidelines, not the final say. As I said, this is untested.
If you build this and fly it before I fly mine, please post a "make" and a video, as I've love to see it.

/https://fbi.cults3d.com/uploaders/17181044/illustration-file/d45431d9-062d-4843-8d81-9e6f3cf24219/d45f5380-ced7-40de-833d-7363d924c161.png)
