3D model description
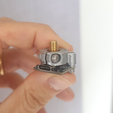
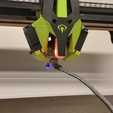
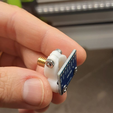
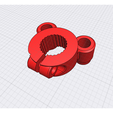
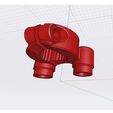
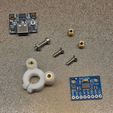
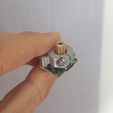
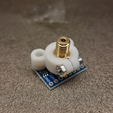
Get the most out of your 3D printer by connecting the ADXL directly to the Nozzle V6 or MK8. This mount allows for quick attachment/detachment in just 1 minute, ensuring the highest precision for Input Shaping.
*** "The design of this mount is unique; you won't find a better Mount on the web." ***
Input shaping is a technique used in 3D printing to reduce vibrations and improve print quality by controlling the movement of the printer's motors. When using Klipper firmware, you can implement input shaping by integrating an ADXL accelerometer sensor onto the printer's nozzle. This sensor measures nozzle movements and sends data to Klipper, which adjusts motor commands accordingly.
To set up input shaping with Klipper and the ADXL sensor, follow these steps:
Acquire Necessary Hardware:
- Purchase an ADXL accelerometer sensor that can withstand the high-temperature environment of a 3D printer's nozzle.
- Connect the sensor to your control board or microcontroller, ensuring it can communicate with Klipper.
Configure Klipper:
- Make sure you have Klipper firmware installed on your 3D printer. You'll need to access and edit the Klipper configuration files, typically found in the 'printer.cfg' or 'klipper.cfg' file.
- Enable input shaping by adding the following lines to your configuration:
ini

   [input_shaper]

   accelerometer_pin: YOUR_SENSOR_PIN

   sample_rate: YOUR_SAMPLE_RATE

   accel_filter: YOUR_ACCEL_FILTER
Replace 'YOUR_SENSOR_PIN' with the pin number where you connected the ADXL sensor, 'YOUR_SAMPLE_RATE' with the desired sensor sampling rate, and 'YOUR_ACCEL_FILTER' with the accelerometer filter setting.
Calibrate the ADXL Sensor:
- Ensure the accelerometer is correctly positioned and calibrated. This usually involves setting the sensor's zero point, axis orientation, and scaling factor.
- Klipper provides tools for sensor calibration and setup in its configuration files.
Tune the Input Shaping Settings:
- In the Klipper configuration, you'll need to specify parameters like 'input shaping' and 'velocities' to control how the printer responds to sensor data.
- Adjust the parameters to minimize vibrations and improve print quality. This may require experimentation and fine-tuning.
Test and Optimize:
- Run test prints to evaluate the impact of input shaping on print quality. Pay attention to any reduction in vibrations and improvements in print precision.
- Continue tweaking the configuration settings until you achieve the desired results.
Save and Monitor:
- Save your updated Klipper configuration file.
- Regularly monitor the printer's performance and make adjustments as needed to maintain optimal print quality.
By integrating an ADXL sensor with Klipper firmware, you can implement input shaping to mitigate vibrations caused by sudden movements of the 3D printer's nozzle. This technology allows for smoother and more accurate prints by adjusting motor commands in real-time based on sensor feedback. With proper calibration and configuration, you can significantly enhance the overall quality of your 3D prints.
3D printing settings
3 WALL
INFILL 50%
PLA+ OR ABS IS BETTER

