*** If you like my work or intend to print it, please consider supporting us for free by streaming some of our indie music on your preferred streaming services: Spotify, Deezer, iTunes, Tidal, Amazon Music, Google Music etc. Check http://puncheur.org for links to each service. Thank you very much ***
*** IMPORTANT - PLEASE READ: ***
Newer designs will be uploaded. These will be labeled "V2" (... "V3"... etc) in the filenames. These should still be compatible with all the other (older) parts (except for the autolevel sensor mounts). Read the "updates" section for additional info on newer parts.
*** TOO CONFUSING, TOO MUCH TEXT!: ***
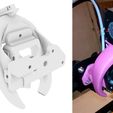
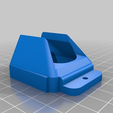
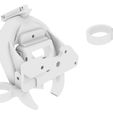
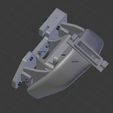
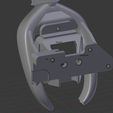
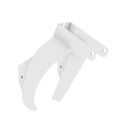
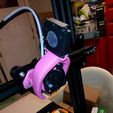
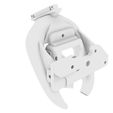
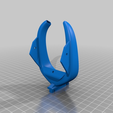
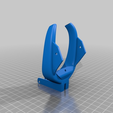
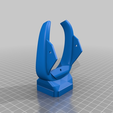
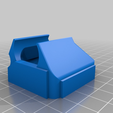
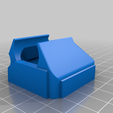
This is a fang mod upgrade, that is designed to be sturdy and easy to print. Meaning sturdier and/or easier than the other fang designs out there, at the time of creation. It is semi modular with different options, and easy to mod to your own liking, since you only need to mod and print the part you want to change, and not the entire assembly. If you decide to mod, please give credit and add it to the remix section for other people to find.
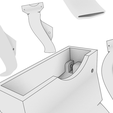
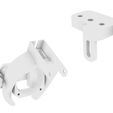
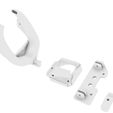
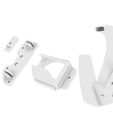
You need 4 parts for this fang model:
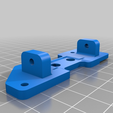
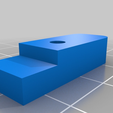
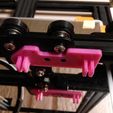
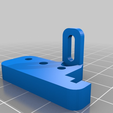
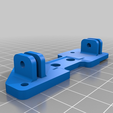
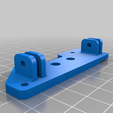
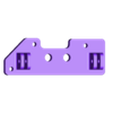
1/ carriage plate
2/ 40mm duct (stock or microswiss)
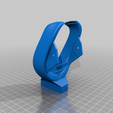
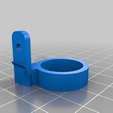
3/ carriage plate clip (recommended but not essential, it adds stability)
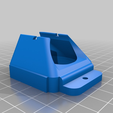
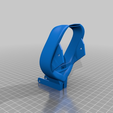
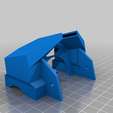
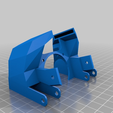
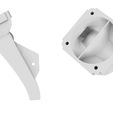
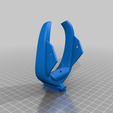
4/ the actual fang (stock 4010 fan (V1, V2, V3), 40mm fan (V2), 5015 fan (V2, V3), dual 5015 and dual 4010 fans)
If you have other than stock parts, like a 5015 fan instead of the stock fan, you can download the 5015 fang instead of the regular fang. If you own a MicroSwiss hotend, you must download the MicroSwiss 40mm duct instead of the regular one. If you own an optional bed leveling sensor, you can also download those, but they may not work with the newer fang versions (V3) currently. Also check out the remix section for extra options. Note that i have not been able to test these optional parts myself, since i don't own a 5015 fan, nor a MicroSwiss hotend, nor any of the sensors. Please follow the installation order. Trust me, it is the best way, i've tried an alternative order that others have followed, (hotend + 40mm duct before fang) and that is not the way to go, since you will get frustrated aligning the fang and screw holes, and you'll risk breaking the more delicate parts. For more info, see the "original info" section.
*** INSTALLATION ORDER *** (ignore at your own risk):
- unmount the old fan box or fang design,
- unmount the hotend from the carriage
- install carriage plate + clip (+screws)
- attach the fang to the carriage plate (+screws) (EDIT: make sure the holes are lined up properly and maybe it's best to squeeze the plastic parts together with your fingers while screwing so that the screw doesn't push them apart and snap the plastic parts)
- slide the hotend + cables from the top, down between the carriage plate and fang.
- slide the 40mm duct onto the hotend
- mount the hotend + 40mm duct onto the carriage, from underneath the fang and tilt it in place (+screws)
- screw the 40mm duct onto the fang
- screw the 40mm fan onto the 40mm duct
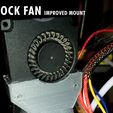
- screw the radial fan onto the fang (you can also do this before mounting the fang). Be carefull with the tiny screws. I suggest screwing them into the fang before mounting the fan, back and forth moving forward slowly, just to make sure not to force the screws in, so you don't break the plastic and widen the holes just enough. Once the screw has pierced through, unscrew it, mount the fan, and safely screw the screw in again.
All aditional screws used are 3m screws
*** UPDATES: ***
1/ added an optional EZABL sensor mount for those interested, feedback appreciated (i don't own one myself). I used roughly the same coordinates as thing:2446196, which needs offsets set to 48 and -11.
2/ the STL for the 40mm fan duct didn't slice properly in S3D, due to the nature of a number of remixes one over the other. Thanks to Daniel Liška for cleaning it up! (See files).
3/ If the plastic plate sticks out ever so slightly beyond the metal inserts for the hotend, it might be best to tighten the hotend screws again after a first print, when the plastic is still soft. To ensure the hotend touches the metal inserts and doesn't start to wobble ever so slightly when the plastic gets heated.
4/ Added a fang for a non-stock 5015 fan. Optional and experimental (i haven't tested this myself, feedback is welcome). I also gave this fang a little bit more (2mm) clearance at the bottom, without affecting the direction of flow. I also updated the EZABL mount to fit with both fangs (the 5015 is a tad wider, due to the wider fan mount).
5/ Apparently, the newer CR-10S has a set screw were the 40mm fan duct comes. Other users have bypassed this problem by taking the set screw out to mount the fan duct, and putting it back later, or by cutting a tiny notch out of the fan duct. I will try to update the 40mm fan duct to remedy this issue, even though it seems to be a minor grievance.
6/ Uploaded an optional BLtouch mount due to popular demand. Experimental, since i don't own a BLtouch myself. Feedback is welcome. I used the same placement as thing:2493610. Coordinates should be -40 & -10.
7/ Uploaded an optional 40mm fan mount for the MicroSwiss, which i remodeled from the ground up. Also experimental, since i do not own one myself. Again, feedback is greatly appreciated!
8/ Started uploading improved designs. As mentioned in the "please read" note above.
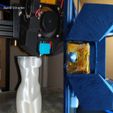
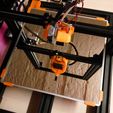
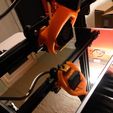
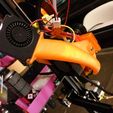
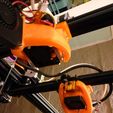
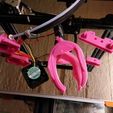
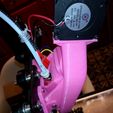
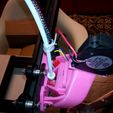
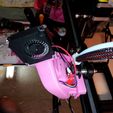
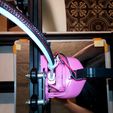
9/ added pictures of the V2 design (the orange parts are V2, the pink ones are V1). For those interested in my Ikea mirror brackets seen in the pictures, see https://www.thingiverse.com/thing:2783526
10/ all parts have been tested to be sliced with Cura. If you have issues with some files in S3D, people have had succes using https://service.netfabb.com/service.php to get it to work on S3D. Once everything is done, i'll probably make the updated Blender file available as well, and people can export it themselves if they want.
11/ I have not finished the 40mm Fang yet, but there are two users who each made a remix, so if you're in need, please check those out!
12/ I finally finished the 40mm Fang, it's uploaded but not tested. Feedback welcome. Do compare with the 40mm remixes made by other members. I tried to maximize the airflow from the fan into the fang. Supports should not be needed with this print.
13/ Users mmotley & maccesch have uploaded a repaired STL of the V2 fang for non-Cura users that are getting errors, as an attachment in the comment section.
14/ I have just placed an EXPERIMENTAL V3 (stock radial fan) in the COMMENTS SECTION! I'd like some feedback before putting it in the files section. Check out the comment with STL in attachment.
15/ I have been running the V3 fang for months and i believe it is an improvemend. It is NOT compatible with the V2 ABL mounts. I'll add it to the files so you don't have to search for it in the comments. https://www.youtube.com/watch?v=UhgXZdTQFiA
16/ I have also published a mounting plate specifically for the Tronxy X5S, so you can use all the assembly fangs of the CR10, on the Tronxy! https://www.thingiverse.com/thing:3349695
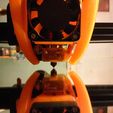
17/ Uploaded a dual 4010 fang design. For people that have a couple of these, but don't think the stock fan is sufficient and don't have a 5015 yet, or just want to put a spare 4010 to good use. Airflow is directed directly at the nozzle tip. See image. As noted in the comments of another thing, this model should be used with the standard hotend insulation, not with a silicone sock (which whill block the airflow).
https://www.youtube.com/watch?v=34op_uKjJgI
18/ Uploaded a V3 5015 design.
19/ Uploaded a V3 version of the carriage plate, with 1 thick tab instead of 2 thin ones, which should make it easier to mount the fang.
20/ Uploaded a Dual 5015 fang. Only use this if you know what you are doing, since it is possible to have too much cooling with this. Also, unlike the Dual 4010 design, this one leaves enough room for a silicone sock, and i highly advise using one, Because just like the Dual 4010, this design has airflow aimed directly below the nozzle tip (extrusion point), but due to the shear force of two 5015 fans, there will be some "collateral" air bouncing against the bottom of the heaterblock. Airflow is going front to back, in order to circulate the hot air away. There should be a relatively wide spread to ensure longer exposure to the cooling, while moving around quickly. I have made this for use with a 0.8mm nozzle, it is very possible that this design is overkill with a regular 0.4mm nozzle. There are latches for rubber bands, to pull the fan tight to the mount.
*** ORIGINAL INFO: ***
This is a fang mod for the Creality CR-10(s) designed to be sturdier, and easier to print. It is also easier to mod without having to reprint the entire model. This is for a completely stock solution, with optional parts for a 5015 fan, a MicroSwiss hotend, an EZABL leveling sensor, and a BLtouch sensor.
The one i printed originally, had a flimsy connection between the hotend and the 40mm duct, where the entire model was being carried and held up. I printed that model in PLA, (which was supposed to be ok according to the instructions) but only a few minutes into a PLA print at 210°, the entire thing started to wobble as well as the hotend itself, since there was a printed part between the hotend and the screws that held the hotend in place, which also melted. Causing the hotend itself to come slightly loose.
I think that 40mm duct connection method was not a good choice for attaching the entire fang design, and wanted to improve.
The way i designed this mod, it not only makes it easier to print (more parts flat on the bed), but you can also decide which parts to print in ABS, PETG or PLA. Or which parts to print with a brim, or with a different infill or speed/heat settings, supports etc. You could still print the fang in PLA, and print the other parts in ABS or PETG. The risk of a failed print is also greatly reduced, since it is broken down into 4 seperate and easier pieces, as well as shorter prints.
Due to the nature of the design, it is also easier to fit the cables through. Since you have to assemble the design after it is printed. You can use screws, or you can glue it together. Do as you see fit.
The Fang airduct and stock Fang fanmount, were taken from the Blender file by Racush. The plate, clip, new/upgraded 40mm duct, 5015 mount, EZABLE mount, BLtouch mount, fins/wings design, the concept were all done by myself. Some measurements were based on different thingiverse files though.
The V1 blend file is included. It is based on the blend file by Racush. Once i have all V2 parts ready, i will also share that blend file.
https://youtu.be/yi9rvjzJ1fE

/https://fbi.cults3d.com/uploaders/31105221/illustration-file/4b8f86f5-0764-4146-8676-bfbe9d91179f/duo.jpg)
