Skip to content

MagLula Mod

Advertising
Advertising
?
Creation quality: 5.0/5 (1 vote)
Evaluation of members on the printability, utility, level of detail, etc.

  • 978 views
  • 1 like
  • 2 downloads
  • 1 collection

License
3D design format
STL Folder details Close
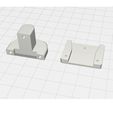
  • Hole Template.STL
  • Thumb Stop.STL

Learn more about the formats

Last update 2023-11-16 at 00:52
Publication date 2023-11-09 at 19:50
Design number 1568088

3D printer file info

3D model description

If you've got a MagLula Uplula loader, you know you love it.
If you don't have one, get one, you'll love it.
I love mine, but just had to make it better.

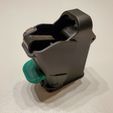
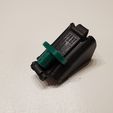
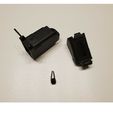
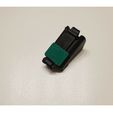
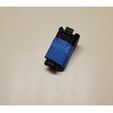
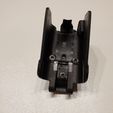
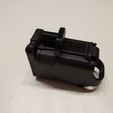
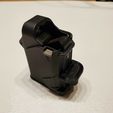
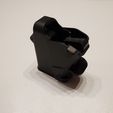
I added a thumbstop to the pivoting clamshell, giving you a whole lot more grip and downward force when using the tool.

Your hand no longer slips down requiring you to regrip between round insertions, and the thumb now is used when pushing down, making loading that much easier.

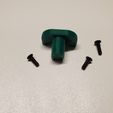
This requires 3 M3 x 8 flat head screws to assemble the thumbstop to the pivoting clamshell.

Illustrated here is a MagLula UpLula model for 9mm to .45ACP.
This has not been tested on any other model.

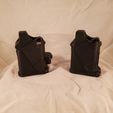
Granted, when it folds up, it's not as "slimline" as before, but we didn't get one because it was "slimline," we got one because it WORKS.

3D printing settings

Arrange on build plate as illustrated.

PLA+, 0.3 Layer Height, 220/55, 60mm/s, 8 Shells, 20% Infill, 25% Fan after Layer 1.

Installation Instructions

  1. Disassemble the UpLula by driving the pivot pin out far enough to release the clamshell pivot. Note the spring bends and positions when disassembling to facilitate proper reassembly later.

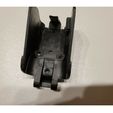
  2. Place the drilling template over the face of the clamshell as illustrated, and tape it firmly in place.

  3. Carefully and slowly drill 1.5mm holes through the clamshell. Be aware that the top/outer 2 holes are angled slightly inward to accommodate the top/outer 2 screws that will angle outward from the inside. Remove the template.

  4. Carefully enlarge the holes to 3.2mm.

  5. Carefully, by hand, using a 8mm drill bit, chamfer/countersink the 2 top holes inside the clamshell so that an M3 screw sits flush (or as flush as you can get it) in the hole. If the screw head protrudes out too far, the clamshell will not close tightly enough to use the existing slide lock.

  6. Install the thumbstop to the clamshell and secure it using the 3 M3 x 8mm flat head screws.

  7. Reassemble the MagLula.

Load up!

Advertising


Issue with this design? Report a problem.

Would you like to support Cults?

You like Cults and you want to help us continue the adventure independently? Please note that we are a small team of 3 people, therefore it is very simple to support us to maintain the activity and create future developments. Here are 4 solutions accessible to all:

  • ADVERTISING: Disable your banner blocker (AdBlock, …) and click on our banner ads.

  • AFFILIATION: Make your purchases online by clicking on our affiliate links here Amazon.

  • DONATE: If you want, you can make a donation via Ko-Fi πŸ’œ.

  • WORD OF MOUTH: Invite your friends to come, discover the platform and the magnificent 3D files shared by the community!


Sharing and downloading on Cults3D guarantees that designs remain in makers community hands! And not in the hands of the 3D printing or software giants who own the competing platforms and exploit the designs for their own commercial interests.

Cults3D is an independent, self-financed site that is not accountable to any investor or brand. Almost all of the site's revenues are paid back to the platform's makers. The content published on the site serves only the interests of its authors and not those of 3D printer brands who also wish to control the 3D modeling market.

100% secure payment by credit card, PayPal, Apple Pay, Google Pay, etc.
View all payment options.