Failed Experiment, Useable Result:
Originally intended as a follow up / add-on to our “Box Fan High-Pressure Mod” project, we hoped this hub and set of blades could potentially be an even more substantial upgrade to what is undoubtedly a pretty good fan already - even joking at one point, “Man, I hope this thing takes off.” Though, knowing well that the Lasko box fan motor and fan are optimized for each other, and that any deviation in fan weight, pitch angle, blade count, etc could disturb this tuned system, I set out to design it anyways – mainly, because I have a fascination for turbofan blades (and all things aerospace) but also because I saw a bunch of people printing really light weight rc airplanes using single perimeter (vasemode) printing and foaming or pre-foamed PLA (the likes of Polymaker and ColorFabb) - I just had to find an excuse to learn it / try it out.
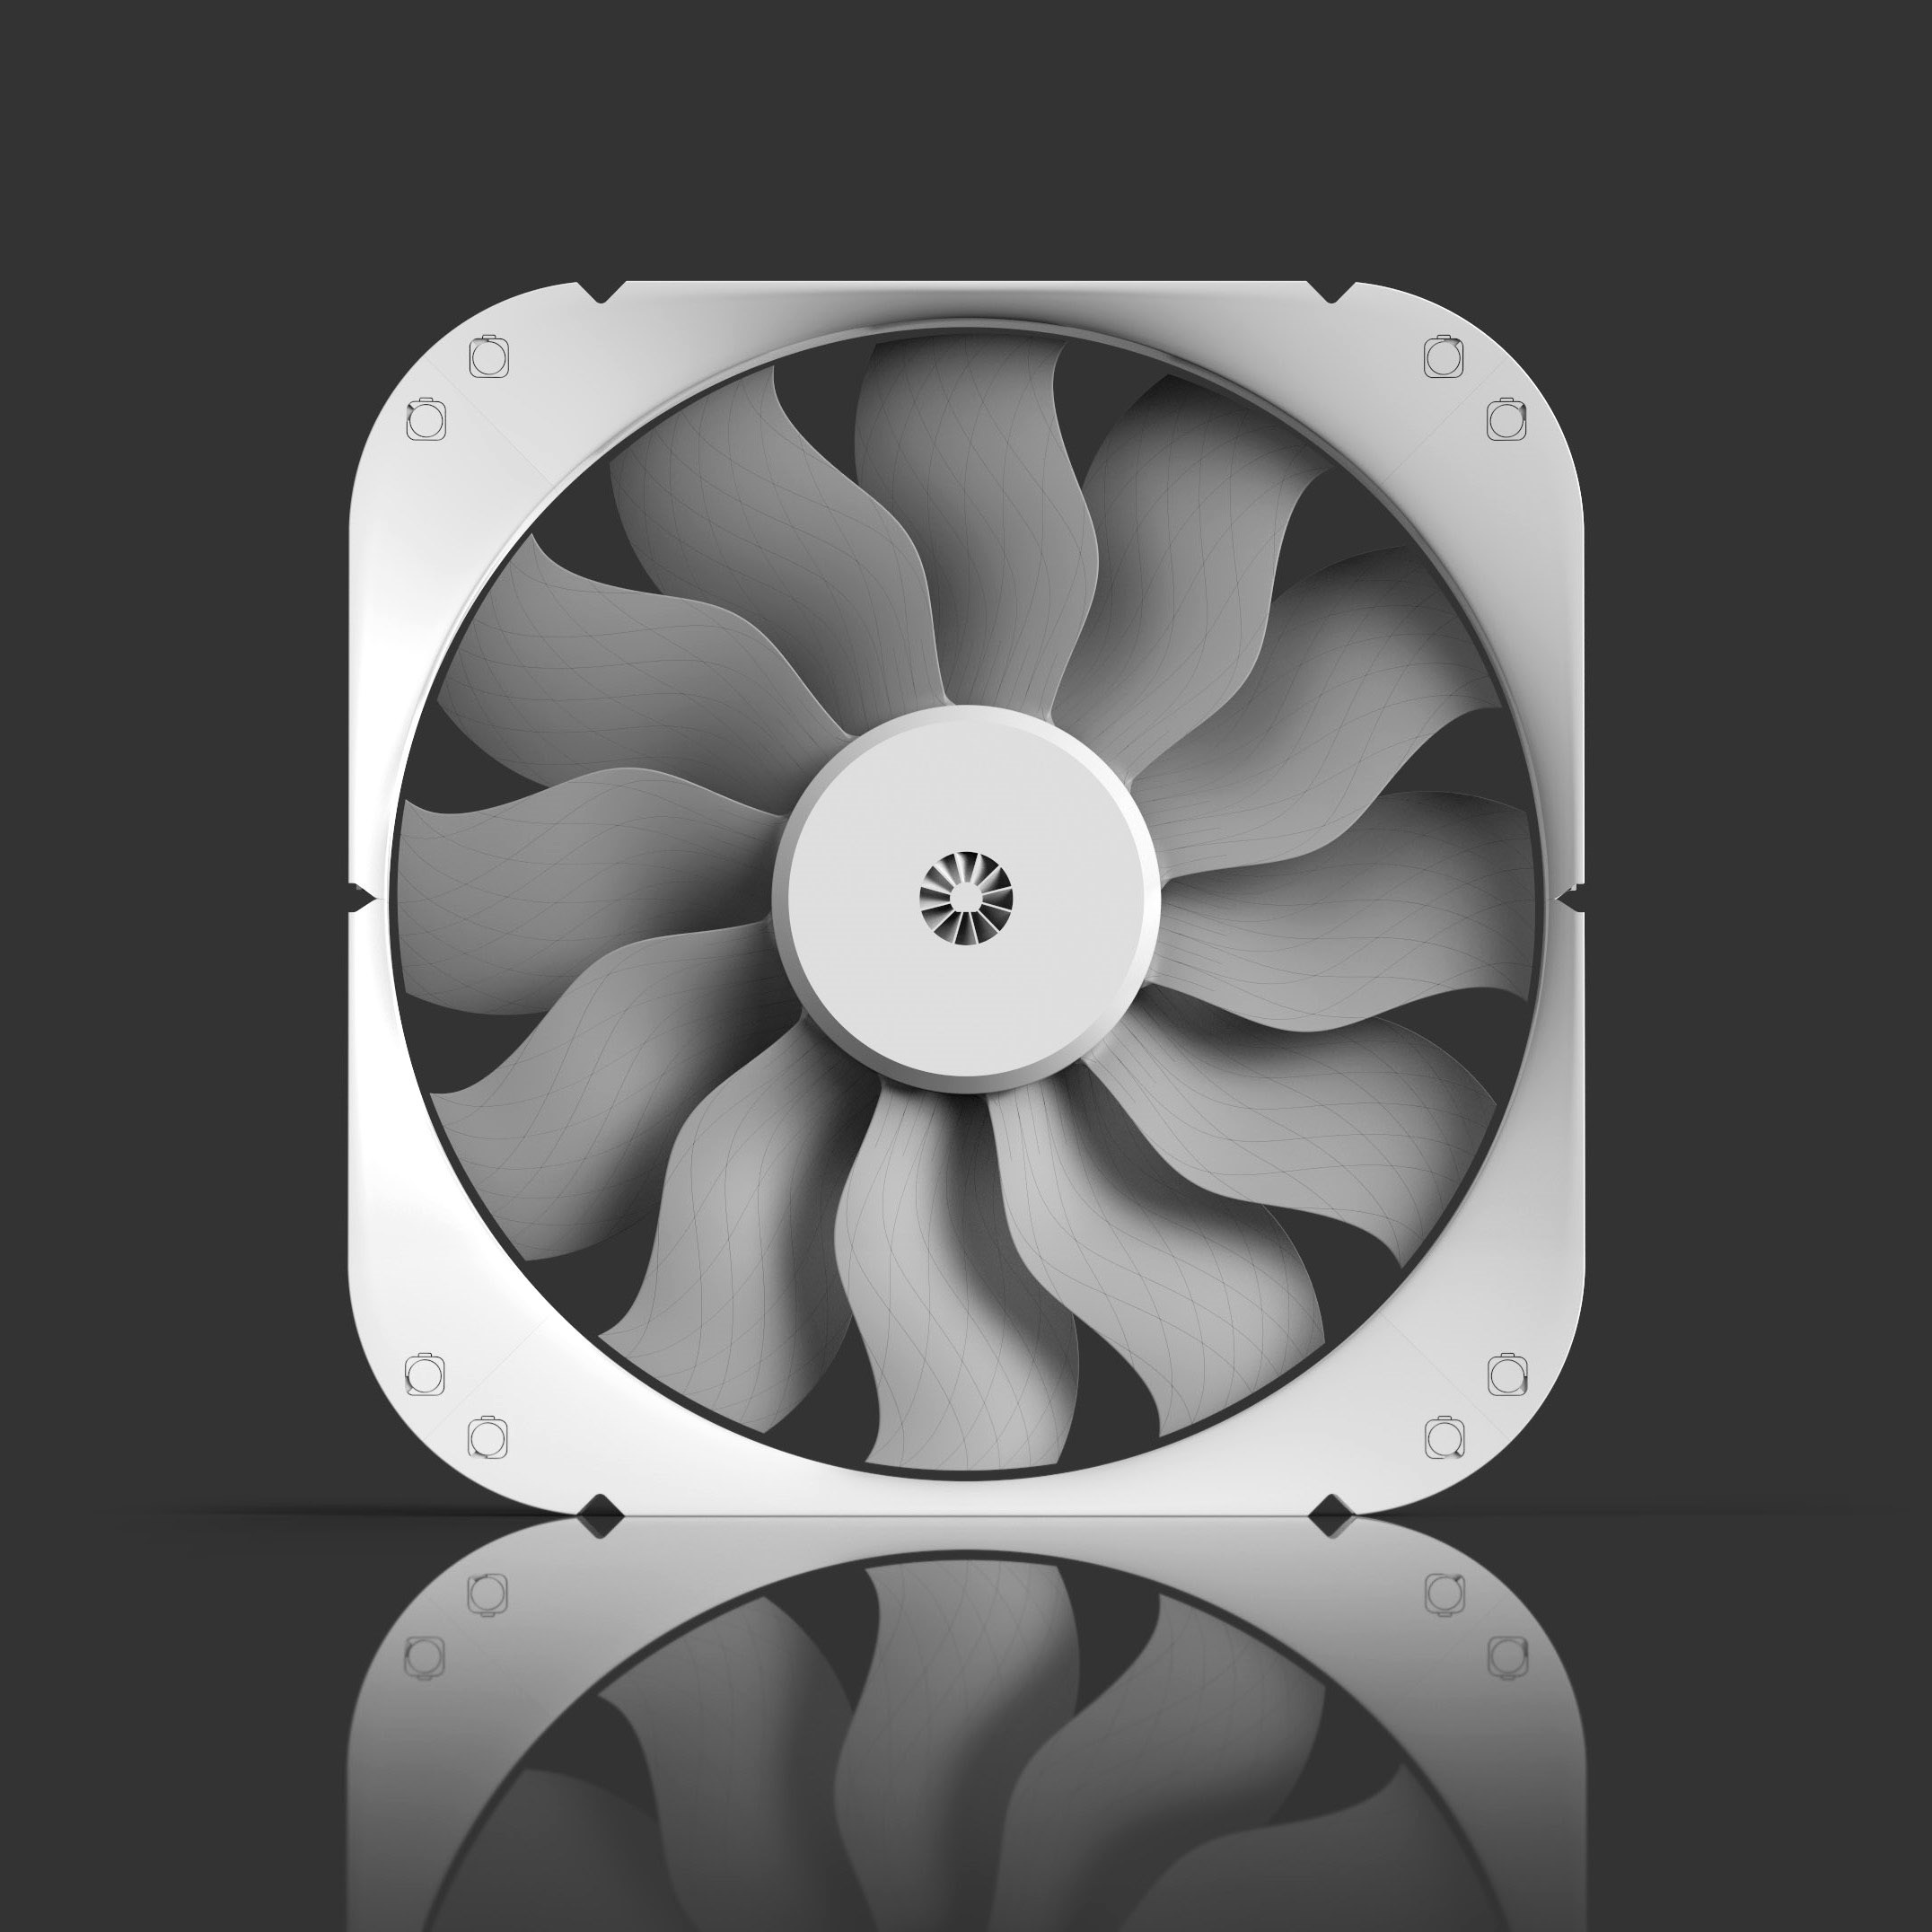
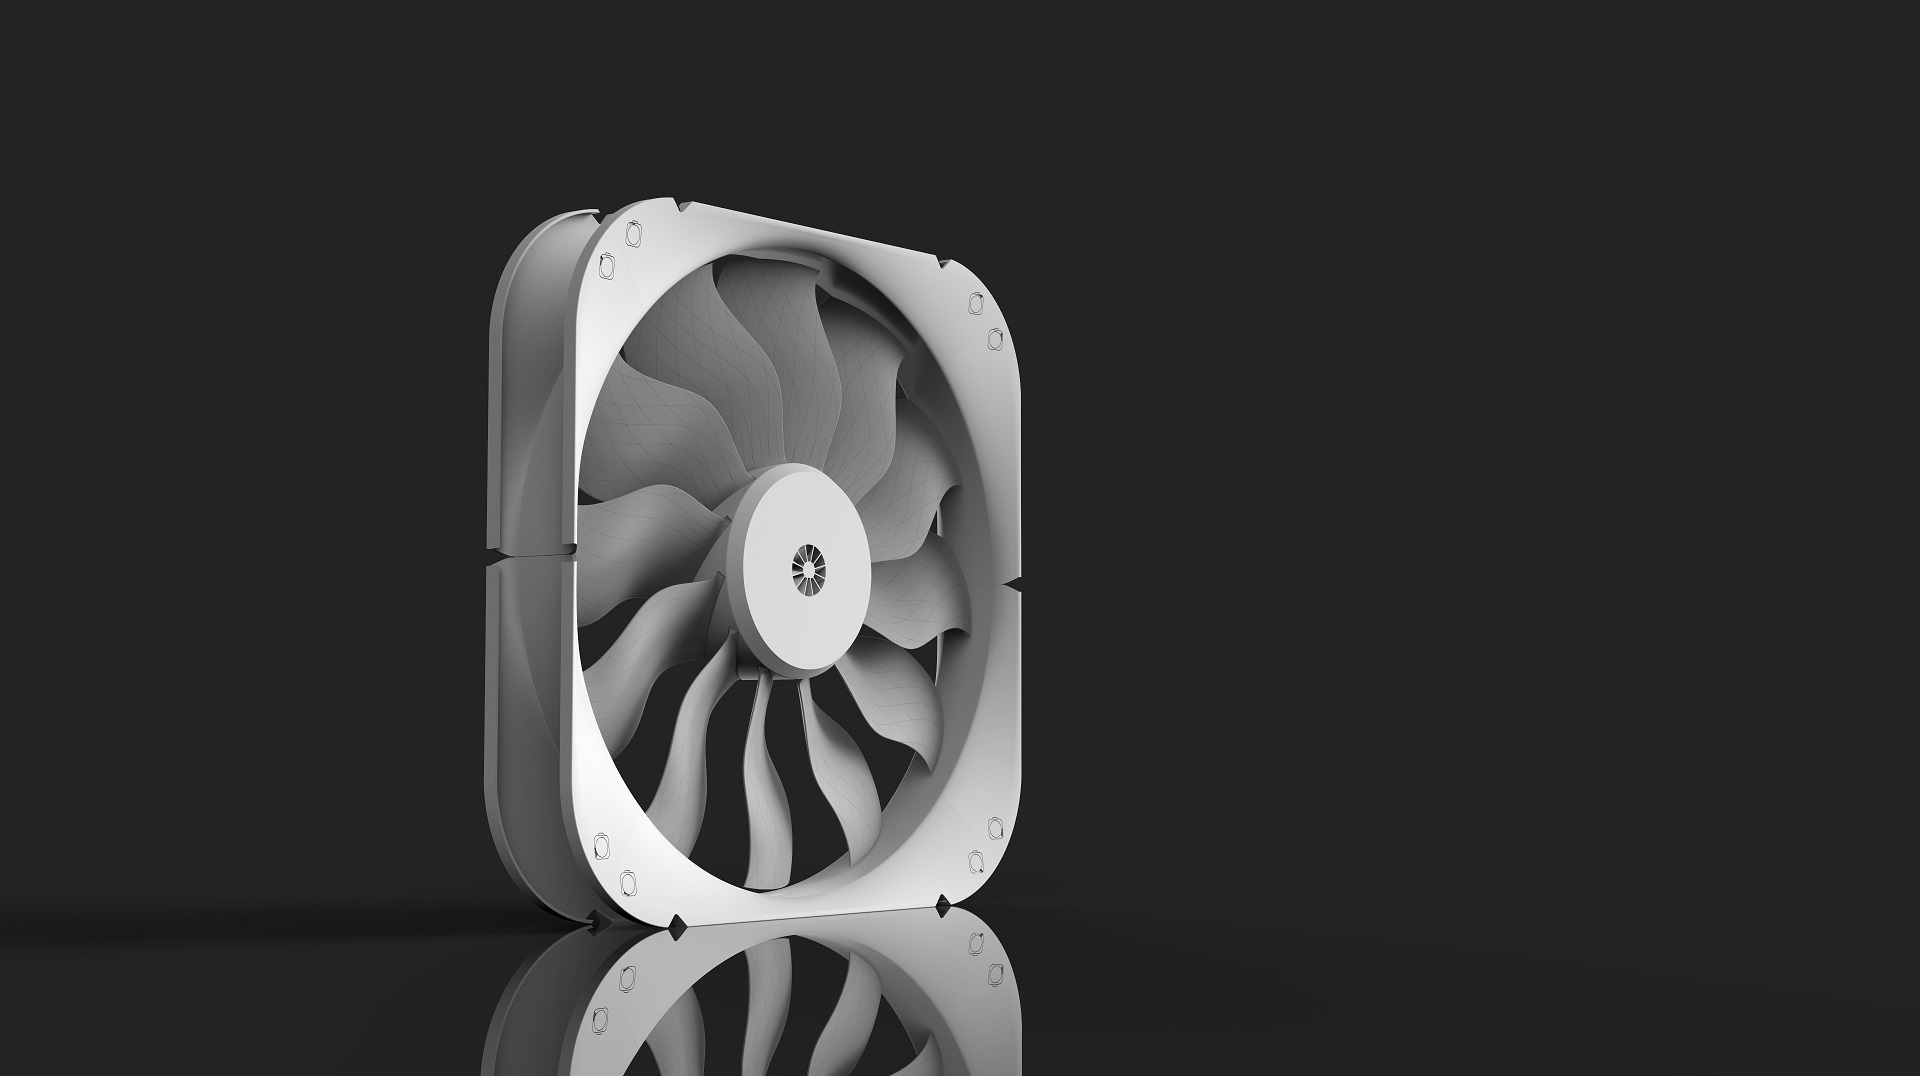
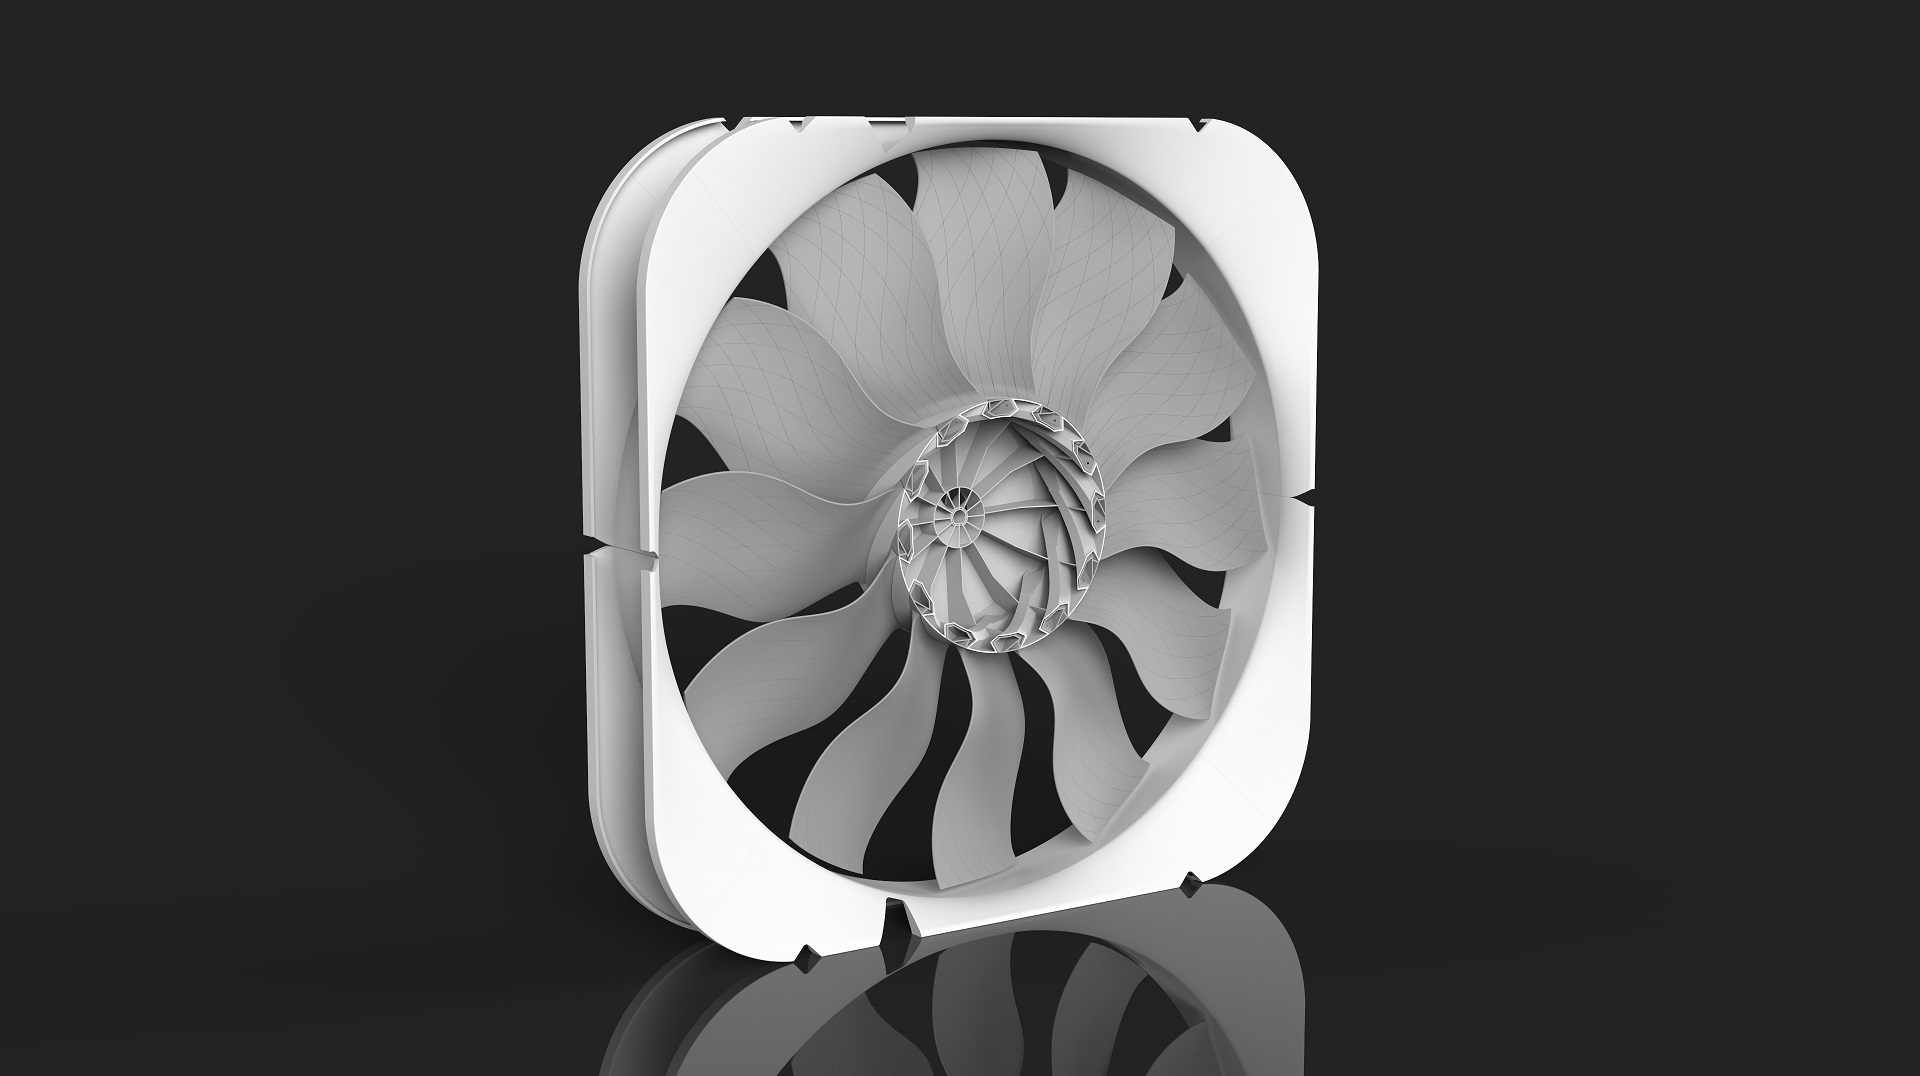
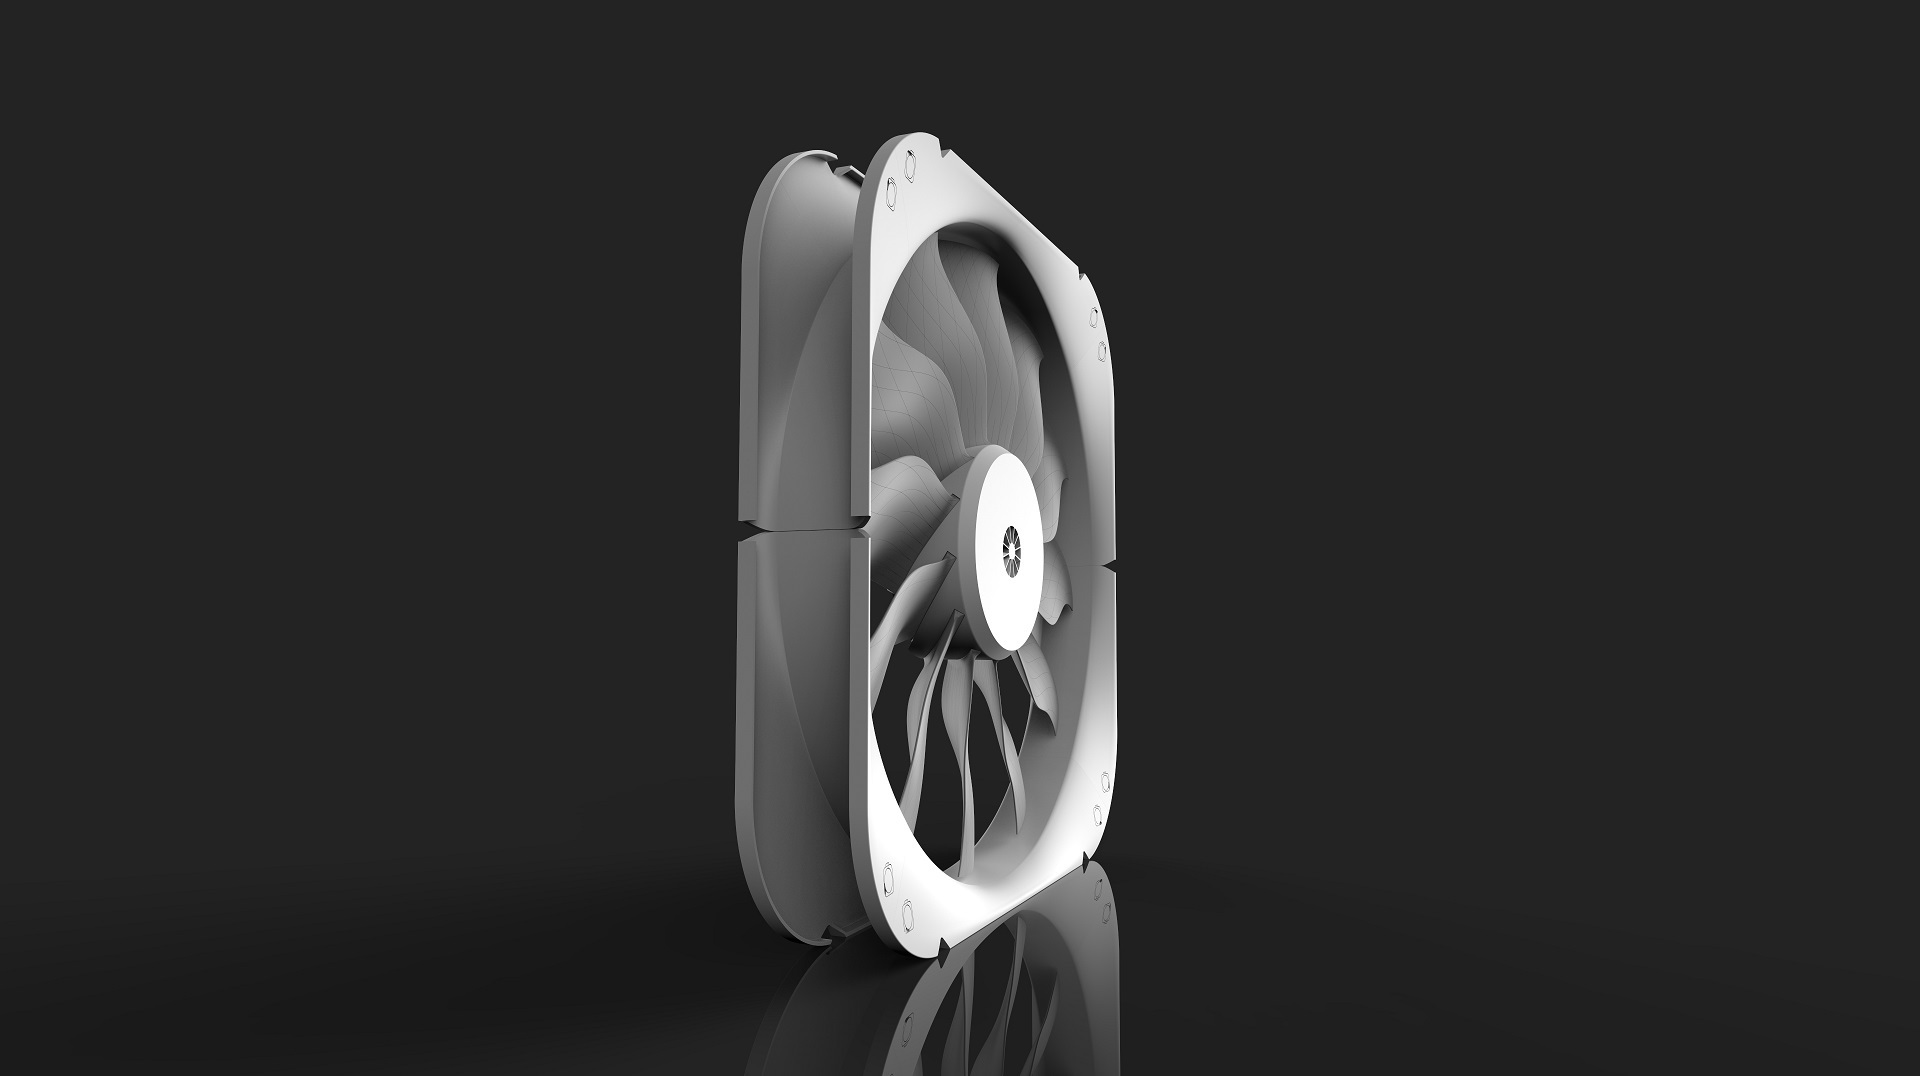
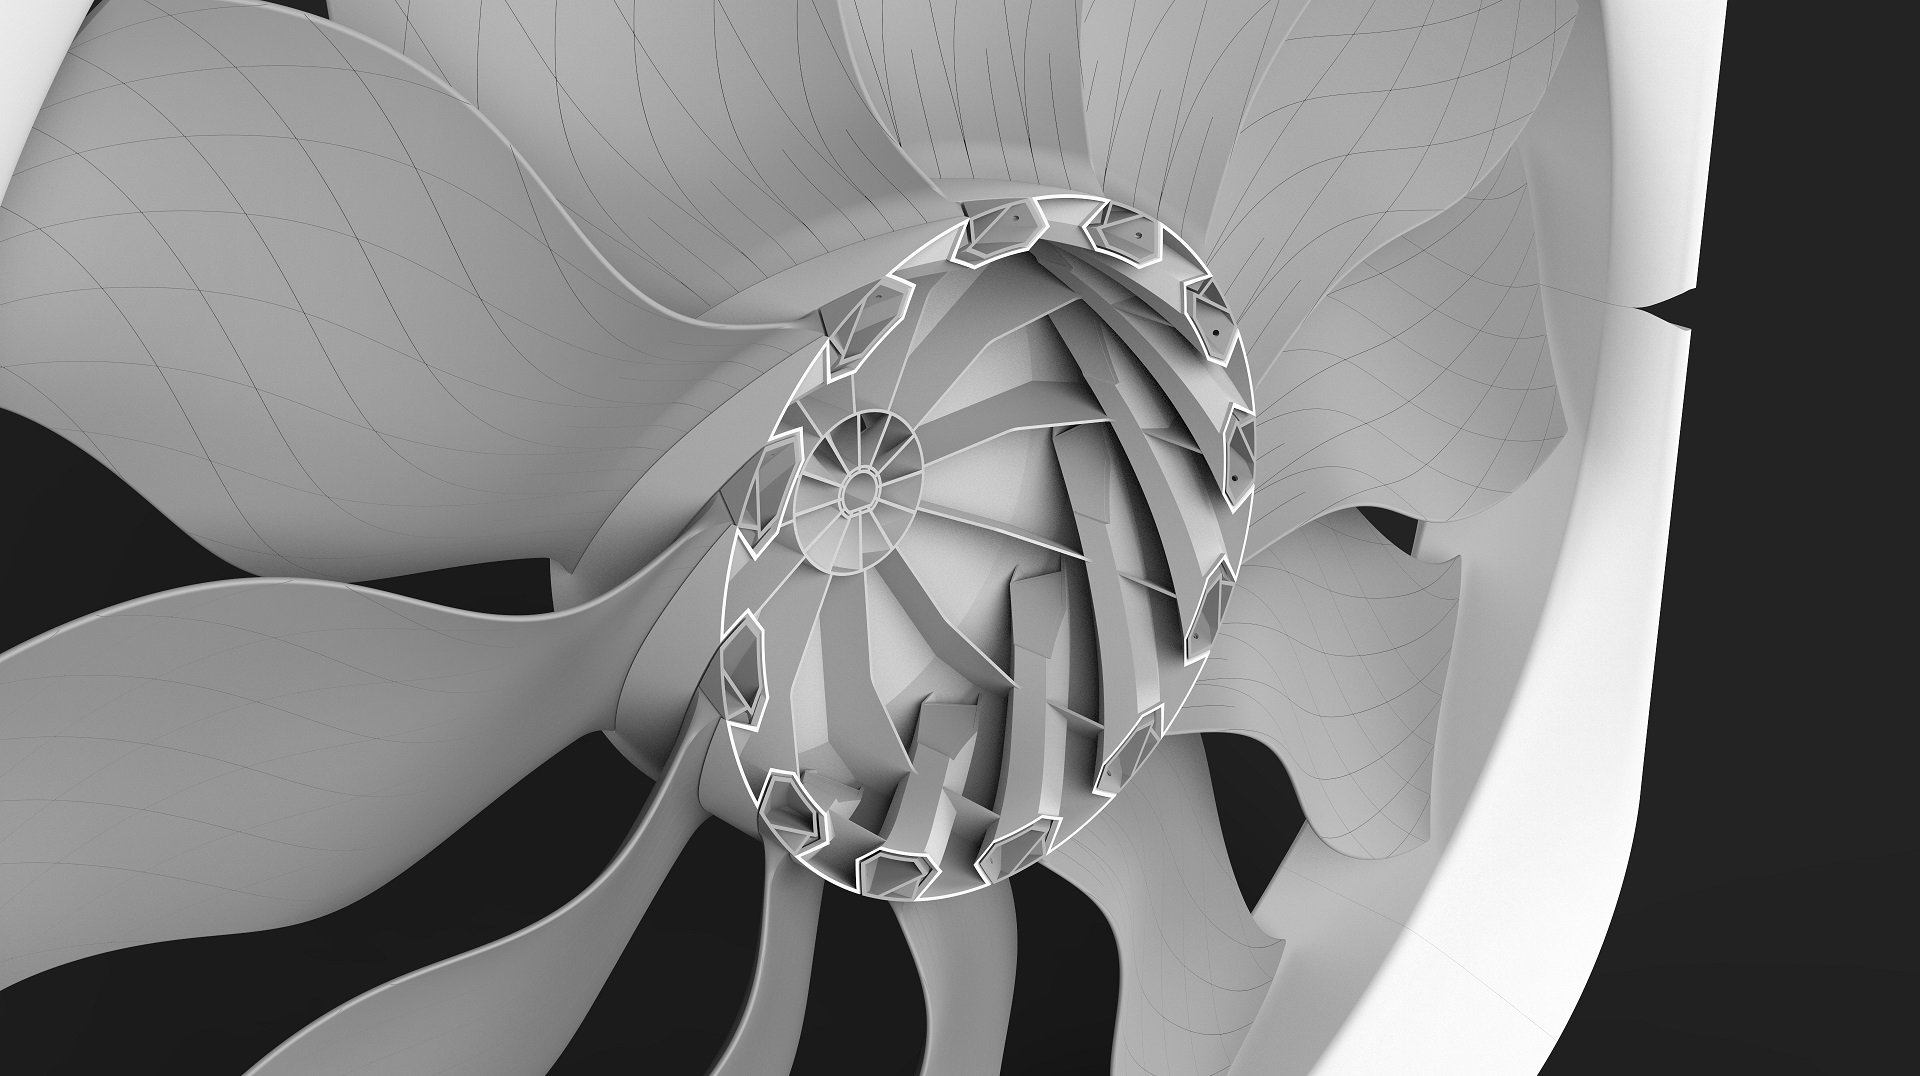
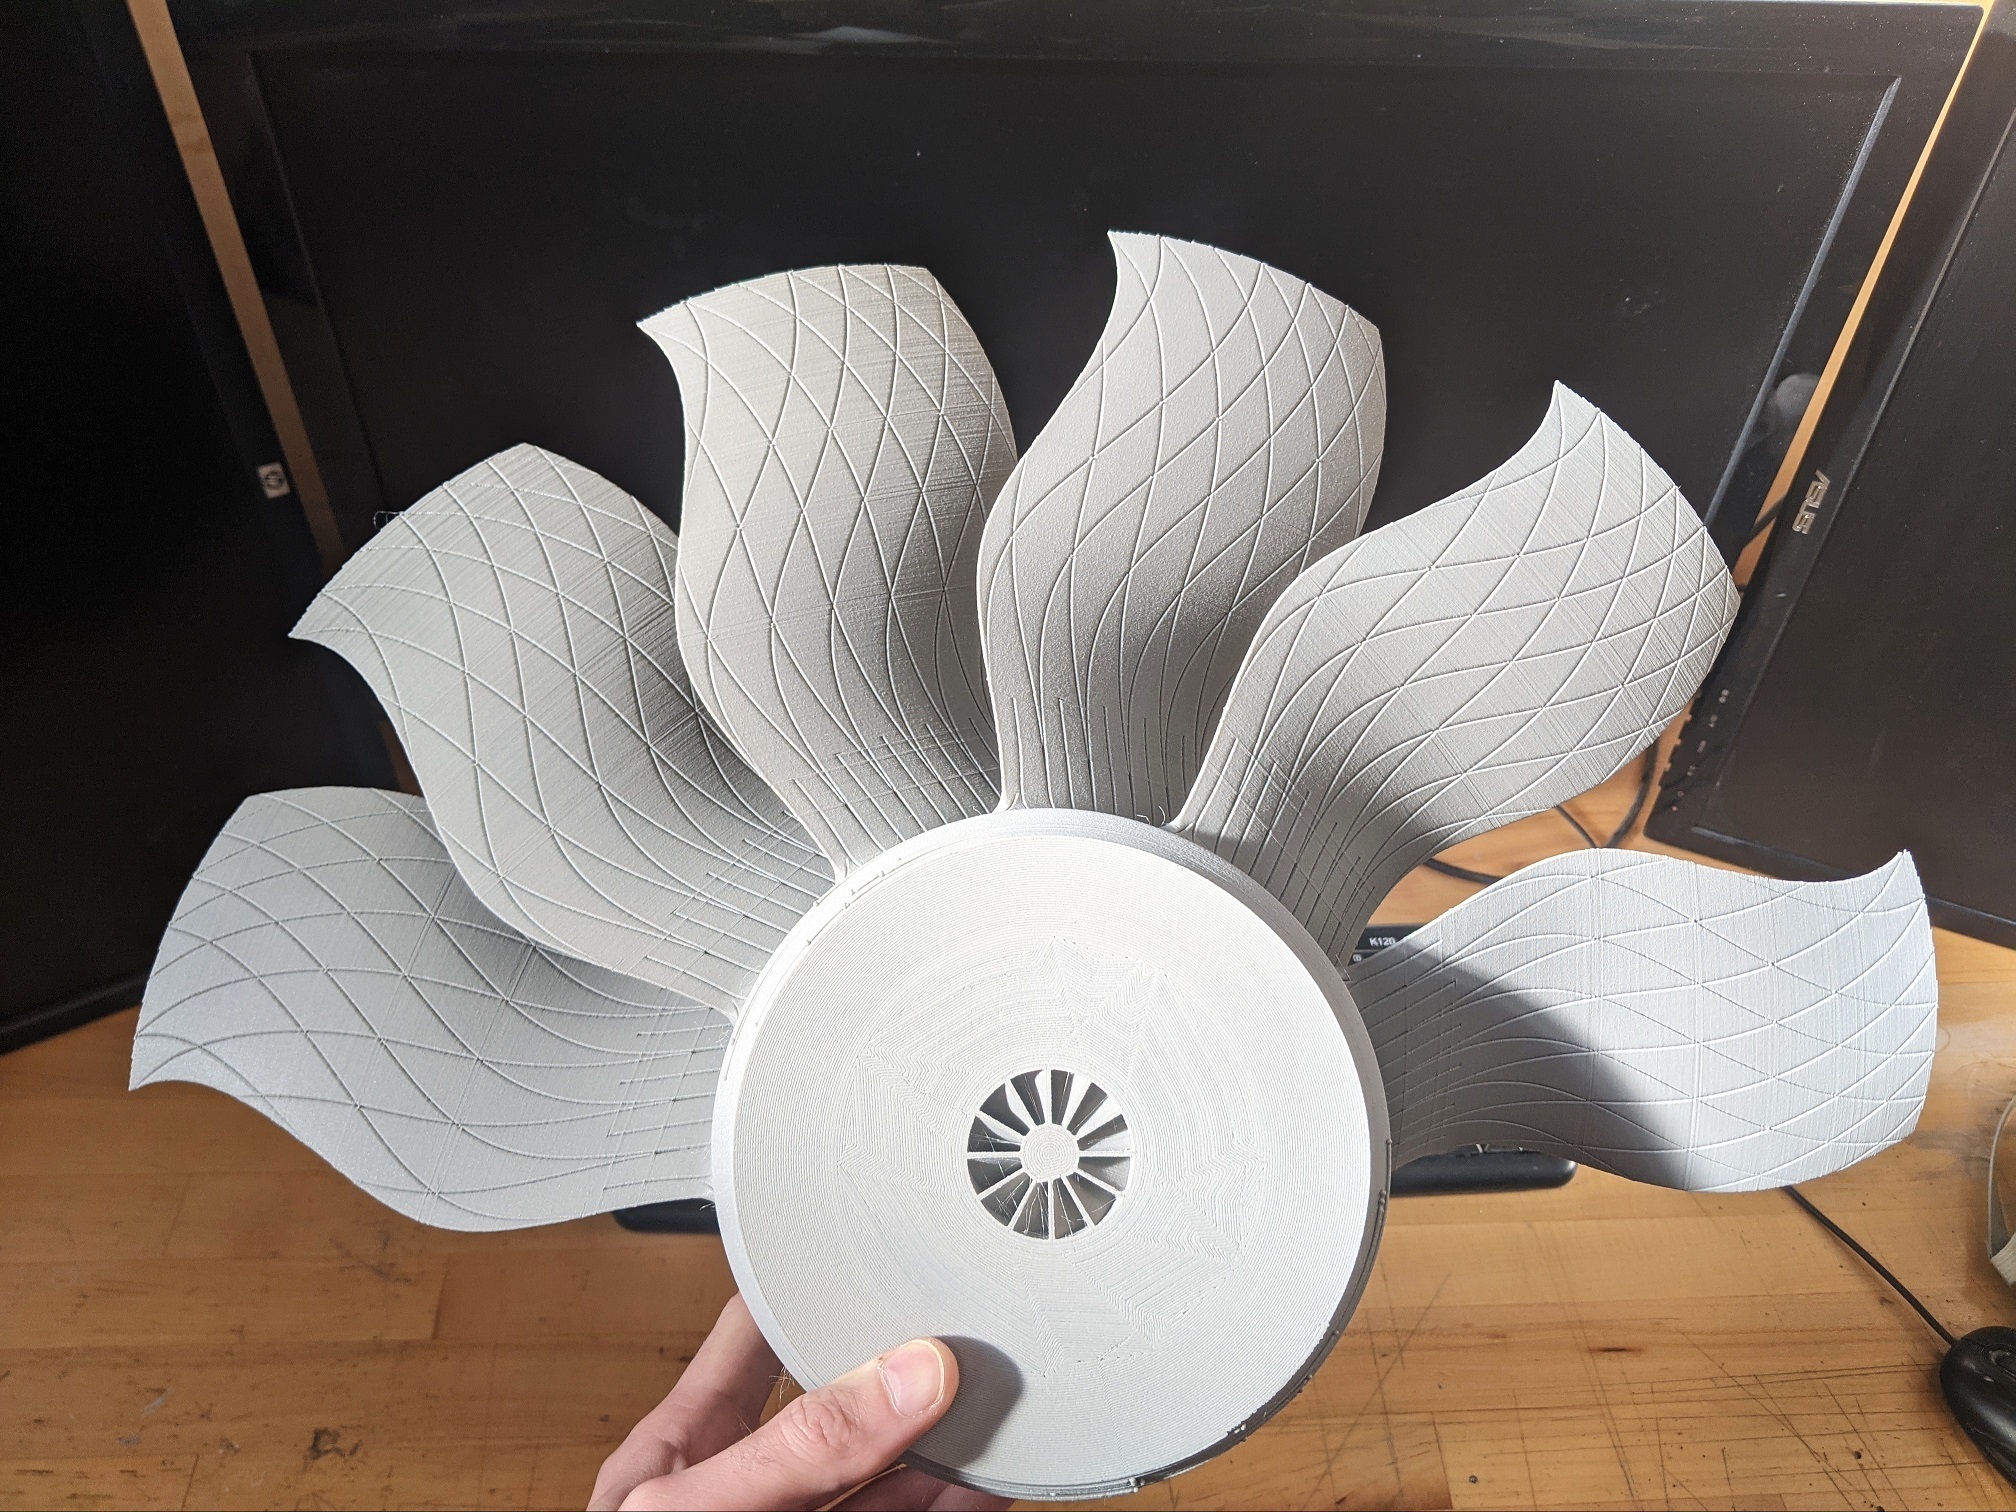
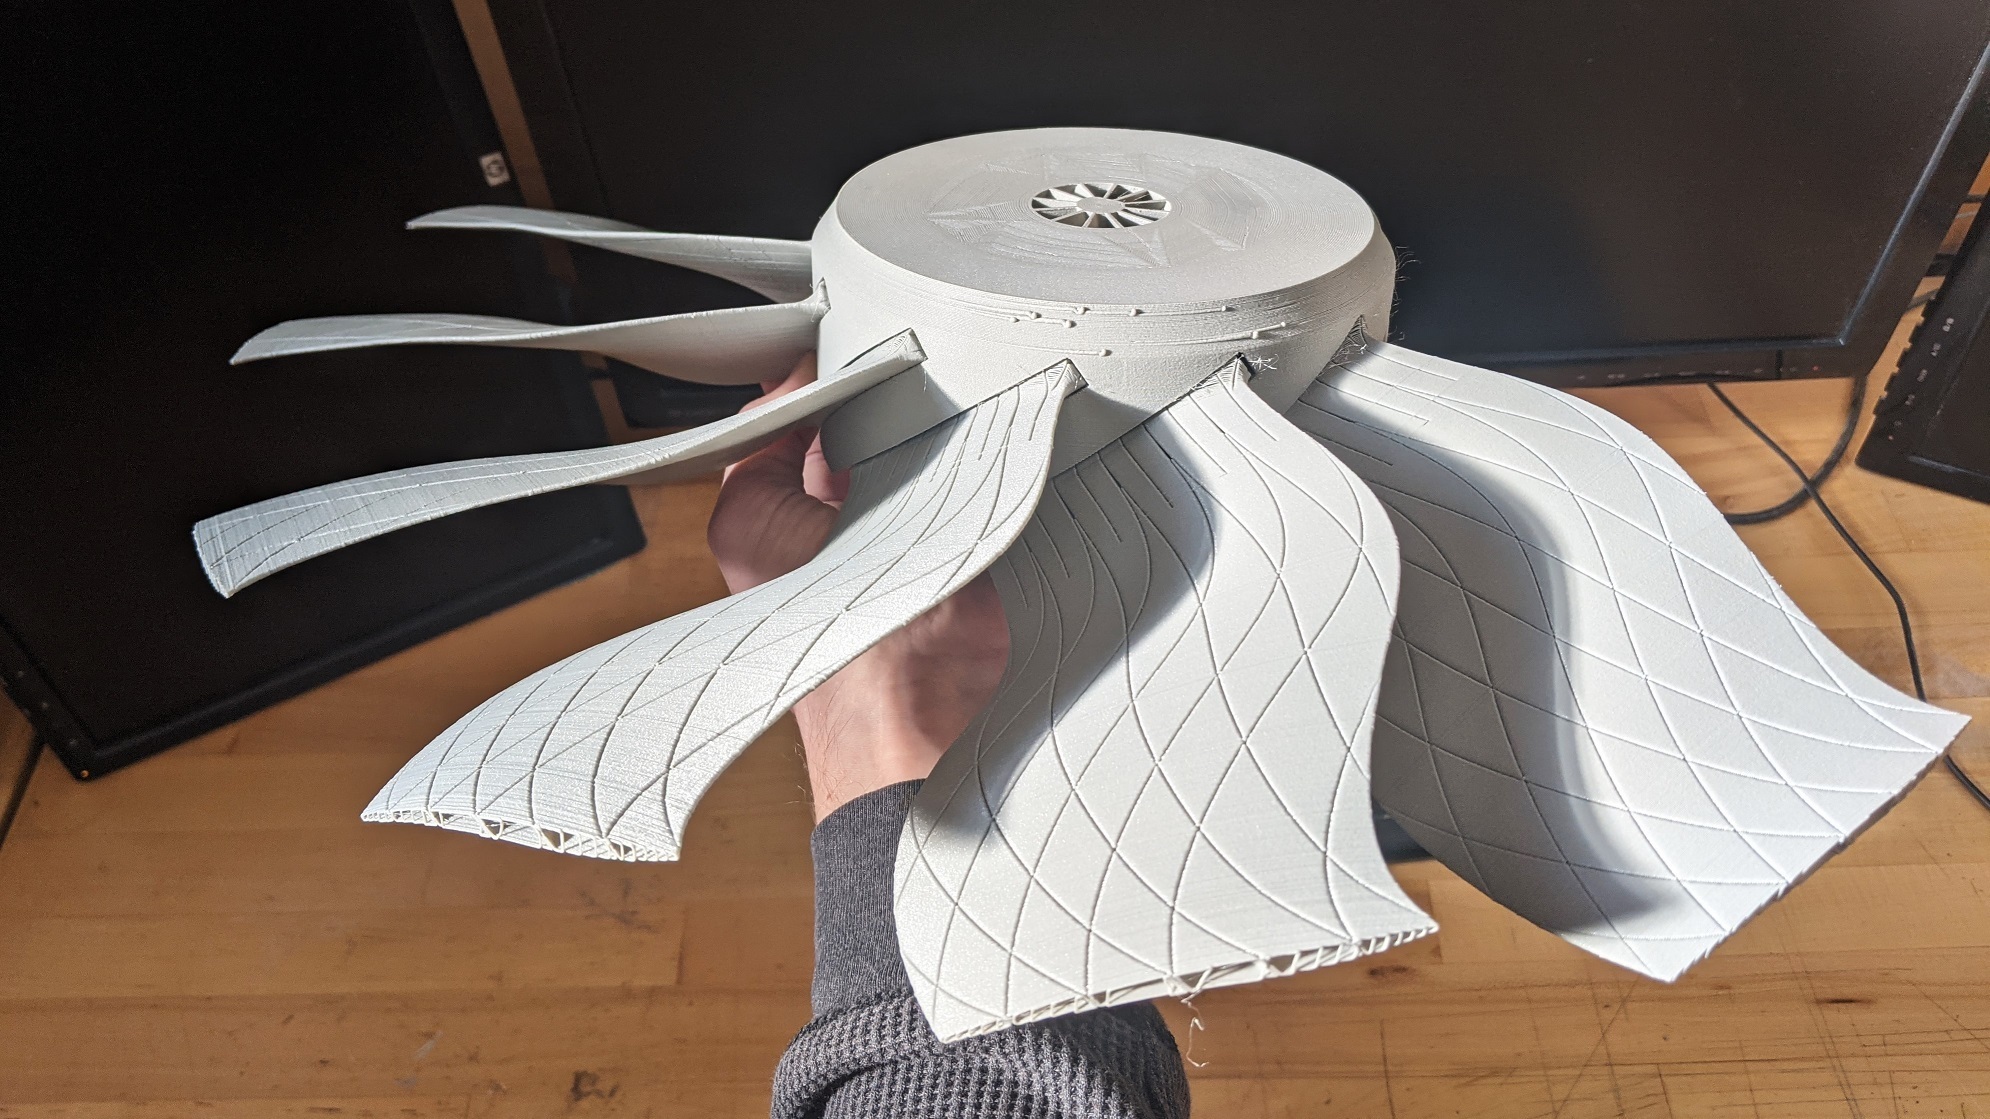
After a whole lot of CAD, slicing, printing, I had a good set of blades but the hub just wasn’t working (V2). It was designed solid with cut outs for where the perimeters were intended to go but the slicer just wasn’t making sense of the complex geometry and was skipping layers, skipping sections, and programming a whole ton of travel moves – I now know that the cuts should be even more carefully positioned, and tailored more to the shell geometry but this was taking too long and Booleaning everything just wasn’t working consistently – it was time for a shortcut. This is where V3 came in. Modelled at 0.8mm thick which mimics a vase mode print (just like our “Aerospace Hard Drive Enclosure – SSD – Lightweight” project) this hub finally worked! Albeit, with two shells. It was surprisingly strong and sure, there was a lot of stringing but it cleaned right off. Though, it felt… too strong. So, one more round of iteration and V4 was ready. Not only was it still strong but it was even lighter; so light, as a matter of fact that the whole hub just felt like a piece of foam.
Now came the moment of truth, it was time to weigh everything... Low and behold, the hub (with six blades attached) ended up being not that much heavier than the polypropylene fan blades included with the fan, even lighter when you went down to three blades. So far so good, now let’s test it. Well, this is where our initial suspicion ended up being proven. We first tried three blades on setting 1, and to our surprise, it was working! On setting two, dang, this thing’s moving some air! Setting three, this thing is really pumping! Though, after running for no more than a few minutes, something started to smell funny – it was the motor. Okay, well maybe the blades are too far apart and therefore stalling out at certain points. To close the gaps we went up to 6 blades. After letting the motor cool down, it was time to test again. Setting 1: pretty good, setting two: feels even stronger than before, setting three: holy smokes this thing’s blowing! – However, after no more than 30 seconds into the test, the motor started to smell again. At this point, it was becoming evident that either the motor doesn’t have enough power to push this much air, or the blades are just really inefficient and stalling out all over the place. Just to try to rule out the second potentiality, I spun the assembly one more time using a pretty hefty corded drill, only to be nearly knocked over in the process… We looked at each other, shrugged, and laughed, knowing this was basically as far as we could take the project before having to move onto other things.
That said, I’m sure the blades still have a lot of room for further optimization, and the motor could be replaced with something stronger, or with something that just transfers power more efficiently but, alternatively, we think this project is ripe for further tinkering and cross application in another context, be that RC, ventilation, etc.
As a result, we’re including all of the files generated from this project, tailored for either a push or pull configuration: a STEP of the entire assembly (including the box fan ducts), the blades, blade locks, Hub V2, V3, and V4 (trust me, you don’t want V1).
And just so you know what to expect, here are some specs of the parts once printed:
*Using Polymaker – Polylite LW-PLA (prefoamed).
Parts:
Stock Fan – 157.05
Blade – 17.18g
Hub V3 – 107.63g
Hub V4 – 75.90
Assemblies:
V3 – 3 Blade – 159.13g
V3 – 6 Blade – 210.90g
V3 – 12 Blade – 313.79g
V4 – 3 Blade – 127.55g
V4 – 6 Blade – 179.06g
V4 – 12 Blade – 282.06g
*You could expect a further 10-20% reduction in weight if you use a foaming lightweight PLA like the one made by ColorFabb.
Please also note:
The blades are designed to be loose fitting just like in all turbofan engines so that they have the ability to self-align. They also still have some geometry that forces lifting, retraction, and travel but I do plan to address this in the future. The hub is made up of disjoint shells because there was just no way for me to smash them all together but your slicer should recognize it all as one part, especially now that a lot of them got updated with arachne.
Finally, if it isn’t clear already – don’t use this fan assembly on your Lasko box fan, you’ll fry the motor or, worse, start a fire you can’t put out. The ducts and manual are just included for reference / inspiration.
P.s. if you make something using this project, please share! Very interested to see what you come up with.
WARNING!
Do not attempt to use these files for the creation of a rotating fan if you do not feel comfortable doing so. Any modifications and/or tests should be done under the supervision of an adult if you are under the age of 18. Using or even being near a rotating fan may result in damages to the fan itself or surrounding property, and/or result in injury to yourself, bystanders, and/or proximal plant or animal life. Do not operate a fan or perform any work on it with the power cord plugged into a live power source, and do not operate the fan (especially during initial testing) at any speed without protective glasses and/or other protective equipment. Be careful when working with any electrical components or connections as this may result in shock, injury, or death. Rotating fans should never be viewed or used as a toy. User assumes all liabilities, risks, and responsibilities.