Skip to content

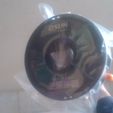
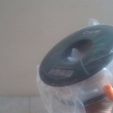
THREE JAW CHUCK-100mm PRO

Advertising
?
Creation quality: 5.0/5 (1 vote)
Evaluation of members on the printability, utility, level of detail, etc.

  • 1.6k views
  • 3 likes
  • 2 downloads
  • 1 comment

License
3D design format
SLDPRT, STL, and SVG Folder details Close
  • 42x2 DIN 471 Retaining Ring.STL
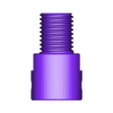
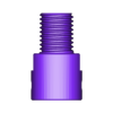
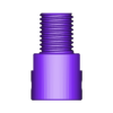
  • Chuck Connecting-Rod-10mm-M16-2mm.STL
  • Chuck Connecting-Rod-12mm-M16-2mm.STL
  • Chuck Connecting-Rod-14mm-M16-2mm.STL
  • Chuck Connecting-Rod-16mm-M16-2mm.STL
  • Chuck Connecting-Rod-5mm-M16-2mm.STL
  • Chuck Connecting-Rod-8mm-M16-2mm.SLDPRT
  • Chuck Connecting-Rod-8mm-M16-2mm.STL
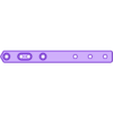
  • Chuck Housing-100mm.STL
  • Extended Jaws.STL
  • Finger Jaws tool-less.STL
  • Jaw-1,2,3-100MM-FINAL-V2-Top.STL
  • Jaw-1-100mm-FINAL.STL
  • Jaw-2-100mm-FINAL.STL
  • Jaw-3-100mm-FINAL.STL
  • Scroll plate-100mm.STL
  • Support arm.STL
  • WIN_20231123_16_22_46_Pro.svg
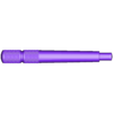
  • chuck keys-2.STL
  • chuck keys.STL

Learn more about the formats

Last update 2024-01-09 at 06:01
Publication date 2023-11-21 at 07:14
Design number 1591691

Template info

3D model description

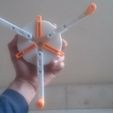
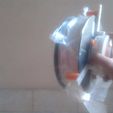
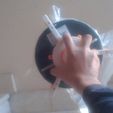
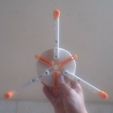
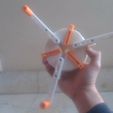
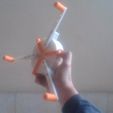
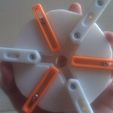
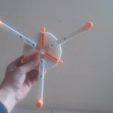
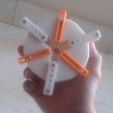
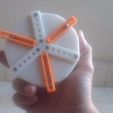
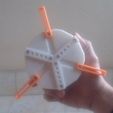
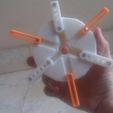
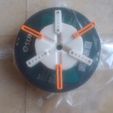
•RGS-100 is a chuck-style rotary that holds engraving objects using a set of jaws. The grip can be considered a different attachment to the rotary system

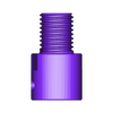
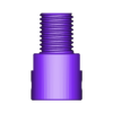
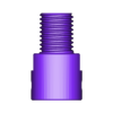
•There is more than one way to install a jaw chuck [Chuck Connecting-Rod-5mm-M16x2mm, 8mm,10 mm,12mm,14mm,16mm].

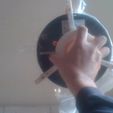
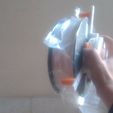
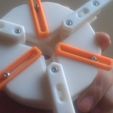
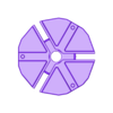
•The three self-centering jaws are reversible to allow the holding of larger workpieces. jaws installed in order 1, 2, and 3 to match the numbers on the housing. To fit them reversed, insert them in the order 3,2,1. Fit the slider plate into the housing and place the Circlips over the shaft to secure it. Turn the slider over so that the front end of the slider is about to pop into one of the slots. Feed into Jaw 1, large end first, and rotate the slider plate to snap it. Repeat with Jaw 2 in the next hole, then Jaw 3 in the next hole.

•For high envelope stability, the printed 45x1.7mm Plain External Circlips(Retaining ring) can be replaced with a metal steamer.

•Make sure the External Circlips are in place for better stability when opening and closing the jaws.

•To get a strong grip, you must add a piece of rubber to the jaws. To get a tight grip, I used welding tape.

•It can be printed with any filament.

Manufacturing settings

• Layer Height 0.16
• Wall Thickness 1.6
• Infill 35%: 80%
• Support Structure Normal

Parts list
M3x8mm bolt 15X
Threaded Insert M3x6(H)x4(OD) 21X
52x2 DIN 471 Retaining Ring 1X
Mecion M3 x 25mm Female Hex Brass Spacer Standoff Hexagon Threaded Pillar Spacer 3X

Advertising


Issue with this design? Report a problem.

Would you like to support Cults?

You like Cults and you want to help us continue the adventure independently? Please note that we are a small team of 3 people, therefore it is very simple to support us to maintain the activity and create future developments. Here are 4 solutions accessible to all:

  • ADVERTISING: Disable your banner blocker (AdBlock, …) and click on our banner ads.

  • AFFILIATION: Make your purchases online by clicking on our affiliate links here Amazon.

  • DONATE: If you want, you can make a donation via Ko-Fi 💜.

  • WORD OF MOUTH: Invite your friends to come, discover the platform and the magnificent 3D files shared by the community!


Sharing and downloading on Cults3D guarantees that designs remain in makers community hands! And not in the hands of the 3D printing or software giants who own the competing platforms and exploit the designs for their own commercial interests.

Cults3D is an independent, self-financed site that is not accountable to any investor or brand. Almost all of the site's revenues are paid back to the platform's makers. The content published on the site serves only the interests of its authors and not those of 3D printer brands who also wish to control the 3D modeling market.

100% secure payment by credit card, PayPal, Apple Pay, Google Pay, etc.
View all payment options.