Skip to content

MKS Gen L 1.4 + Dual Mosfets + Raspberry Pi 3

Advertising
Advertising
?
Creation quality: 0.0/5 (0 votes)
Evaluation of members on the printability, utility, level of detail, etc.

  • 149 views
  • 1 download

License
3D design format
Folder details Close
  • Frame.stl
  • Front.stl
  • Left_Panel.stl
  • Right_Panel.stl
  • Top.stl

Learn more about the formats

Publication date 2023-12-01 at 10:38
?
Published to Thingiverse on: 2019-03-18 at 02:37
Design number 1614707

Ecksa

3D printer file info

3D model description

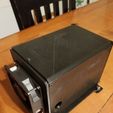
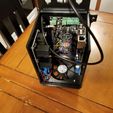
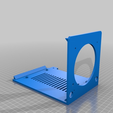
I needed a box for my MKS Gen L v1.4 for my AM8 (it will probably work with any printer with vertical 2020/2040 for mounting). I really liked Michael's design for the ramps board here https://www.thingiverse.com/thing:2452525, but it will not fit the MKS 1.4.

There are five parts all printed without supports. You will have to reorient to sit flat on the plates.

Parts I used:

MKS Gen L 1.4 (note this will not fit the MKS Gen L 1.0)

80mm fan (i found one from an old computer)

Right angle USB https://www.amazon.com/gp/product/B01HB91CRM/ref=ppx_yo_dt_b_asin_title_o09_s00?ie=UTF8&psc=1

LM2596 DC Converter with readout

https://www.ebay.com/itm/Adjustable-DC-DC-LM-2596-Converter-Buck-Step-Down-Regulator-Power-Module-LW-SZUS/232372936877?ssPageName=STRK%3AMEBIDX%3AIT&_trksid=p2057872.m2749.l2649

Raspberry Pi 3

2x External Mosfets

https://www.amazon.com/gp/product/B06XY5HBFX/ref=ppx_yo_dt_b_asin_title_o01_s01?ie=UTF8&psc=1

2 channel relay

https://www.amazon.com/gp/product/B072BY3KJF/ref=oh_aui_search_asin_title?ie=UTF8&psc=1

E3d PT100

https://www.amazon.com/PT100-Total-Upgrade-Kit-V6-KIT-PT100/dp/B07D5JXDBQ/ref=sr_1_2?keywords=pt100+e3d&qid=1552871679&s=electronics&sr=1-2-catcorr

All M3 bolts (i used socket head) except for the two M5 bolts for mounting.

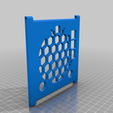
Frame:

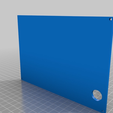
The fan mounts to the bottom with air flow blowing into the box. MKS mounts to the back.

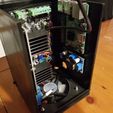
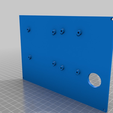
Left Panel:

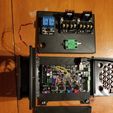
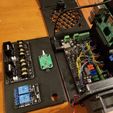
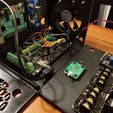
Mount the two mosfets, also room for a two channel relay and an E3d PT100 amplifier

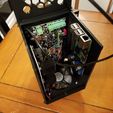
Right panel:

Mount the Raspberry Pi 3 and a LM2596

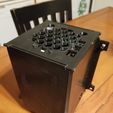
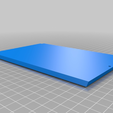
Top and front:

Mount the USB right angle to the top. I used M3x20 screws for the hinges.

Be sure to mount the right panel to the frame before you mount the frame to your printer as you cannot get to the bolts after it's mounted.

Also note: the Top hinges to the frame and front panel using M3x20 bolts. And there is a single M3 bolt at the bottom of the front panel to keep it closed. Easier access to everything.

Advertising


Page translated by automatic translation. See the original version.
Issue with this design? Report a problem.

Would you like to support Cults?

You like Cults and you want to help us continue the adventure independently? Please note that we are a small team of 3 people, therefore it is very simple to support us to maintain the activity and create future developments. Here are 4 solutions accessible to all:

  • ADVERTISING: Disable your banner blocker (AdBlock, …) and click on our banner ads.

  • AFFILIATION: Make your purchases online by clicking on our affiliate links here Amazon.

  • DONATE: If you want, you can make a donation via Ko-Fi πŸ’œ.

  • WORD OF MOUTH: Invite your friends to come, discover the platform and the magnificent 3D files shared by the community!


Sharing and downloading on Cults3D guarantees that designs remain in makers community hands! And not in the hands of the 3D printing or software giants who own the competing platforms and exploit the designs for their own commercial interests.

Cults3D is an independent, self-financed site that is not accountable to any investor or brand. Almost all of the site's revenues are paid back to the platform's makers. The content published on the site serves only the interests of its authors and not those of 3D printer brands who also wish to control the 3D modeling market.

100% secure payment by credit card, PayPal, Apple Pay, Google Pay, etc.
View all payment options.