Skip to content

Mr.White - The bong and gravity bong combo

Advertising
Advertising
?
Creation quality: 0.0/5 (0 votes)
Evaluation of members on the printability, utility, level of detail, etc.

  • 1.1k views
  • 2 likes
  • 1 download

License
3D design format
STL Folder details Close
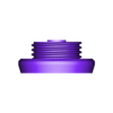
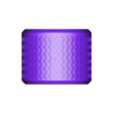
  • Bottom part.stl
  • Bowl.stl
  • Cap.stl
  • Example acrylic pipe.stl
  • Mouth piece ring.stl
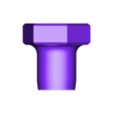
  • Mouth piece.stl
  • Plug.stl
  • Top part.stl

Learn more about the formats

Publication date 2023-12-04 at 17:24
Design number 1621948

_Hugo_Design_

3D printer file info

3D model description

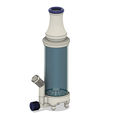
This crazy contraption came to be with me finding an unused "trash" piece of acrylic pipe at my old workplace and me wanting to make a portable version of a gravity bong for my friends who enjoy those.

Well this bitch can do both ! gravity AND regular.

By unscrewing the top mouthpiece you will find a hole for a bowl. Then just screw both of the bottom holes tight( or just hold your thumb on the lower one if you dont wanna print 2 caps) fill up with water, insert your bowl, light it up and release the water (better from the lower hole)

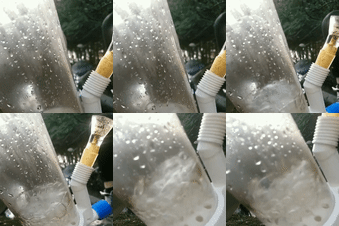
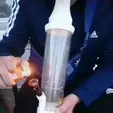
The setup to use as a bong is shown in the pictures and gifs.
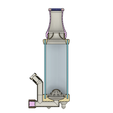
In the section view of the model you can see ive modeled an extra plug for the bottom screw, Thats just if you have problems with leaking or just wanna use that only to stop the water when using in gravity mode.

Both connections for bowl pieces are 18mm in diameter, and can be used with most glass bowls. Or you can use the bowl file ive provided but please use a brass endcap inside of it (like you can see on my other designs)

I reccommend filling it up just a little over the inside dome when using as a bong.

The name "Mr.White" for the bong came to mind cause i decided to print it in the colours of the Finnish flag. White PLA with blue TPU accents (also just cause i had those in hand). And also it just looked like a science experiment (thinking of Walter White).

The diameter of the acrylic pipe should be maximum of 80mm on the outside and a minimum of 72.5 on the inside, anything in between works with some glue/sealant and the lenght is your choice.

If any questions come to mind, i will happily answer them.

3D printing settings

infill is your choice but use at least 2 perimeters on all sides.
Support is required for some parts like the main bottom part, but only on the outside.

Advertising


Issue with this design? Report a problem.

Would you like to support Cults?

You like Cults and you want to help us continue the adventure independently? Please note that we are a small team of 3 people, therefore it is very simple to support us to maintain the activity and create future developments. Here are 4 solutions accessible to all:

  • ADVERTISING: Disable your banner blocker (AdBlock, …) and click on our banner ads.

  • AFFILIATION: Make your purchases online by clicking on our affiliate links here Amazon.

  • DONATE: If you want, you can make a donation via Ko-Fi πŸ’œ.

  • WORD OF MOUTH: Invite your friends to come, discover the platform and the magnificent 3D files shared by the community!


Sharing and downloading on Cults3D guarantees that designs remain in makers community hands! And not in the hands of the 3D printing or software giants who own the competing platforms and exploit the designs for their own commercial interests.

Cults3D is an independent, self-financed site that is not accountable to any investor or brand. Almost all of the site's revenues are paid back to the platform's makers. The content published on the site serves only the interests of its authors and not those of 3D printer brands who also wish to control the 3D modeling market.

100% secure payment by credit card, PayPal, Apple Pay, Google Pay, etc.
View all payment options.