Skip to content

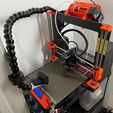
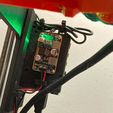
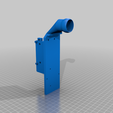
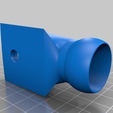
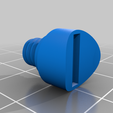
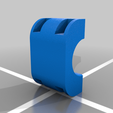
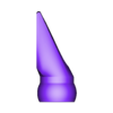
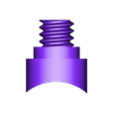
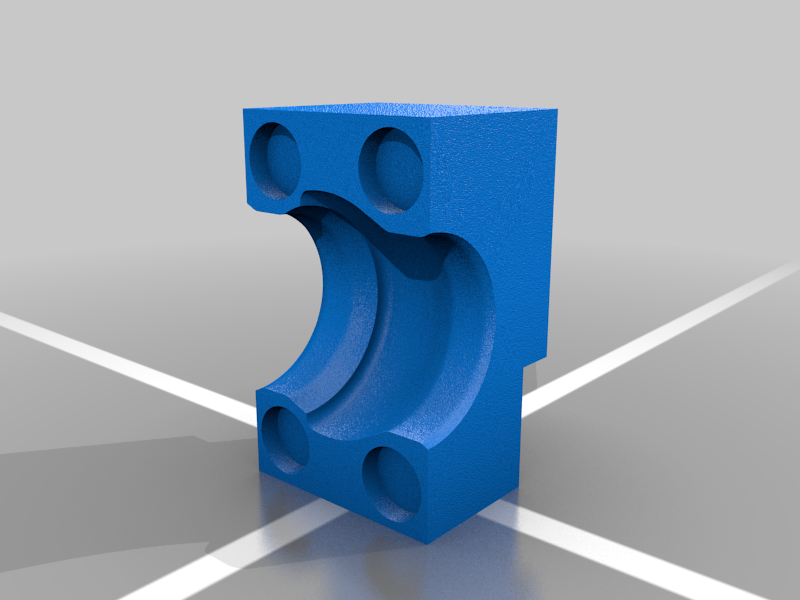
Prusa i3 octoprint / raspberry pi holder with adjustable camera mount

Advertising
Advertising
?
Creation quality: 0.0/5 (0 votes)
Evaluation of members on the printability, utility, level of detail, etc.

  • 435 views
  • 5 downloads

License
3D design format
Folder details Close
  • 3d_printer_part.step
  • camera_mount.step
  • camera_mount.stl
  • camera_mount_screw.step
  • camera_mount_screw.stl
  • door_brace_1.step
  • door_brace_1.stl
  • door_brace_2.step
  • door_brace_2.stl
  • loc-line-1-segment.step
  • loc-line-2-segments-joined.step
  • pursa_mount.stl

Learn more about the formats

Publication date 2023-12-10 at 09:20
?
Published to Thingiverse on: 2022-03-21 at 01:04
Design number 1633242

motsu

3D printer file info

3D model description

I couldn't find a raspberry pi holder / octoprint server that i liked, so i designed my own.

Project video here (It really helps my channel if you engage with the video, im also more responsive to comments / questions you youtube than I am on thingiverse):

additional materials needed (you probably have some of these already):

  • webcam with 1/4" mount. (I used a Logitech C920): link

  • 3A boost/buck converter to power the pi off of the prusa power supply: link MAKE SURE TO ADJUST THE VOLTAGE BEFORE CONNECTING YOUR PI!!!

  • loc-line / flexible camera stuff (I bought mine a while back and is no longer listed. You might be able to find it cheaper. I initially went with just one of these, but bought a second and used 1/2 of the second one to add additional length. I currently am using 25 sections of tubing): link

  • M3 bolts of various sizes, I have this kit: link

  • small right angle USB cable for connecting the pi to the prusa control board: link

  • rpi heatsink. Probably unneeded, but looks cool. I also used the bolts from this in the design, so you might have to drill out a hole or widen the nut insert if you want to use bolts from the above kit): link

  • spade connectors to attach the boost/buck board to the prusa PSU: link

  • headers for making power wire to go from the boost/buck board to the pi: link

  • wire: needed, not gonna link.

  • magnets (only needed if you also print the door brace) link


STEP files are included, but contain some parts that should be hidden, couldn't figure out how to export a single body in fusion 360.


useful octoprint settings and such:

Octoprint disconnects from wifi and doesn't reconnect:
```

edit /etc/wpa_supplicant/wpa_supplicant.conf and add the following before the network={} block:

ap_scan=1
autoscan=periodic:10
disable_scan_offload=1
```

Get camera working in octoprint
```

edit /boot/octopi.txt

set camera="usb"
set camera_usb_options="-r 1920x1080 -f 15"

```

Disable camera auto focus / white balance / brightness stuff (needed for clean looking timelapses - go to http(s):///webcam/?action=stream to get a full screen webcam view while changing settings
```

install needed utility

sudo apt install v4l-utils

list settings / current values

v4l2-ctl --list-ctrls-menus

values that work well for me:

exposure ( note, exposure_auto=1 is manual, 3 is auto. this is confusing!)

v4l2-ctl -c exposure_auto=1
v4l2-ctl -c exposure_auto_priority=0
v4l2-ctl -c exposure_absolute=600
v4l2-ctl -c gain=255

focus - will take some messing with

v4l2-ctl -c focus_auto=0
v4l2-ctl -c zoom_absolute=0
v4l2-ctl -c focus_absolute=65

didn't notice a difference with this setting personally

v4l2-ctl -c backlight_compensation=0

color / image settings (don't worry if your camera goes green when you set auto=0, 3000 is a good start, higher is warmer, lower is cooler)

v4l2-ctl -c white_balance_temperature_auto=0
v4l2-ctl -c white_balance_temperature=3050
v4l2-ctl -c sharpness=140
v4l2-ctl -c brightness=120
v4l2-ctl -c contrast=120
v4l2-ctl -c saturation=110
```

Advertising


Issue with this design? Report a problem.

Would you like to support Cults?

You like Cults and you want to help us continue the adventure independently? Please note that we are a small team of 3 people, therefore it is very simple to support us to maintain the activity and create future developments. Here are 4 solutions accessible to all:

  • ADVERTISING: Disable your banner blocker (AdBlock, …) and click on our banner ads.

  • AFFILIATION: Make your purchases online by clicking on our affiliate links here Amazon.

  • DONATE: If you want, you can make a donation via Ko-Fi πŸ’œ.

  • WORD OF MOUTH: Invite your friends to come, discover the platform and the magnificent 3D files shared by the community!


Sharing and downloading on Cults3D guarantees that designs remain in makers community hands! And not in the hands of the 3D printing or software giants who own the competing platforms and exploit the designs for their own commercial interests.

Cults3D is an independent, self-financed site that is not accountable to any investor or brand. Almost all of the site's revenues are paid back to the platform's makers. The content published on the site serves only the interests of its authors and not those of 3D printer brands who also wish to control the 3D modeling market.

100% secure payment by credit card, PayPal, Apple Pay, Google Pay, etc.
View all payment options.