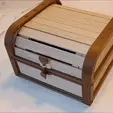
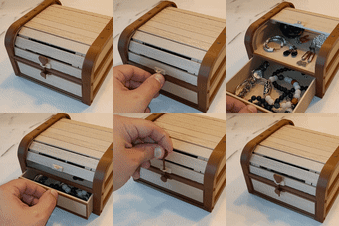
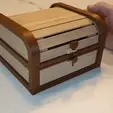
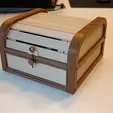
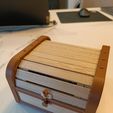
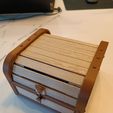
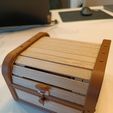
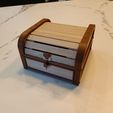
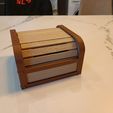
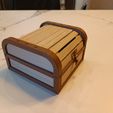
Voici un magnifique coffre en bois à motif tambour : vous tirez le tiroir et le volet du rangement haut s'ouvre, il se referme à la fermeture du tiroir.
L'imitation bois est si bien que l'on croirait ce coffre fait en véritable bois, l'illusion est parfaite (si tant est que vous l'imprimez avec un PLA couleur bois car avec un PLA bleu ou orange on sera bien loin d'une imitation bois ... mais cela est possible néanmoins !).
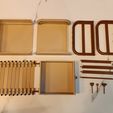
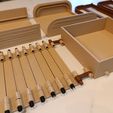
L'assemblage est très simple : vous vissez entre elles 11 plaquettes (5 models différents qu'il faudra varier) à l'aide des vis qui sont également imprimables.
Ensuite il faudra les accrocher à l'arrière du tiroir (avec le liant fourni et la vis-tiroir également fournie).
Je n'ai pas fourni le tournevis mais toute personne qui a une imprimante 3D a forcément des tournevis pour pouvoir la régler, réparer, casser, bricoler ...
la façade du tiroir doit être collée (c'est le seul élément qui nécessite de la colle, de préférence une colle qui tient ! ).
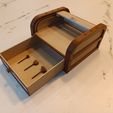
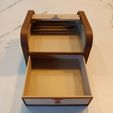
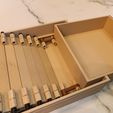
Pour assembler il faudra rentrer la vis la plus proche du tiroir ainsi que le tiroir dans la gouttière prévue à cet effet (cf photo) puis aller jusqu'au bout et rentrer alors le haut du volet dans la partie haute du coffre.
ensuite il faut mettre la structure autour (en faisant bien attention : tous les éléments sont différents, une place est faite pour le passage du tiroir donc vous ne pourrez pas vous tromper, les plus petits éléments vont devant ...) et votre coffre sera alors monté et vous aurez le plus joli rangement de tout le quartier !
Idéal pour ranger ses bricolages, pour qu'un enfant y range ses bidules ou que votre femme y range tous les bijoux que vous lui aurez offerts (Attention car si vous utilisez le coffre pour cela, celui-ci est plus grand qu'il n'y parait et vous devrez acheter plein de bijoux supplémentaires à votre femme pour qu'elle puisse remplir ce coffre !)
Je déconseille par ailleurs de ranger des denrées périssables dans ce coffre car il n'est pas réfrigéré.
Vous pouvez mettre un cadenas sur la fermeture si vous souhaitez mettre les bijoux à l'abris mais je crains que le coffre ne soit pas assez résistant face à la hargne de voleurs aguerris.
Si vous téléchargez ce coffre je vous en remercie par avance, cela me motivera à faire d'autre créations sympa et jolies, n'hésitez pas à me suivre, à poster vos makes et à acheter mes autres créations bien sûr !
Here is a magnificent wooden tambour chest : you pull the drawer and the upper storage flap opens, it closes when the drawer is closed.
The wood imitation is so good that you would believe this chest was made of real wood, the illusion is perfect (if you print it with a wood-colored PLA because with a blue or orange PLA you will be far from 'a wood imitation... but it is nevertheless possible!).
The assembly is very simple: you screw together 11 plates (5 different models that will need to be varied) using screws which are also printable.
Then you will need to hang them on the back of the drawer (with the binder provided and the drawer screw also provided).
I did not provide the screwdriver but anyone who has a 3D printer necessarily has screwdrivers to be able to adjust it, repair it, break it, tinker with it...
the front of the drawer must be glued (this is the only element that requires glue, preferably a glue that holds!).
To assemble you will need to insert the screw closest to the drawer as well as the drawer in the gutter provided for this purpose (see photo) then go all the way to the end and then insert the top of the shutter into the upper part of the chest.
then you have to put the structure around it (being careful: all the elements are different, a place is made for the passage of the drawer so you cannot go wrong, the smallest elements go in front...) and your chest will be then set it up and you will have the prettiest storage in the whole neighborhood!
Ideal for storing your crafts, for a child to store their gadgets or for your wife to store all the jewelry you have given her (Be careful because if you use the chest for this, it is larger than it is It seems so and you will have to buy lots of extra jewelry for your wife so that she can fill this chest!)
I also advise against storing perishable foods in this trunk because it is not refrigerated.
You can put a padlock on the closure if you want to protect the jewelry but I fear that the safe will not be resistant enough to the aggression of seasoned thieves.
If you download this chest I thank you in advance, it will motivate me to make other nice and pretty creations, don't hesitate to follow me, post your makes and buy my other creations of course!

/https://fbi.cults3d.com/uploaders/25141117/illustration-file/a16b7697-3222-4336-b7ca-921314e93ea1/final-chest.gif)
