Skip to content

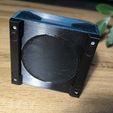
X96 Max Plus - fan-ventilated box

Advertising
?
Creation quality: 0.0/5 (0 votes)
Evaluation of members on the printability, utility, level of detail, etc.

  • 383 views
  • 2 likes

License
3D design format
STL Folder details Close
  • bottom_cover.stl
  • bottom_cover.stl
  • bottom_cover_USB.stl
  • bottom_cover_USB.stl
  • front_panel.stl
  • front_panel_open.stl
  • leg1.stl
  • leg1_B.stl
  • leg2.stl
  • leg2_B.stl
  • top_grid_filter.stl
  • x96_max_plus_case.stl
  • x96_max_plus_case_B.stl

Learn more about the formats

Publication date 2023-12-15 at 17:16
Design number 1644689

3D printer file info

3D model description

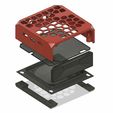
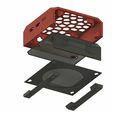
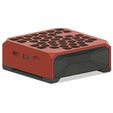
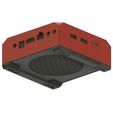
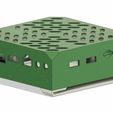
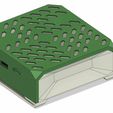
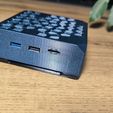
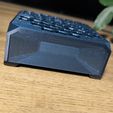
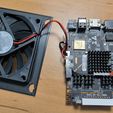
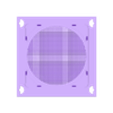
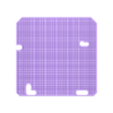
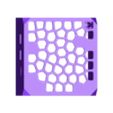
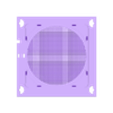
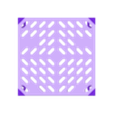
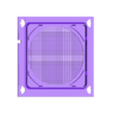
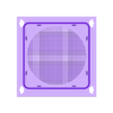
If you own this Android TV box, you probably get stuck while playing video, especially in summer. This is caused by overheating of the electronics inside. The processor temperature rises above 80°C without any problem! That's why I designed this modification in the form of a new box with ventilation holes, a position for a fan and an added space for installing aluminum coolers for CPU and memory chips. This keeps the CPU temperature about 30°C lower! To prevent dust from entering the device, there are filter grids with a fineness of 0.6 mm at the top and bottom.

  • FAN
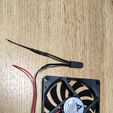
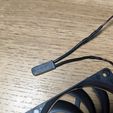
    In my case, I used an 80x80x10mm fan, DC 5V connected in series with a KSD9700 thermostat, which closes its contact when the temperature reaches 40°C and thus connects the fan to the power supply. You can of course use the thermostat for a different temperature.
    Since I used 5V directly from the TV box power connector to power the fan, the fan would run continuously without using the thermostat. In addition to the thermostat, I also connected a 10 Ohm resistor in series to reduce the fan speed due to noise.
    If you don't have the possibility to solder wires or don't want to do this modification for some reason, there is also the option of using a fan with a USB A connector and plugging it into one of the USB ports. In this case, print "bottom_cover_USB.stl", which has a hole to pull the cable out.
    USB fan link

  • FRONT PANEL
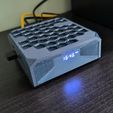
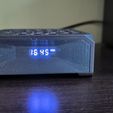
    The front panel is designed so that the display can be read through it when using translucent filament. The filament PET-G Devil Design Dark Steel has worked for me. Nebula Chameleon Black also works.
    I also recommend setting the same direction of the print lines when printing, which leads to better readability of the display. In Cura slicer, it is the "Top/Bottom Line Directions" setting and you need to set it to 90° and turn the front panel so that the lines are horizontal to the display.
    The part in front of the display is 0.24 mm thick, so I recommend printing this part with a layer height of 0.12 mm.
    In case you don't have translucent filament, you can use the file with the cutout for the display "front_panel_open.stl" and insert some foil from the inside.

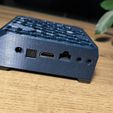
The remaining parts can be printed with a layer height of 0.2 mm and no supports are needed. But I recommend turning on Bridge Settings because of the holes for the connectors.

  • MATERIAL FOR ASSEMBLY
    4x M3x10 flat head screw
    4x M3 nut
    4x rubber self-adhesive lens with a diameter of 8 mm

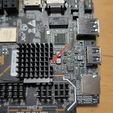
  • COOLERS FOR THE BOTTOM SIDE (where the CPU is)
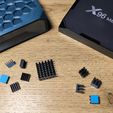
    4x aluminum heatsink 10x10x10 mm with self-adhesive tape
    1x aluminum heatsink 15x15x10 mm with self-adhesive tape
    or
    1x aluminum cooler 20x20x10 mm with self-adhesive tape - ATTENTION!!! - a cut is needed for the SMD capacitor, which is slightly higher than the CPU! (see photo)

  • TOP SIDE COOLERS
    5x aluminum heatsink 8.8x8.8x5 mm with self-adhesive tape
    coolers link

assembling video

3D printing settings

  • Front panel: 0.12mm, translucent filament, Top/Bottom Line Directions = 90°
  • Other parts: 0.2 mm, without support (support in the SD card slot is part of the model).
Advertising


Issue with this design? Report a problem.

Would you like to support Cults?

You like Cults and you want to help us continue the adventure independently? Please note that we are a small team of 3 people, therefore it is very simple to support us to maintain the activity and create future developments. Here are 4 solutions accessible to all:

  • ADVERTISING: Disable your banner blocker (AdBlock, …) and click on our banner ads.

  • AFFILIATION: Make your purchases online by clicking on our affiliate links here Amazon.

  • DONATE: If you want, you can make a donation via Ko-Fi 💜.

  • WORD OF MOUTH: Invite your friends to come, discover the platform and the magnificent 3D files shared by the community!


Sharing and downloading on Cults3D guarantees that designs remain in makers community hands! And not in the hands of the 3D printing or software giants who own the competing platforms and exploit the designs for their own commercial interests.

Cults3D is an independent, self-financed site that is not accountable to any investor or brand. Almost all of the site's revenues are paid back to the platform's makers. The content published on the site serves only the interests of its authors and not those of 3D printer brands who also wish to control the 3D modeling market.

100% secure payment by credit card, PayPal, Apple Pay, Google Pay, etc.
View all payment options.