Skip to content

Critical Role: Fresh Cut Grass (FCG)

Advertising
?
Creation quality: 5.0/5 (1 vote)
Evaluation of members on the printability, utility, level of detail, etc.

  • 1.8k views
  • 8 likes
  • 22 downloads

License
3D design format
Folder details Close
  • Axle_3.stl
  • Axle_Spacer.stl
  • Chest_Remesh.stl
  • FCG-Eyes.stl
  • FCG_-_Axle_2.stl
  • FCG_-_Axle_Pins_2.stl
  • FCG_-_Bracers.stl
  • FCG_-_Hands.stl
  • FCG_-_Head_3.0.stl
  • FCG_-_Hub_endcaps.stl
  • FCG_-_Jaw.stl
  • FCG_-_Main_Hub.stl
  • FCG_-_Neck_and_Hinges.stl
  • FCG_-_Rev_Joint_Pins.stl
  • FCG_-_Spoke_6.stl
  • FCG_-_Stand3.stl
  • FCG_-_Thorax_Top.stl
  • FCG_-_Tire_3.stl
  • FCG_Bracer_Joints.stl
  • FCG_Hub_Connector.stl
  • FCG_Shoulders.stl
  • FCG_collarbone_2.stl

Learn more about the formats

Publication date 2023-12-16 at 23:55
?
Published to Thingiverse on: 2021-12-14 at 22:43
Design number 1647180

3D printer file info

3D model description

It's a shiny day and here's everyone's favorite healbot for you to make straight from Critical Role - Campaign 3.

All credit for the hands goes to turelpld. I use their hands for the model here. The wheel was redesigned from Stuart800 (https://www.thingiverse.com/thing:3413828)

Everything else was created from scratch. The hands are detachable so that FCG's other items (Bolt thrower and handsaw) can be attached.

The handsaw can be found here: https://www.thingiverse.com/thing:5205728

Bolt/Grappling hook still in the work.

For any supports or joints, I recommend going with 80% infill as they will snap easily. Other body parts can be fine with 20%

For the arms I used a 3/8 inch rod. For the hair I drilled holes in the head and use 14 gauge lamp wire for the hair. I recommend using twisted lamp wire to add the frayed ends.

Thanks for looking and have a smiley day!

Instructions:
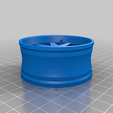
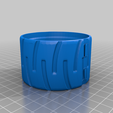
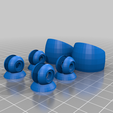
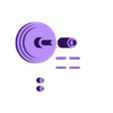
- Print Tire and spoke. Spoke will snap into the wheel though it will need a little sanding. There is a flat spot for the bottom and an imprint of the main hub on the top.

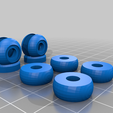
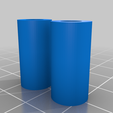
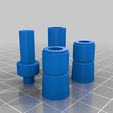
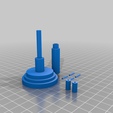
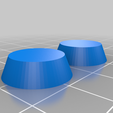
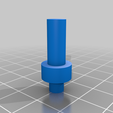
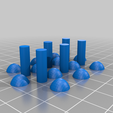
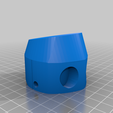
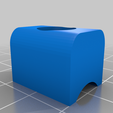
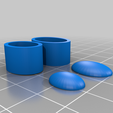
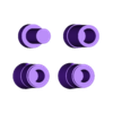
  • Print Main hub, hub end caps and all axle parts. Axle will connect through the center of the spokes. Make sure both indentations are pointing up for the Axle pens to be glued into. Add the Axle spacers and then align and glue the axle pins to the main hub.

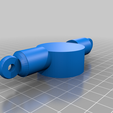
  • Print hub connector and use the square connector from the axle pins to connect it to the hub.

  • Print thorax top. Glue the thin end to the hub connector

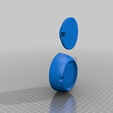
  • Print chest remix. Align the top and bottom of the chest so the notch meet and glue.

  • Print collarbone and glue on the top part of the chest. It's a tight fit so sanding will be required.

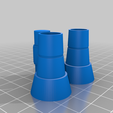
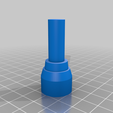
  • Print neck pieces The tube fits on top of the neck piece. Glue the bottom of the neck piece with the top of the collar bone.

  • Print head and jaw. Jaw will snap together to the head. Use the pins from the neck pieces to attach. hinges will be glued on the right side of the head. The head can slide on to the top of the neck. You may have to wait until the support is printed and attached.

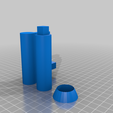
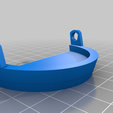
  • Print support. This will attach to the back of the body after the body is attached and glued to the thorax.

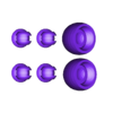
  • Print shoulders, joints and joint pins. the hubs will attach to the ends of the shoulders and then use the pins to connect the top of the shoulders to the collarbone.

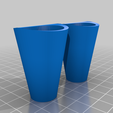
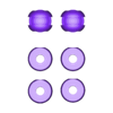
  • Print bracers and bracer joints. Attach the bracer hub to the top of the joints. Use the joint pins to connect the circular prints. Careful how you glue them as the circular parts are designed to work as an elbow.

  • Use the pins to affix the circular prints to the bottom of the elbow.

  • Cut the 3/8 inch rod to your desired length glue them to the circular hub prints between the shoulder and the bracers.

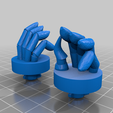
  • Print hands. These will twist into the bracers and be removed so you can add the saw and grappling hook attachments that are available in other parts of my designs.

Advertising


Issue with this design? Report a problem.

Would you like to support Cults?

You like Cults and you want to help us continue the adventure independently? Please note that we are a small team of 3 people, therefore it is very simple to support us to maintain the activity and create future developments. Here are 4 solutions accessible to all:

  • ADVERTISING: Disable your banner blocker (AdBlock, …) and click on our banner ads.

  • AFFILIATION: Make your purchases online by clicking on our affiliate links here Amazon.

  • DONATE: If you want, you can make a donation via Ko-Fi πŸ’œ.

  • WORD OF MOUTH: Invite your friends to come, discover the platform and the magnificent 3D files shared by the community!


Sharing and downloading on Cults3D guarantees that designs remain in makers community hands! And not in the hands of the 3D printing or software giants who own the competing platforms and exploit the designs for their own commercial interests.

Cults3D is an independent, self-financed site that is not accountable to any investor or brand. Almost all of the site's revenues are paid back to the platform's makers. The content published on the site serves only the interests of its authors and not those of 3D printer brands who also wish to control the 3D modeling market.

100% secure payment by credit card, PayPal, Apple Pay, Google Pay, etc.
View all payment options.