Skip to content

Critical Role - Ashton Greymoore Hammer

Advertising
?
Creation quality: 5.0/5 (1 vote)
Evaluation of members on the printability, utility, level of detail, etc.

  • 794 views
  • 4 likes
  • 13 downloads

License
3D design format
Folder details Close
  • Ashton_Maul_-_Eye.stl
  • Ashton_Maul_-_Hammer1.stl
  • Ashton_Maul_-_Hammer2.stl
  • Ashton_Maul_-_Hammer_Base_1.stl
  • Ashton_Maul_-_Hammer_Base_2.stl
  • Ashton_Maul_-_Pins.stl
  • Ashton_Maul_-_Pommel_1.stl
  • Ashton_Maul_-_Pommel_2.stl
  • Ashton_Maul_-_Pommel_3.stl
  • Ashton_Maul_-_Side_Straps.stl
  • Ashton_Maul_-_Strap1.stl
  • Ashton_Maul_-_Strap2.stl
  • Ashton_Maul_-_Strap3.stl
  • Ashton_Maul_-_Strap4.stl

Learn more about the formats

Publication date 2023-12-16 at 23:55
?
Published to Thingiverse on: 2022-06-08 at 18:32
Design number 1647179

3D printer file info

3D model description

Just. Don't.

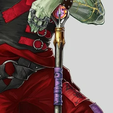
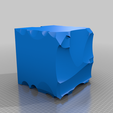
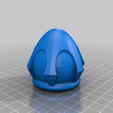
Built based on the official art for Campaign 3 character Ashton Greymoore. This is their glass hammer which is meant to be printed and then combined with a 1 1/4 inch PVY pipe as the handle. Length of the hammer is up to you. Parts are printed with a .25 mm clearance for fitting though sanding may be needed for a proper fit.

Assembly instructions:
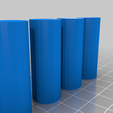
1. Assemble the hammer (Hammer 1 and Hammer 2) using the pins and glue.
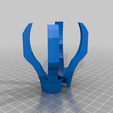
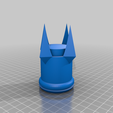
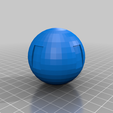
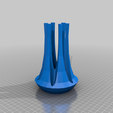
2. Assemble the pommel by taking the printed globe (Pommel 3) and place between the pommel part with the prongs (pommel 2). Use glue to assemble.
3. Attach assembled pommel parts (Pommel 2&3) to end of Pommel 1. The pointed end of Pommel 1 slips onto the end of the PVC pipe. Use glue.
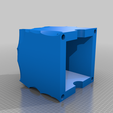
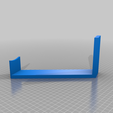
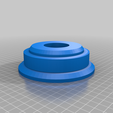
4. Slip hammer base 1 and hammer base 2 to the other end of the PVC. The flat part of the base goes closer to the hammer.
5. Slip the hammer onto the PVC next next to the base. Leave space at the top for the Hammer eye
6. Add the Hammer eye to the top of the PVC and affix all hammer parts with glue.
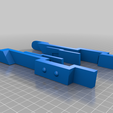
7. Using straps 3 & 4, Affix around hammer with the circular bits around the hammer base using glue.
8. Using straps 1 & 2, Affix around the hammer with the slotted parts going around straps 1 & 2 using glue.
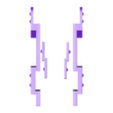
9. Apply side straps to straps 1, 2, 3, 4 using glue.
10. The purple grips are not included here. I recommend using leather straps printed purple.
11. Rage.

Have a shiny day!

Advertising


Issue with this design? Report a problem.

Would you like to support Cults?

You like Cults and you want to help us continue the adventure independently? Please note that we are a small team of 3 people, therefore it is very simple to support us to maintain the activity and create future developments. Here are 4 solutions accessible to all:

  • ADVERTISING: Disable your banner blocker (AdBlock, …) and click on our banner ads.

  • AFFILIATION: Make your purchases online by clicking on our affiliate links here Amazon.

  • DONATE: If you want, you can make a donation via Ko-Fi πŸ’œ.

  • WORD OF MOUTH: Invite your friends to come, discover the platform and the magnificent 3D files shared by the community!


Sharing and downloading on Cults3D guarantees that designs remain in makers community hands! And not in the hands of the 3D printing or software giants who own the competing platforms and exploit the designs for their own commercial interests.

Cults3D is an independent, self-financed site that is not accountable to any investor or brand. Almost all of the site's revenues are paid back to the platform's makers. The content published on the site serves only the interests of its authors and not those of 3D printer brands who also wish to control the 3D modeling market.

100% secure payment by credit card, PayPal, Apple Pay, Google Pay, etc.
View all payment options.