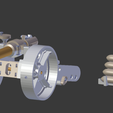
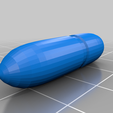
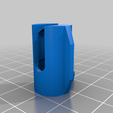
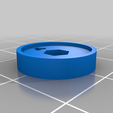
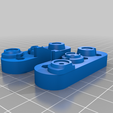
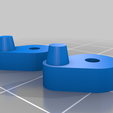
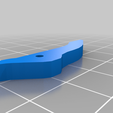
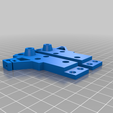
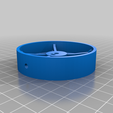
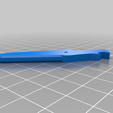
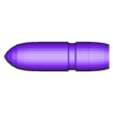
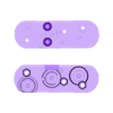
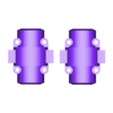
I read H.G. Wells' "Little Wars" and was disappointed to find that playing it today is really quite difficult as the spring cannons that are central to the game are no longer readily available. So I decided to make them. I did try and replicate the original design with it's metal spring, but rubber bands are more easily available and work just fine.
INSTRUCTIONS!
https://imgur.com/a/rQxAulr
You will need get the following hardware:
Fasteners
M2 Machine Screws
5mm x 1 (Maybe)
10mm x 31
16mm x 1
M2 Washer x 31
M3 Washer x 6
M4 Washer x 2
M2 Nut x 32
Brass tubes
M2 x 20mm x 6
M3 x 35mm x 1
M4 x 15mm x 2
M4 x 79mm x 1
M11.1 x 130mm x 1
Rubber Bands
Standard Office Type x 2
Small Hair Type x 1
Printed Parts:
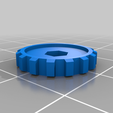
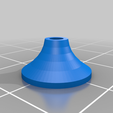
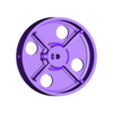
Wheels x 2
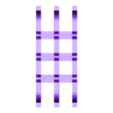
Trail Spreader x 3
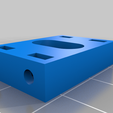
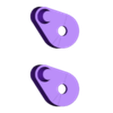
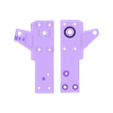
Mechanism x 1 (There are two parts)
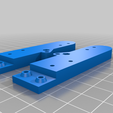
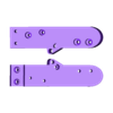
Britains Trail Rear x 1 (There are two parts)
Britains Trail Front x 1 (There are two parts)
Britains Band Clamp x 1 (There are two parts)
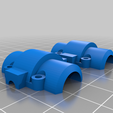
Britains Barrel Clamp x 1 (There are two parts)
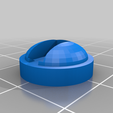
Britains Breech x 1
Elevation Screw Bottom x 1
Elevation Screw Top x 1 OR Elevation Screw Knob x 1
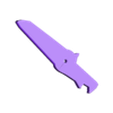
Firing Hammer
Sear
Trigger Button
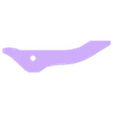
Trigger Lever
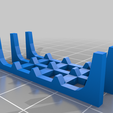
Shell x As many as you feel you'll need (ten fit on the rack)
Shell Rack x 1
Drill out all holes until parts fit smoothly.
Step 1
Drop an M2 nut into the slot on the front of the wheel and then thread an M2 x 10 machine screw into it. There is a hole in the edge of the wheel to allow you to get to the screw with a screwdriver. Insert the axle (4mm x 79mm tube) into the wheel and then tighten the screw down onto it. Do not mount both wheels at this time.
Step 2
Take the Front and Rear parts of the trails and bolt them together using M2 x 10mm machine screws with nuts and washers. Bolt both sets together.
Step 3
Bolt the two halves of the Barrel Clamp to the barrel (11.1mm x 130mm tube) using M2 x 10mm machine screws and nuts. Do not use washers. Do not tighten these down at this point.
Step 4
Insert the trunnion pins (4mm x 15mm tubes) into the sides of the Barrel Clamp. These should be a tight fit and may need to be glued in place.
Step 5
Glue the six M3 washers into the sides of the Mechanism parts. These provide a lower friction surface for the moving parts of the firing mechanism.
Step 6
Attach the Mechanism mounts to the Trails using 3 M2 x 10mm machine screws with washers and M2 nuts inserted into the hexagonal holes in the Mechanism. Do not tighten these down yet.
Step 7
Glue Trigger Button to Trigger Lever.
Step 8
Get three of the 2mm x 20mm tubes and fit them into the holes in the Trigger Lever, Sear and Firing Hammer. The tubes should fit tightly in the Trigger Lever, Sear and Firing Hammer, but rotate freely in the holes in the Mechanism.
Step 9
Insert the remaining tubes into the Mechanism along with the Trigger Lever, Sear and Firing Hammer. Wrap the Small Hair Rubber Band around the Sear and the tube below it.
Step 10
Bolt the Band Clamp to one of the Trails using an M2 x 10mm machine screws with a washer and a nut.
Step 11
This is the hardest part. Fit the pin on the side of the barrel into the hole on the side of the Trail and then fit the two Trails and Mechanisms together fitting the six Mechanism pins and barrel pins into their corresponding holes. It's a pain. Hold the two halves together with rubber bands until you complete the next few steps. You don't want to have to do this more than you have to.
Step 12
Attach the Breech to the end of the barrel using an M2 x 10mm machine screw with nut and washers. Adjust the barrel in the Barrel Clamp and the Breech until they clear the Firing Hammer and then tighten down the screws on the Breech and Barrel Clamp.
Step 13
Attach the Trail Spreaders by fitting M2 nuts into the recesses of the Trail Spreaders and then fit M2 x 10mm machine screws and a washer through the corresponding holes in the Trails to hold the Trail Spreaders in place. Start with the middle one, it will make your job easier. Once again, do not tighten these screws down just yet.
Step 14
Pick which version of the elevation knob you want to make. You'll need to print Elevation Screw Bottom and either Elevation Screw Top or Elevation Screw Knob. If you decide to make the Screw Top version you'll also need an M2 x 5mm machine screw. Put the M2 x 16mm screw through the Screw Bottom and glue it in place. Then glue the top you chose onto the top of the knob. Glue an M2 washer to the bottom. If you've picked the Elevation Screw Top then screw the M2 x 5mm screw into the offset hole to use as a knob.
Step 15
Put an M2 nut in the slot on the side of the trail near the trunnion pin and then screw the knob you built in Step 14 into this nut. Tighten or loosen this knob as necessary so that you can change the barrel elevation or hold it in place.
Step 16
Take the wheel and axle you made in Step 1 and put an M4 washer on the axle. Then slide the axle through the two holes in the traces, put the remaining M4 washer on it and then mount the other wheel.
Step 17
Put the 3mm x 35mm tube through the holes in the end of the trail and then use your last remaining M2 Machine screw, washer and nut to bolt the remaining Band Clamp.
Step 18
Hook your two office rubber bands to the notch at the base of the Firing Hammer and then wrap them around the tube you mounted in Step 17 and hook them back to the Firing Hammer.
Step 19
Your cannon should now be ready to use. Pull the hammer back, load a shell and do not point at eyes. It sometimes takes a little adjustment to make the Sear consistently catch the Firing Hammer, make sure the rubber band on the Sear is pulling it into position and not getting caught up in the rest of the workings.

/https://fbi.cults3d.com/uploaders/31854236/illustration-file/a4789a32-688e-47cb-b3a9-c4bcd79ea14f/Step0019a.png)
