Skip to content

Slim Mechanical Wallet

Advertising
Advertising
?
Creation quality: 5.0/5 (1 vote)
Evaluation of members on the printability, utility, level of detail, etc.

  • 2.1k views
  • 13 likes
  • 8 downloads
  • 1 collection

License
3D design format
STL Folder details Close
  • Button.stl
  • Hook.stl
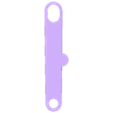
  • Link.stl
  • Riser.stl
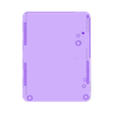
  • Shell.stl
  • Top.stl

Learn more about the formats

Publication date 2023-12-24 at 13:30
Design number 1663501

3D printer file info

3D model description

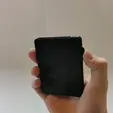
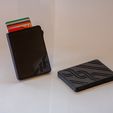
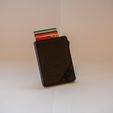
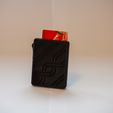
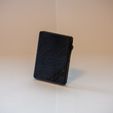
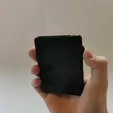
This is an updated and slimmer version of my previous mechanical wallet. The design and mechanism have been improved and bolts are no longer needed for assembly. The wallet holds up to 6 cards, easily accessible by sliding a button on the side. The wallet mechanism has a small hook that secures the cards and prevents them from falling out when not in use.
Dimensions: 76x100x11mm


Parts required:

Top
Shell
Hook
Riser
Link
Button

Superglue
Thin elastic string


Assembly:

1) Remove supports. The parts should be precise for the mechanism to work well.

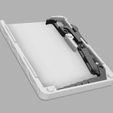
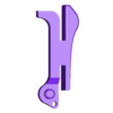
2) Thread elastic string through the small hole in the bottom of the button and tie it into a small loop. Connect the button and the riser using the link. Then, place the hook and riser assembly on two short posts in the shell, use the picture of the mechanism for help. Stretch the elastic string over a small peg inside the shell.

3) Align the Top on the Shell and press them together, making sure that there is no gap between them and that the mechanism stays in the correct place.

4) Test the mechanism. The cards should move up and down without any resistance when sliding the button. If the button doesn't slide back, use a smaller loop of elastic string. If the hook starts to close before cards reach the bottom, lightly sand the part of the button that closes the hook.

5) If the mechanism works correctly, glue the top and shell together. Ensure the glue doesn't reach the mechanism. I recommend constantly moving the mechanism while the glue is drying.

6) To insert cards for the first time, push the button up and use the corners of the cards to open the hook, then let the cards fall into the wallet.

3D printing settings

Printer used: Ender 3
Material: PLA
Supports: Required for Link, Button and Riser

Button, Hook, Link and Riser:
Layer height: 0.14mm
Infill: 100%

Shell and Top:
Layer height: 0.2mm
Infill: 40%

Advertising


Issue with this design? Report a problem.

Would you like to support Cults?

You like Cults and you want to help us continue the adventure independently? Please note that we are a small team of 3 people, therefore it is very simple to support us to maintain the activity and create future developments. Here are 4 solutions accessible to all:

  • ADVERTISING: Disable your banner blocker (AdBlock, …) and click on our banner ads.

  • AFFILIATION: Make your purchases online by clicking on our affiliate links here Amazon.

  • DONATE: If you want, you can make a donation via Ko-Fi πŸ’œ.

  • WORD OF MOUTH: Invite your friends to come, discover the platform and the magnificent 3D files shared by the community!


Sharing and downloading on Cults3D guarantees that designs remain in makers community hands! And not in the hands of the 3D printing or software giants who own the competing platforms and exploit the designs for their own commercial interests.

Cults3D is an independent, self-financed site that is not accountable to any investor or brand. Almost all of the site's revenues are paid back to the platform's makers. The content published on the site serves only the interests of its authors and not those of 3D printer brands who also wish to control the 3D modeling market.

100% secure payment by credit card, PayPal, Apple Pay, Google Pay, etc.
View all payment options.