Update 30-SEP-2018
11MASTER started the following thread that you may find helpful regarding using the more recent Marlin version rather than the ancient SkyNet Marlin port.:
https://reprap.org/forum/read.php?415,833120,833120#msg-833120
Update 27-MAY-2017
Added the SkyNet 2.3.1 headers and sources I modified. Note that these sources include auto leveling 3DTouch changes. Again, please note that these are SkyNet 2.3.1 changes.
---- End Updates ----
There’s probably many other ways to convert from the 5 button display to an encoder button, but most of the conversions I’ve seen ended up with the original display location unused and the display sitting in a printed mount (to quote Sienfeld; "Not that there’s anything wrong with that.") My primary motivation is to free up pins on the Mega1284P. I’m currently using an SN04 proximity sensor for auto leveling, and it’s working fine for printing PLA on blue painters tape, but I’d like to move to printing ABS on glass, and to do that I need a different leveling sensor. I looked at several different proximity sensors, most were either too expensive or they didn’t have the range to go through 4mm borosilicate glass (the SN04 when used at 5V only has a range of about 1.2mm, and 4mm at most at 12V). The other sensor option is to move to a servo probe, and for that you need another pin. After searching the Sanguinololu schematics (the Anet v1.0 board), as far as I could tell there are no available pins, all are used (with the possible exception of 27/A4). I also wanted a clean place to plug in the probe servo, and the back of the display panel seems like a logical location. So, I decided if I’m going to build my own display board (that would fit an A8), at the same time I would move to an encoder button, and to do that you need two more pins. To free up pins I converted the 2004 display to an I2C display. This frees up 6 pins, 3 for use by the encoder button, one for the servo for the probe, and 2 for future use.
Prints:
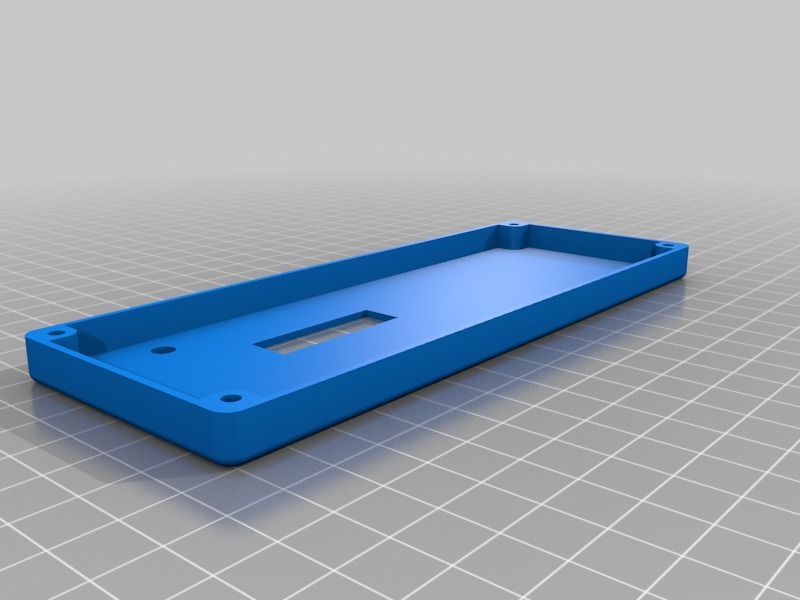
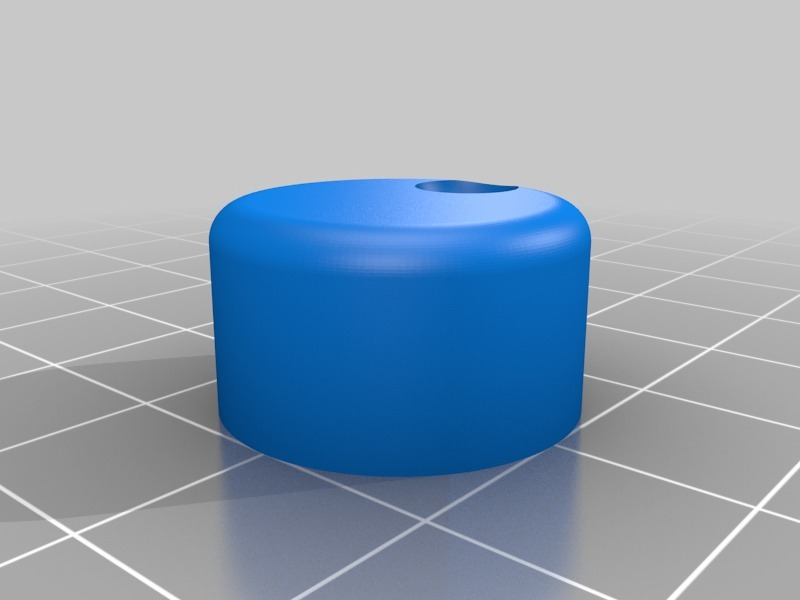
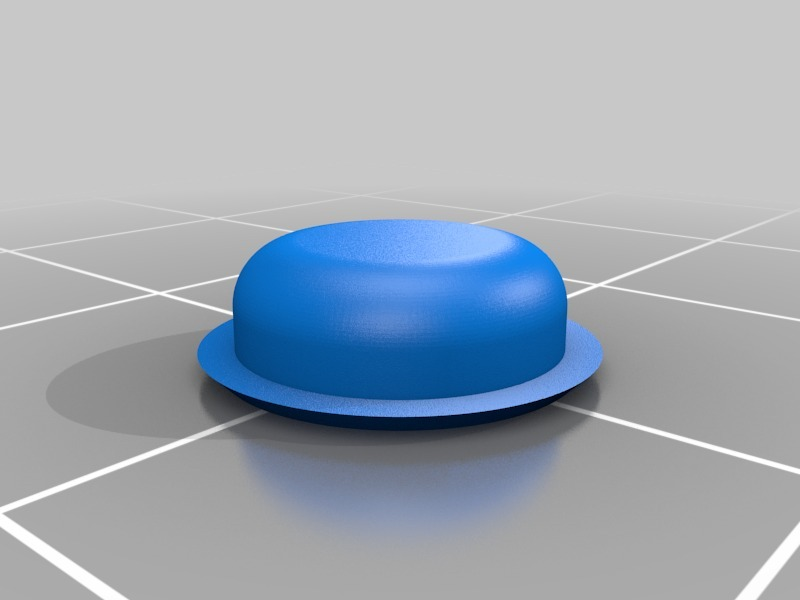
Cover, encoder button, plugs to fill front panel holes.
Materials:
(2) 60 x 80mm double sided proto boards.
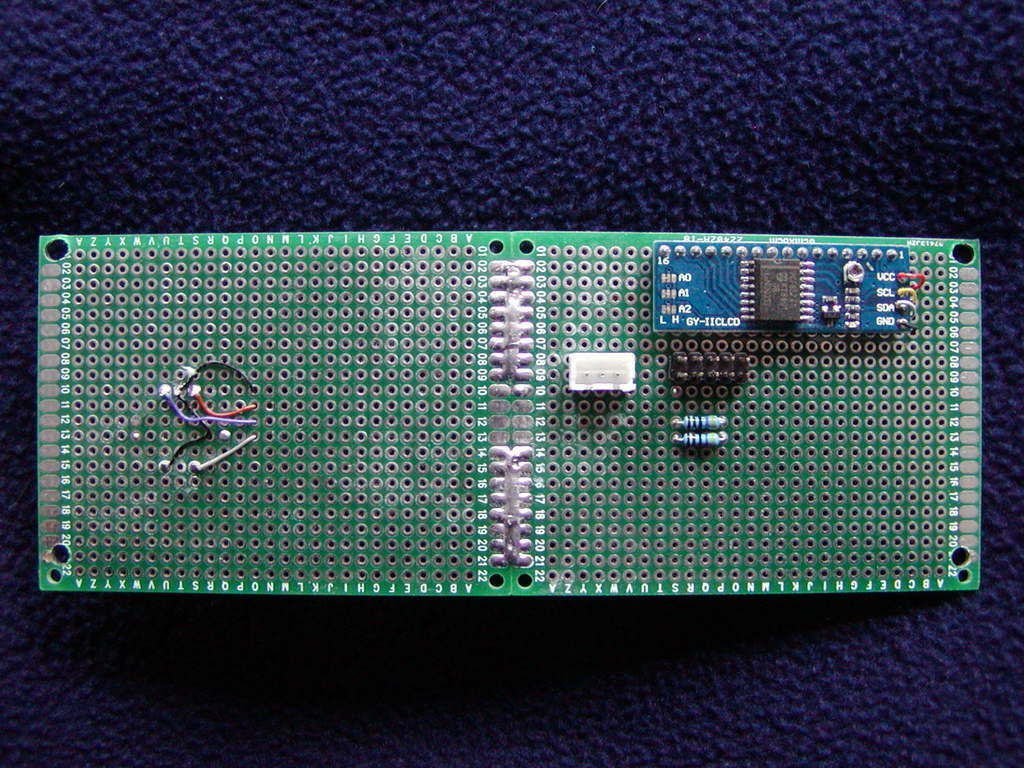
(1) PFC8574 I2C LCD serial interface board
(1) 2004 LCD (without the serial interface board already attached)
(2) 4.7K resistors
(1) rotary button encoder.
(1) 5x2 2.54 double row header or a 5x2 IDC header.
optional: (1) XH2.54-3P Connector Header for the probe servo.
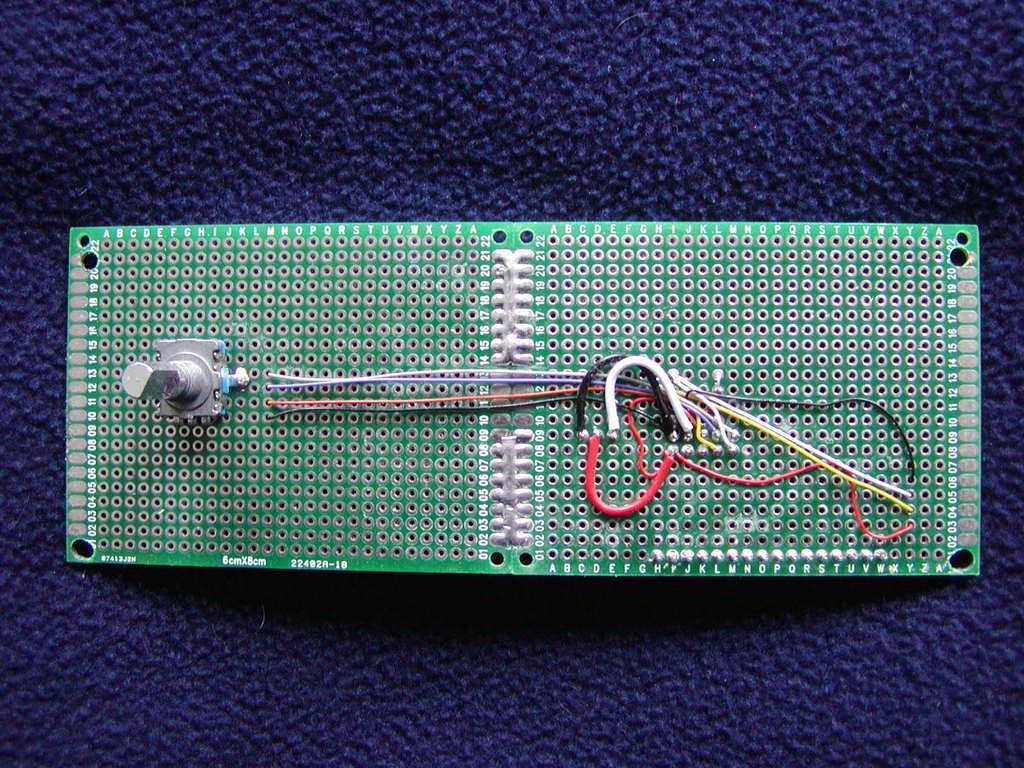
Start by bonding the two proto boards together (see photo). I used the thin strips left over from XH crimp pin coils to bridge the gap, but any thin flat solderable material will work.
Enlarge the top left and top right holes to 3.5mm. When drilling the 3.5mm (or larger hole, depending on how much leeway you may need), start from one side, don’t drill all the way through, then finish from the other side to avoid tear out.
Use the original A8 display back plate as a drilling template for the bottom left and right holes. I first drilled 1mm pilot holes and then enlarged them with the 3.5mm bit.
Apply the headers per the photos using the row column locations on the proto boards.
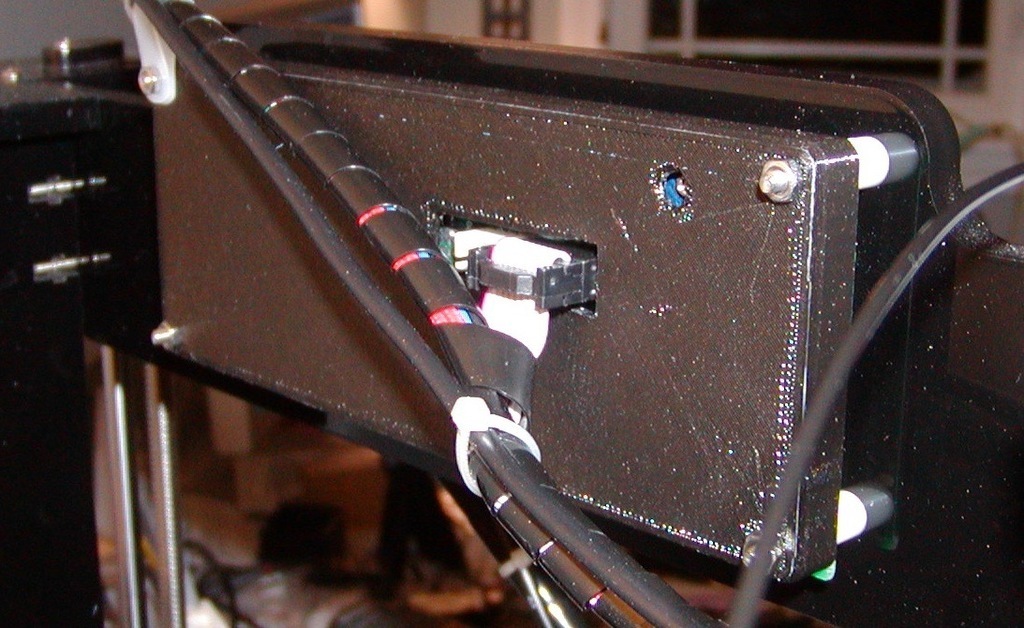
Locate the encoder on the board and test fit to see if it aligns with your A8.
Locate and test fit the I2C interface board/2004 LCD.
Wire the board based on schematic in the attached Display_Sch.pdf. I used 30AWG wire wrap wire for everything except for the servo.
If anyone actually builds one of these and you aren’t sure how to adjust the headers for SkynetV2.3.1, contact me and I’ll give you the headers/sources for you to diff.. I also noticed and fixed a bug in the code that handles the encoder. The bug is that when you press the encoder button from the info screen, it takes several tries to get to the menu. The fix to SkynetV2.3.1 ultralcd.cpp moves the resetting of the "timeout to move back to the info screen" to the point where the encoder button is initially pressed rather than after the button bounce delay finishes. It looks like someone already fixed this in the latest Marlin sources (lots of changes).
Other:
PFC8574 I2C LCD serial interface board: I bought a bunch of these a few years ago, but any PFC8574 board should work. http://www.ebay.com/itm/IIC-I2C-TWI-SPI-Serial-Interface-Board-Module-Port-for-Arduino-1602LCD-G-/262573103427?hash=item3d22939943:g:e48AAOSw-itXrD7D
Rotary Button Encoder: Again, I bought several of these a few years ago. This appears to be the same as what I have: http://www.ebay.com/itm/3Pcs-6mm-D-Shaft-18-Position-360-Degree-Rotary-Encoder-w-Push-Button-LW-/171816111876?hash=item280109cf04:g:Gg4AAOSwiwVWT4Qs
The probe I used: https://www.aliexpress.com/item/Free-Shipping-Geeetech-Auto-Leveling-Sensor-3D-Touch-for-3D-Printer-Improve-Printing-Precision/32761924885.html?spm=2114.13010608.0.0.cNqcsb
The bracket I designed for it: http://www.thingiverse.com/thing:2135749
:format(webp)/https://fbi.cults3d.com/uploaders/31968667/illustration-file/ec600d64-e5d7-4c32-aa55-70018ac094cb/P2090004.jpg)


/https://preview3d-images.cults3d.com/2fhnv6rwt9scmdfx5xm3oipbzpyx)
/https://preview3d-images.cults3d.com/9hs00jgz2env8hwipzc8q8xfdlx6)
/https://preview3d-images.cults3d.com/579ulkqokveta6lmumlud5dlj447)

