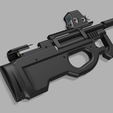
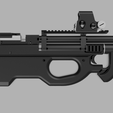
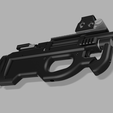
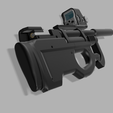
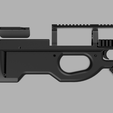
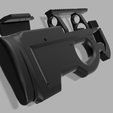
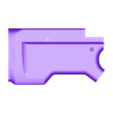
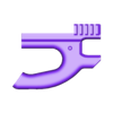
A FN P90 inspired bullpup stock for the PP750. This stock completely replaces the original stock. It is pretty rigid when fixed and is also very comfortable to hold. Without moderator, it reduces the overall length of the gun to around 440mm, so a really compact bullpup.
Please note that the safety will no longer be accessible when the stock is fitted, so make sure you take the necessary safety precautions when handling the gun.
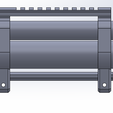
There are a few different variants. These can be made by combining the different trigger guides and the different stocks. You can either print the guides with a picatinny rail for an optic or you can use the original part to mount a scope. The other part that has variants is the front stock part, which can have picatinny rails on the side if you want.
The largest piece is quite large (approximately 40x125x214mm) so make sure that fits on you printer. Alternatively, you could slice it into two parts and glue them together later on.
Hardware requirements:
- M5x16mm internal hexagon
- M5x25mm internal hexagon
- M5x60mm
- M3x10mm countersunk x3
- M4x25mm countersunk x2
- M4x10mm countersunk x2
- M4 nut x2
- M5 nut x2
Mounting instructions:
The first thing you will need to do is remove the original grip, the rear sight, the original stock (including the little black holders) and you need to remove everything from the barrel (moderator adapter, original sight, etc.) as well as the air tank. You will also need to remove the rubber butt pad from the original stock.
Rail and trigger
Next, you can slide the 2 trigger guides on the barrel and air tank and place them on the approximate position shown in the picture. Next, you can slide the trigger in the guide. You may need to sand the trigger a bit for perfect smooth operation. Then, the rail goes on top and is secured with two M4x10 screws into the guides. Finally, the trigger pusher can be put into place as shown in the picture, and can be secured with an M3x10 screw. Then the rail/trigger assembly is done, now is the time to make sure the trigger assembly works, since you cannot adjust it when the stock is fully assembled (take the safety off!).
Stock
The stock consists of large pieces that need to be put together before attaching the stock to the gun. To do this, you will need to put some glue between the two large pieces prior to bolting them together with the M5x25 bolt (the nut needs to go into the inside of the other piece). You may want to sand the contact surfaces a bit to ensure a strong bond. Next, the butt pad and holder can be put into place with the holes lining up. Then the M5x16 bolt can be dropped in from the inside and can be tightened to secure the butt pad assembly. This can be a little tricky, but the easiest way is to use a hex key with a rounded end. Finally, the front grip can be installed by dropping an M5 nut into the slot and screwing the grip into place with the M5x50 bolt.
Final assembly
For the final assembly, all you need to do is drop in the two M4 nuts into the trigger guides (make sure they don’t fall out) and slide the stock onto the gun. With some adjusting you can screw the stock into place using the M4x25 countersunk screws, which go into the trigger guides, as well as the original 4 screws for the grip. Finally, you can mount the cheek rest with the last two M3 screws. You can now put back the front sight or moderator adapter, and you are done!
These instructions may seem difficult, but with the help of the pictures, it should not be too hard.
I am currently designing a version which also replaces the original grip, to make the rear part of the stock somewhat smaller. I will add these files to this one when I am done.
Let me know if there is anything wrong, or if you have any questions.

/https://fbi.cults3d.com/uploaders/28899266/illustration-file/5825f609-5164-4033-b6c2-36796751b844/PP750_Bullpup-v1.png)
