Skip to content

Newgoal Zigbee Tuya Smart 4 Channel Relay

Advertising
Advertising
?
Creation quality: 0.0/5 (0 votes)
Evaluation of members on the printability, utility, level of detail, etc.

  • 269 views
  • 2 downloads

License
3D design format
Folder details Close
  • Tuya-Base-ScrewHoles.stl
  • Tuya-Base-Ziptie.stl
  • Tuya-Base.stl
  • Tuya_Lid.stl
  • Zigbee-Tuya-Relay.f3d

Learn more about the formats

Publication date 2023-12-29 at 00:11
?
Published to Thingiverse on: 2023-12-28 at 21:04
Design number 1673716

3D printer file info

3D model description

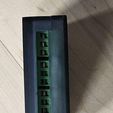
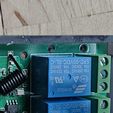
I picked up this Newgoal Zigbee Tuya Smart 4 Channel Relay on amazon (https://www.amazon.com/dp/B0B978T5FT)

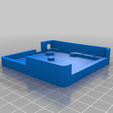
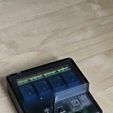
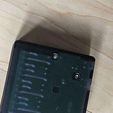
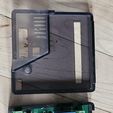
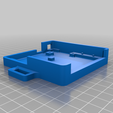
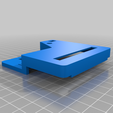
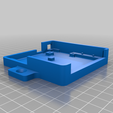
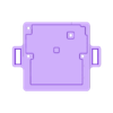
I wanted to make an enclosure for it, a simple rectangle would've worked just fine but i wanted to make sure the buttons were easily accessible so i lowered the enclosure so the buttons could be easily pressed with your fingers. The buttons themselves protrude above the cutout in the enclosure about 1mm so it is easy to press and hold when pairing.

I have this relay connected directly to a Smartthings hub and the 4 relays are connected to small LED's i've attached to the top of my television in my bedroom, Each light is triggered when a door sensor is open so we can know which doors are in use while in our bedroom.

I started by making a model of the board itself, i couldn't find any official dimensions/schematics online so i did this with my calipers. The holes all line up and i focused on the larger objects on the board that needed to be avoided.

This could be assembled without any screws and maybe just a couple drops of glue if you want. The base has 2 tiny guide posts to slide the board over so it keeps the board from sliding around at all within the case, there is about 1mm clearance on all edges.

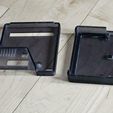
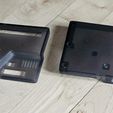
i used (qty 2) M2x6mm screws with m2 nuts obviously but you could use 3 of them. Then a single M2x20mm for the lid. The section of the enclosure that is lower helps act as a guide, and with the small β€œkey” on the back side, the enclosure stays. You could also use M2.5, i just didnt have any on hand. The holes on the board itself are around 3mm so im not sure if M3 would fit or not, it would be snug if it did.

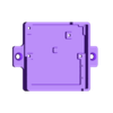
I printed these all directly on the build plate. The lid needed supports for the portion with the button holes but that is all.

3 Versions of the base, shown in pictures is the basic enclosure. The other 2 versions are one for Screws and another for ZipTies depending on how you want to secure this.

Advertising


Issue with this design? Report a problem.

Would you like to support Cults?

You like Cults and you want to help us continue the adventure independently? Please note that we are a small team of 3 people, therefore it is very simple to support us to maintain the activity and create future developments. Here are 4 solutions accessible to all:

  • ADVERTISING: Disable your banner blocker (AdBlock, …) and click on our banner ads.

  • AFFILIATION: Make your purchases online by clicking on our affiliate links here Amazon.

  • DONATE: If you want, you can make a donation via Ko-Fi πŸ’œ.

  • WORD OF MOUTH: Invite your friends to come, discover the platform and the magnificent 3D files shared by the community!


Sharing and downloading on Cults3D guarantees that designs remain in makers community hands! And not in the hands of the 3D printing or software giants who own the competing platforms and exploit the designs for their own commercial interests.

Cults3D is an independent, self-financed site that is not accountable to any investor or brand. Almost all of the site's revenues are paid back to the platform's makers. The content published on the site serves only the interests of its authors and not those of 3D printer brands who also wish to control the 3D modeling market.

100% secure payment by credit card, PayPal, Apple Pay, Google Pay, etc.
View all payment options.