Guillotape Tape Dispenser
Guillotape Tape Dispenser


Print Profile(0)
No Print Profile yet. Add one to earn points.
Description
Description
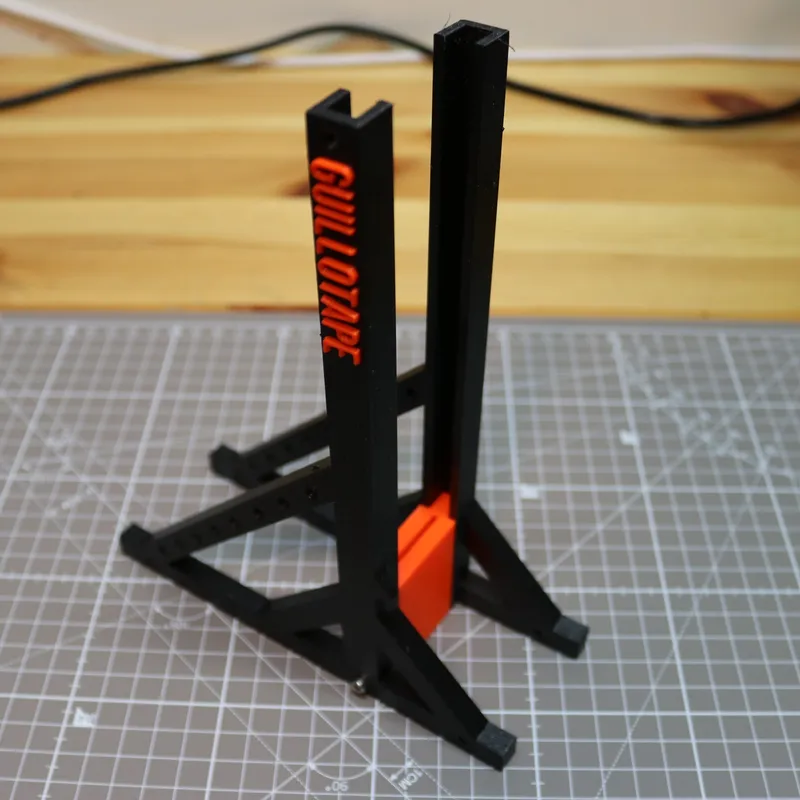
I found myself imagining: what would a tape dispenser look like if it belonged to the Addams Family?
Has mundane office work left you in a dire need of excitement? Inject some dark thrill to your desk with this latest invention, Guillotape: The Guillotine Tape Dispenser. Imagine the Addams Family meeting the French Revolution in the world of office supplies - that's the adrenaline-charged experience you'll get! Slice off a piece of tape as cleanly as if you're using Madame Defarge's own guillotine. Say 'au revoir' to those slow, unexciting days, and let the thrill of Guillotape revolutionize your workspace!
Printed parts needed to make this
| 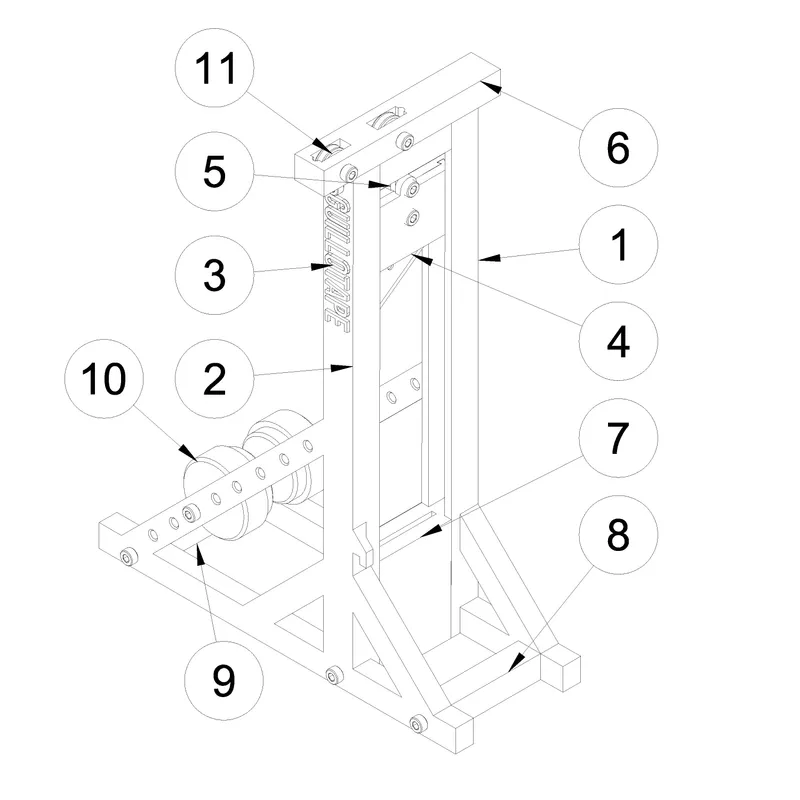 |
Other parts needed
- 2 x Screw DIN 912 10 mm M3
- 4 x Screw DIN 912 14 mm M3
- 2 x Screw DIN 912 16 mm M3
- 4 x Screw DIN 912 18 mm M3
- 1 x Screw DIN 912 60 mm M3
- 5 x Lock nut DIN 985 M3
- 8 x Square nut DIN 562 M3
- 1 x Knife blade
- 1 x String
- 1 x Box cutter blade / Utility knife blade
Assembly instructions
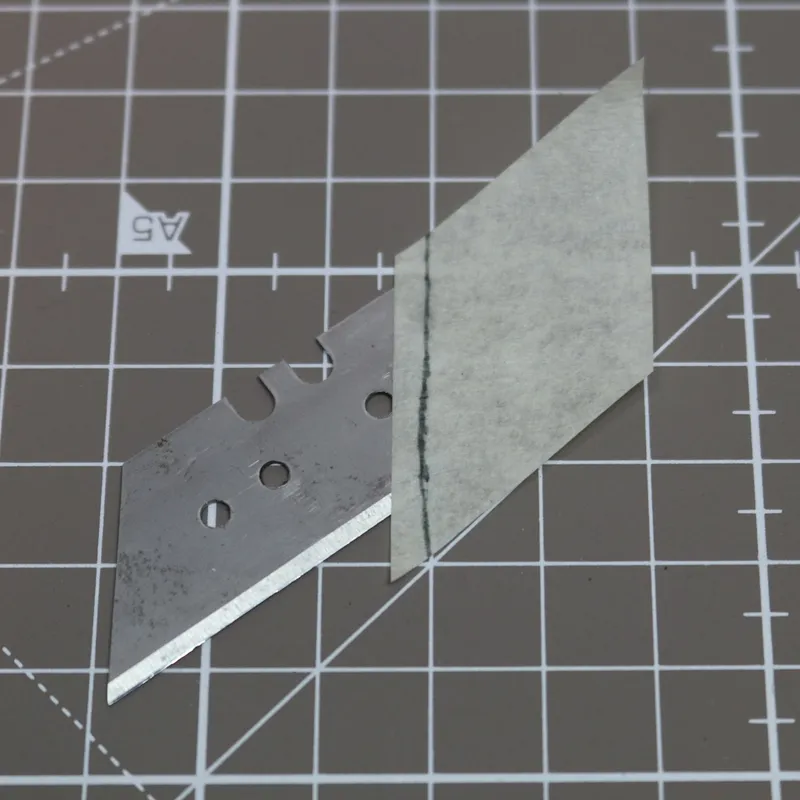 | 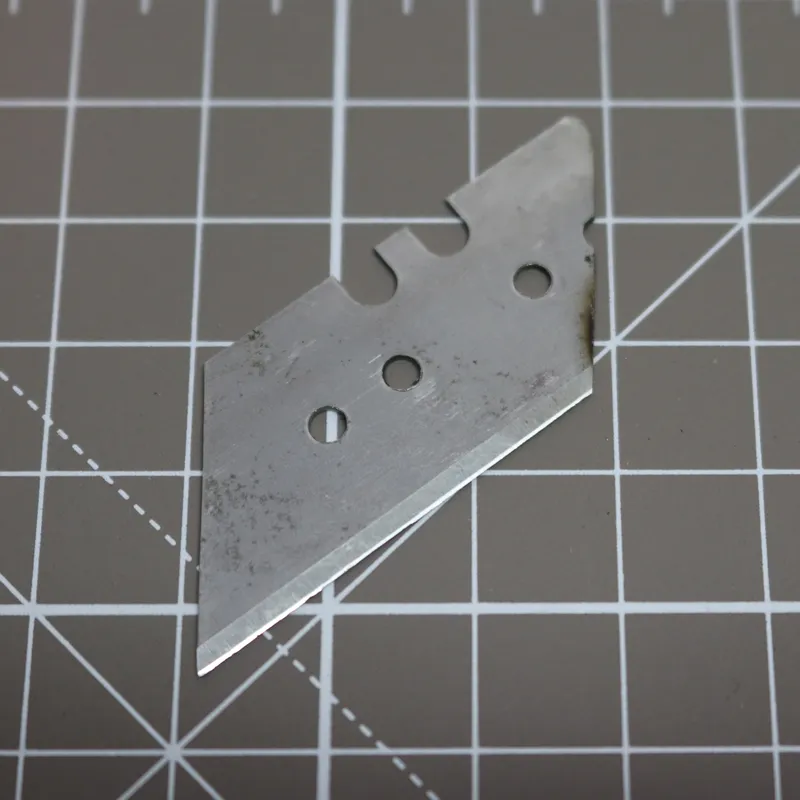 | Begin by preparing the knife blade. Apply a bit of masking tape to the blade, which will allow you to mark the exact location of your intended cut. Make sure the sides of your mark are parallel and spaced exactly 28mm apart. Once your marks are made, use an angle grinder to make the cut. A printable version of the blade is also included if you prefer to print it. |
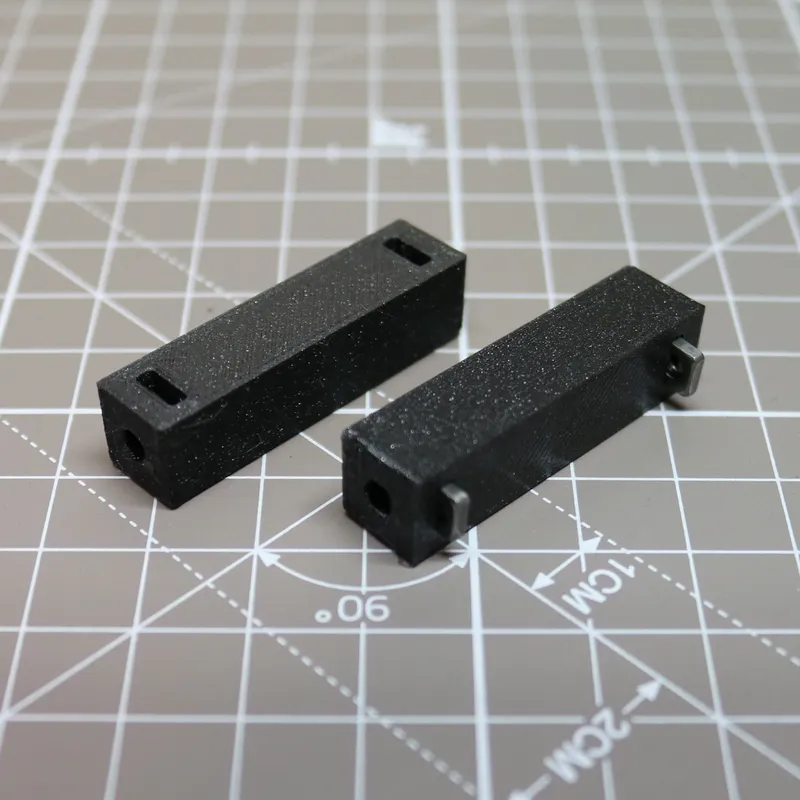
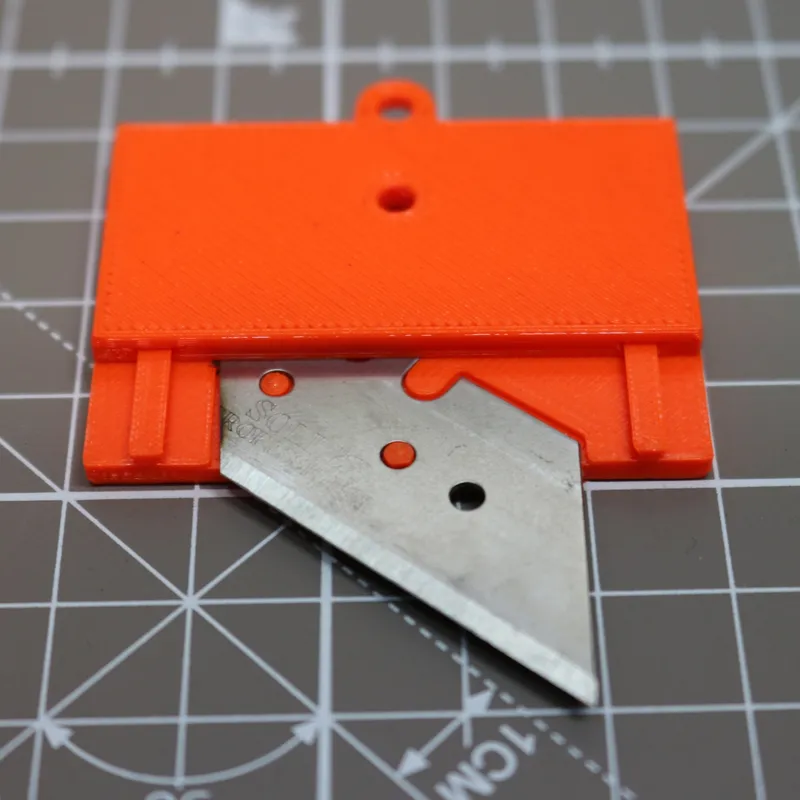 | 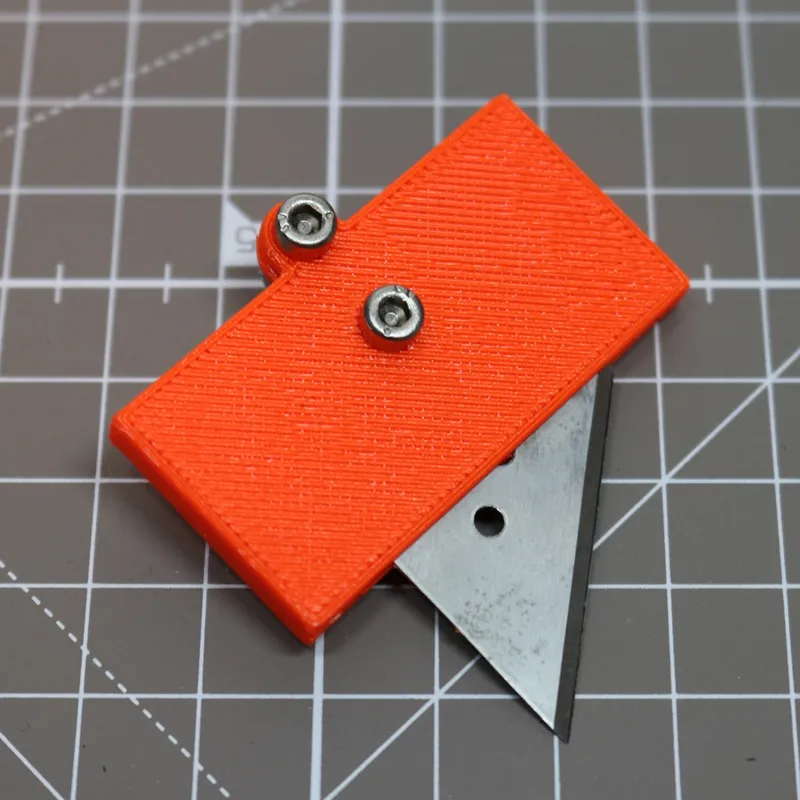 | Place the knife blade in its holder, then slide the lid on. Secure it using 10mm screws paired with lock nuts. However, be careful not to overtighten the top screw, as it's crucial to leave enough space for the string attachment. |
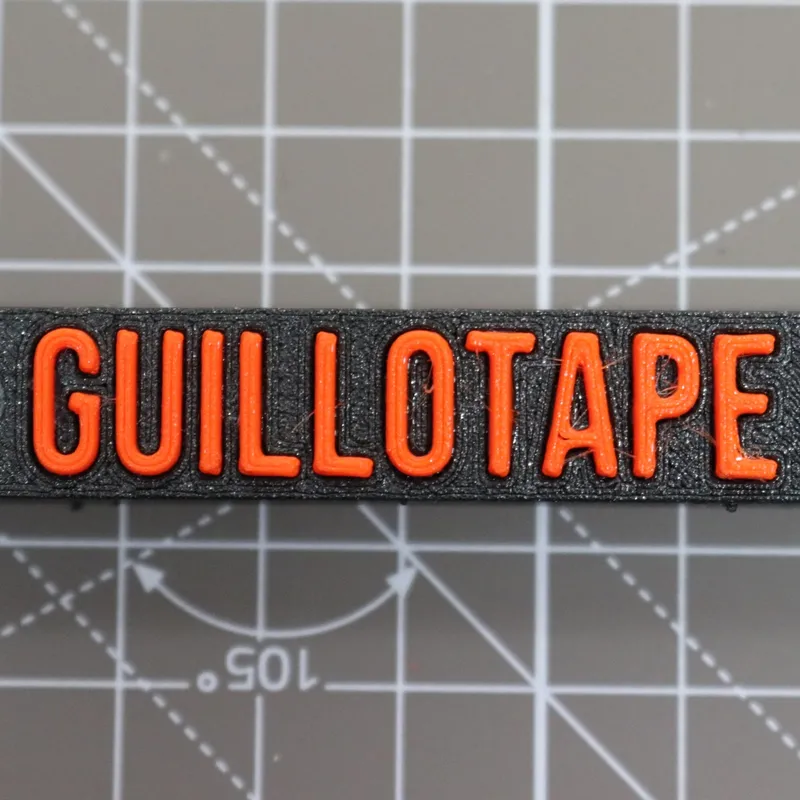 | 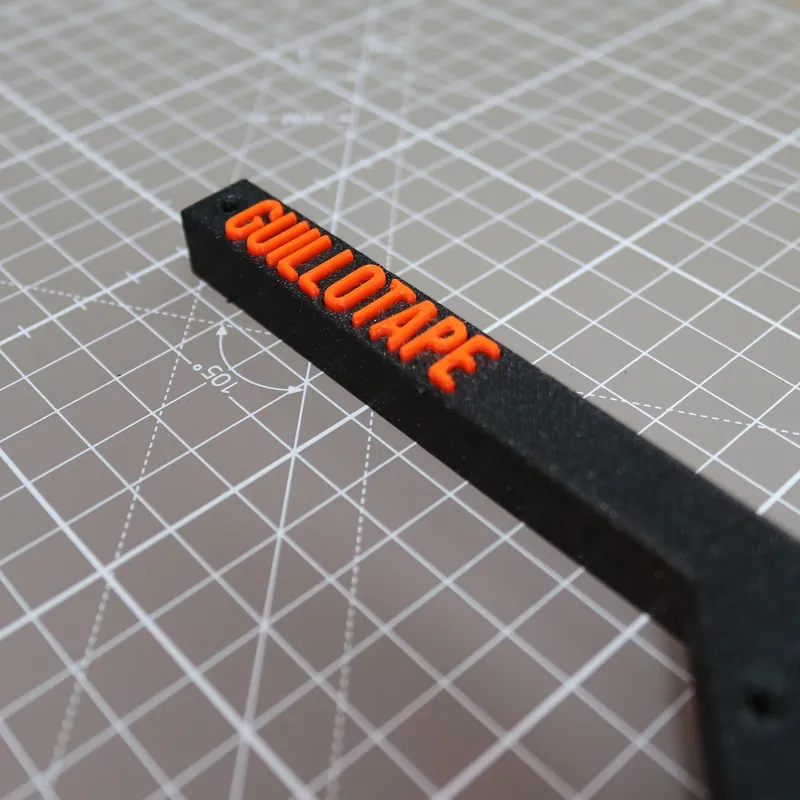 | Adhere the text to the left side. The type of adhesive you choose should depend on the composition of the material you've printed with. In my experience, epoxy glue work with a variety of materials and is great for PETG. Blast it with a heat gun to get rid of the stringing if any. |
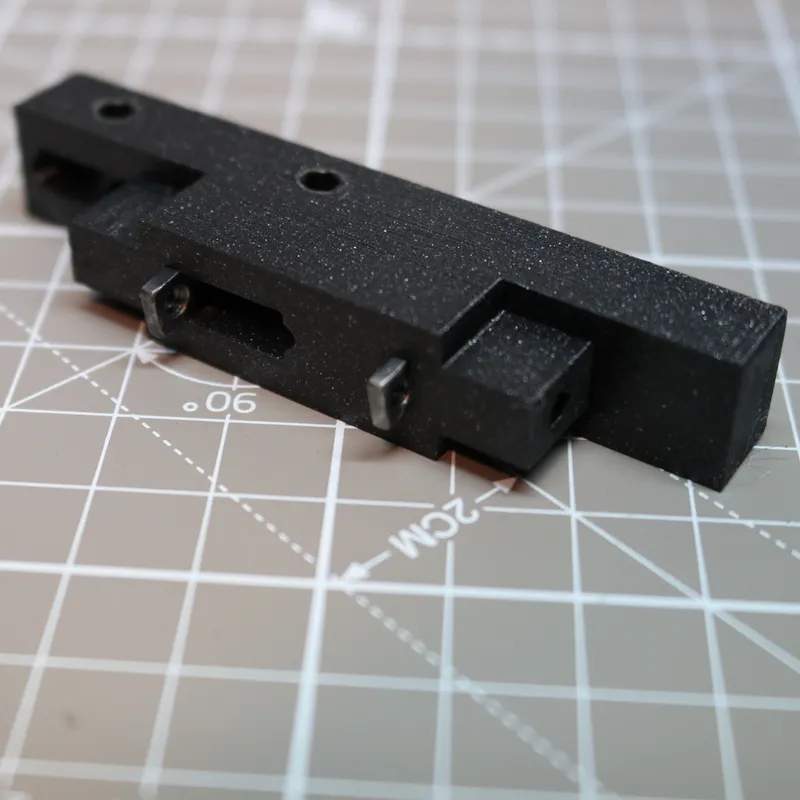
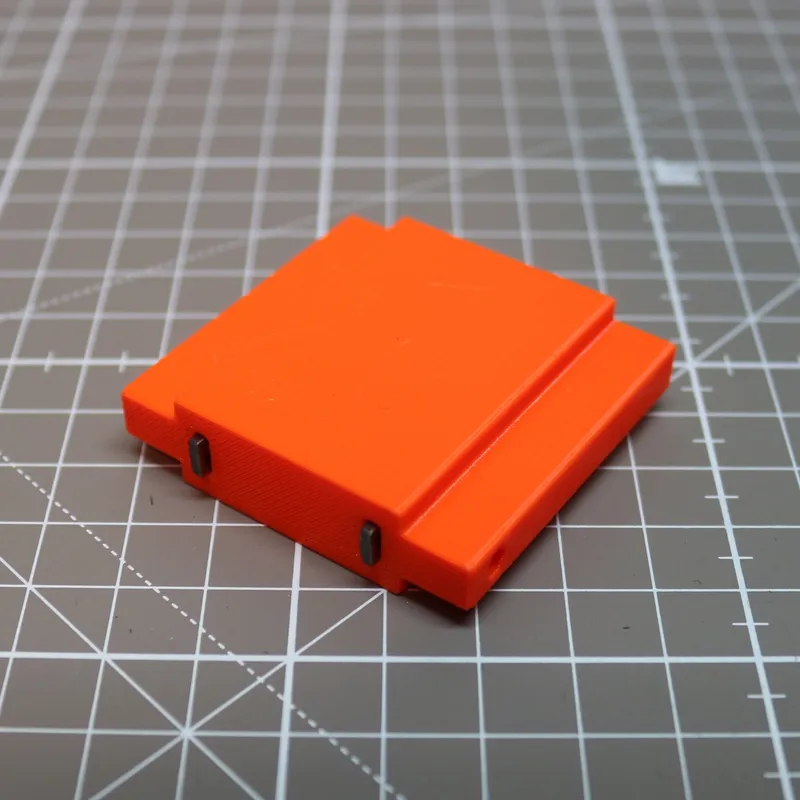 |  | Prepare the base by inserting two square nuts. Once they're in place, secure both sides using 18mm screws. |
 |  | Continue by repeating the procedure for both the front and back pieces. Insert the square nuts into their respective slots and secure them in place using 14mm screws. |
 | 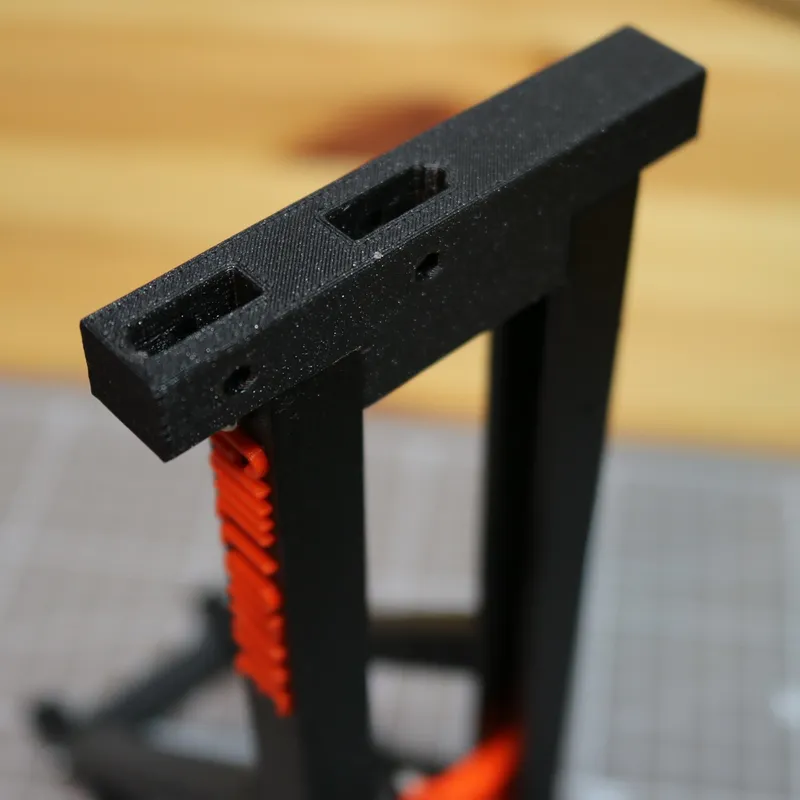 | Now, move on to the top piece. Insert the square nuts into their designated slots, then secure the top in place using 18mm screws. |
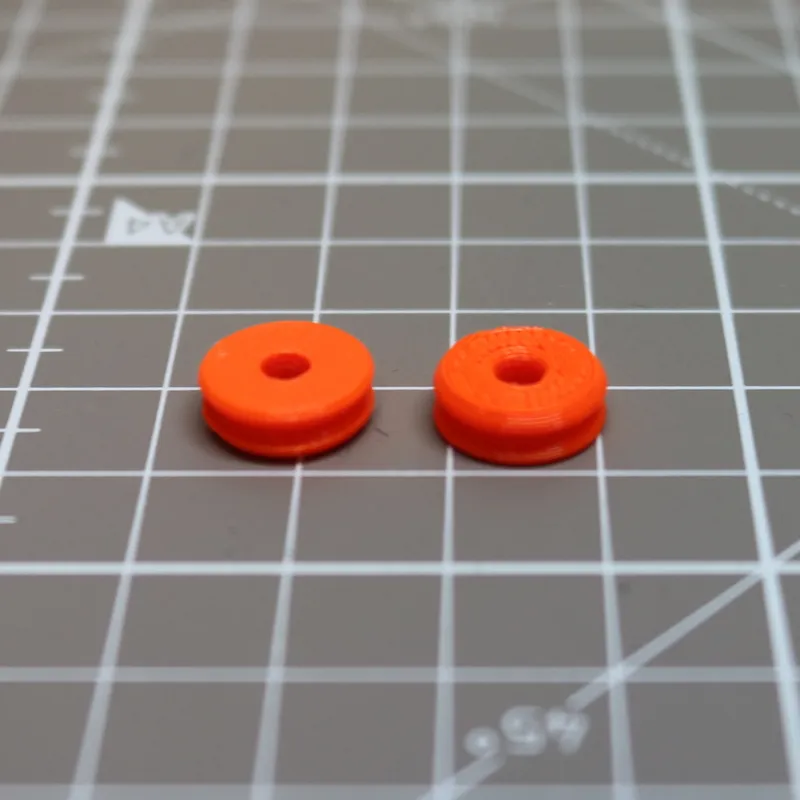 | 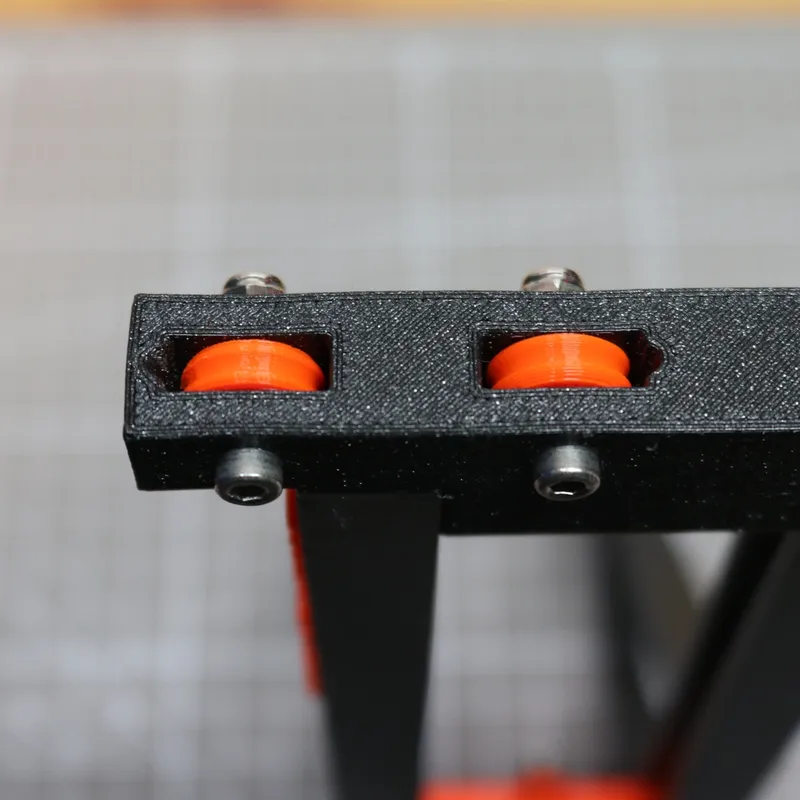 | Position the two wheels in their designated spots and secure them using 16mm screws and lock nuts. Be careful not to overtighten the screws, as this could restrict wheel movement. After securing, spin the wheels to ensure they move freely. |
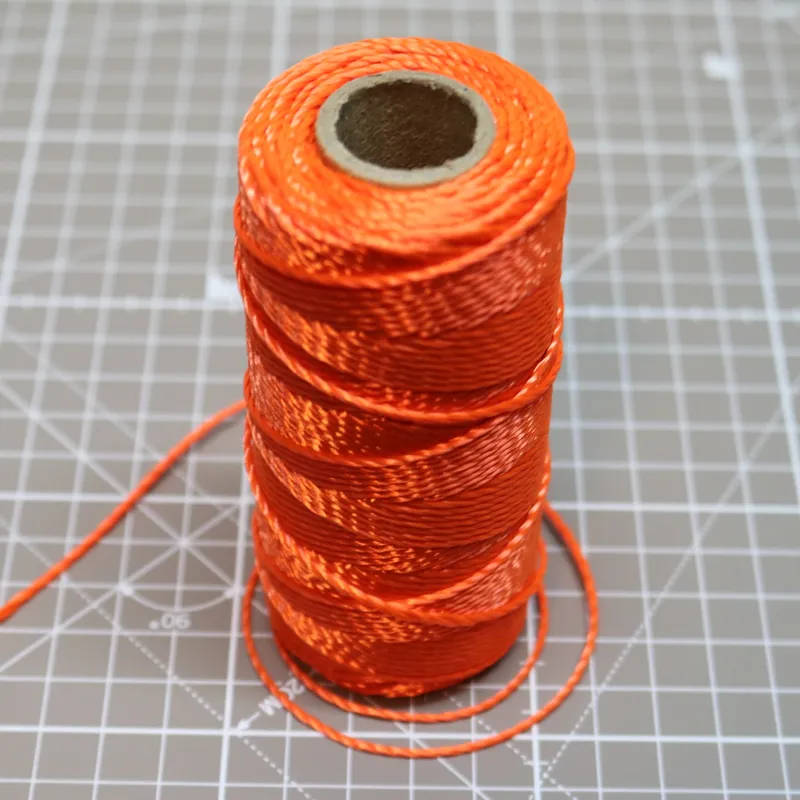 | 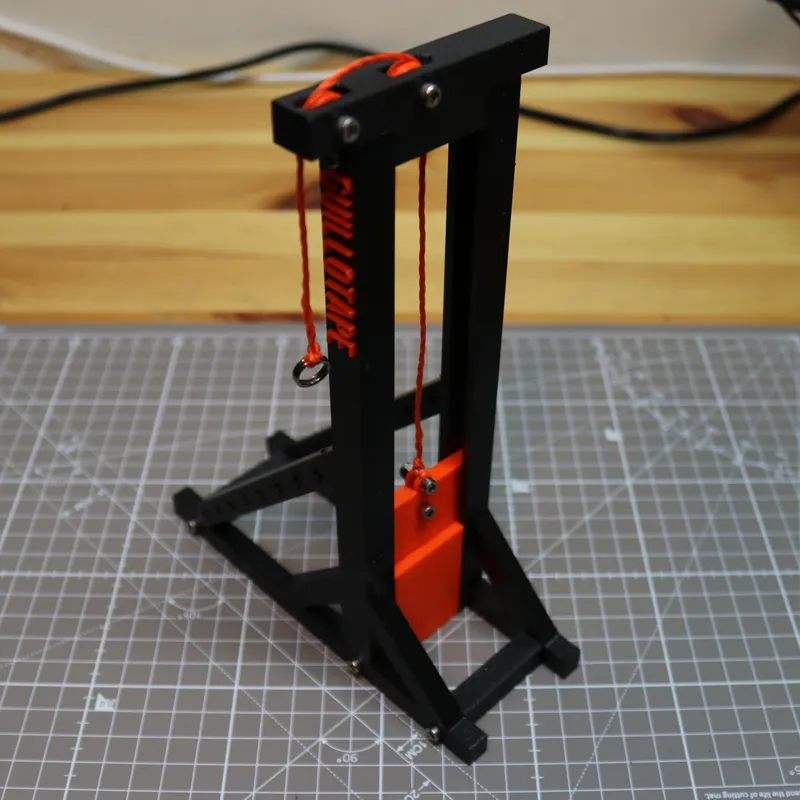 | Secure the string to the knife, threading it through the hole, guiding it along the path of the wheels, and then back down on the left side. To add a neat finishing touch, I attached a split ring to the end of the string. Although using Prusa orange string isn't mandatory, it does fit nicely into the overall design, doesn't it? Now you are finished, good job! |
I also included a .step file so you can make your own modifications with ease.
A short of the Guillotape in action: https://www.youtube.com/shorts/eXK5q3vMmA0


