Skip to content

Bases for transporting or exhibiting insects. Entomology

Advertising
?
Creation quality: 0.0/5 (0 votes)
Evaluation of members on the printability, utility, level of detail, etc.

  • 160 views
  • 1 like
  • 1 download

License
3D design format
STL Folder details Close
  • Base insectos diminutos.stl
  • Base insectos pequeΓ±os.stl
  • base escarabajo alas extendidas.stl
  • base insectos medianos sin alas extendidas.stl
  • base libelula.stl
  • piezas mecanismo.stl
  • pinzas.stl
  • rectangulo solo.stl

Learn more about the formats

Publication date 2024-03-13 at 16:01
Design number 1852236

3D printer file info

3D model description

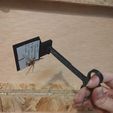
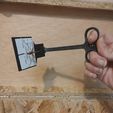
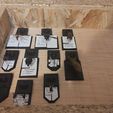
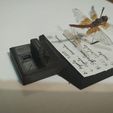
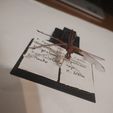
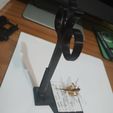
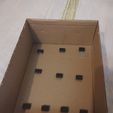
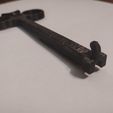
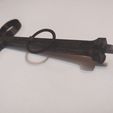
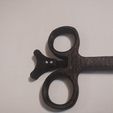
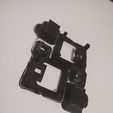
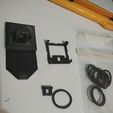
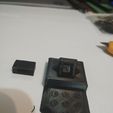
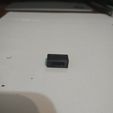
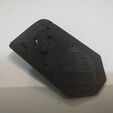
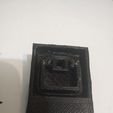
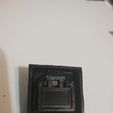
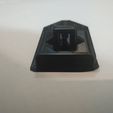
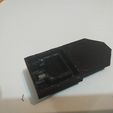
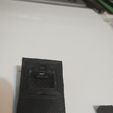
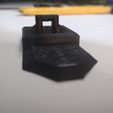
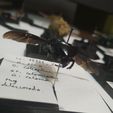
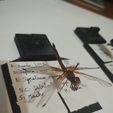
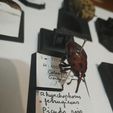
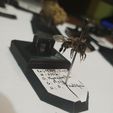
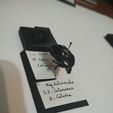
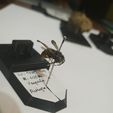
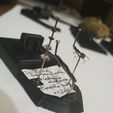
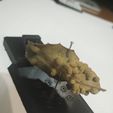
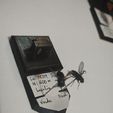
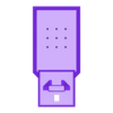
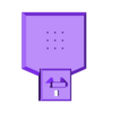
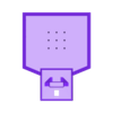
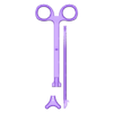
The model includes bases of different sizes to expose insects and tweezers to be able to move these bases from one place to another without touching them. The assembly can be seen step by step in the pictures, the mechanisms work thanks to a rubber band for the hair, brown rubber bands can also be used.

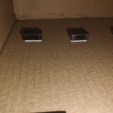
The rectangular shaped piece is fixed by double-sided tape and/or superglue in the place where we want to keep the insect. The bases are attached to that rectangle by means of a mechanism that is opened and closed with the tweezers.

IMPORTANT: do not stop pressing the pizas while moving the base from place or it will fall off.

The bulkier piece of the clamp file requires reinforcing its two hooks with super glue, the two smaller ones are attached to each other with two pieces of filament after being put in place.

The bases also require super glue when the last piece is placed to remain tightly closed.

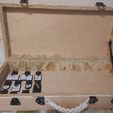
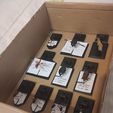
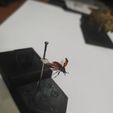
You can also see how they are mounted in both a shoebox and a wooden briefcase, this is because the project is intended to be carried out at school with my students so that everyone can start their own insect collection (the number of students is very small).

The insects have mostly been found lifeless, except for those that are invasive species. Some of the insects in the image have not been properly dissected because I found them at a time when I did not yet know how it was done.

The first few times it takes a while to remove the mount, but once you figure out the best way to do it, it's quick. Any questions about the assembly will be answered in the comments.

3D printing settings

It is printed at 0.2 mm on an Anycubic mega X. The material used is PLA. Some pieces require support and 8 line border for better adhesion. The bases require using the support option everywhere.

Time: up to 3 hours for larger pieces.

Backfill used: 10%.

Advertising


Page translated by automatic translation. See the original version.
Issue with this design? Report a problem.

Would you like to support Cults?

You like Cults and you want to help us continue the adventure independently? Please note that we are a small team of 3 people, therefore it is very simple to support us to maintain the activity and create future developments. Here are 4 solutions accessible to all:

  • ADVERTISING: Disable your banner blocker (AdBlock, …) and click on our banner ads.

  • AFFILIATION: Make your purchases online by clicking on our affiliate links here Amazon.

  • DONATE: If you want, you can make a donation via Ko-Fi πŸ’œ.

  • WORD OF MOUTH: Invite your friends to come, discover the platform and the magnificent 3D files shared by the community!


Sharing and downloading on Cults3D guarantees that designs remain in makers community hands! And not in the hands of the 3D printing or software giants who own the competing platforms and exploit the designs for their own commercial interests.

Cults3D is an independent, self-financed site that is not accountable to any investor or brand. Almost all of the site's revenues are paid back to the platform's makers. The content published on the site serves only the interests of its authors and not those of 3D printer brands who also wish to control the 3D modeling market.

100% secure payment by credit card, PayPal, Apple Pay, Google Pay, etc.
View all payment options.