Adjustable Angle Finder and Saw Guide Rail Set
Adjustable Angle Finder and Saw Guide Rail Set


Print Profile(4)


Description
… Something wanted for myself became as full size project :)
Here is a Saw, Router Angle Guide. Can be used anywhere else of course. Angle can be adjusted from around 5 to 90 degrees in step of 5. I made 2 separate sets. One Left and one Right Headed. Reason of this is as I wanted to make this guide with a clamping option I'm missing on other angle guides and squares I have in my workshop. As a bonus set have a adjustable Spacer Gauge to find a right distance between Guide and Saw Blade (or router bit).
Before going further one important point here:
In a Print Files in Spacer Gauge folder You will find a Spacer Gauge Rail and you will see that it is 200mm long. In most case You won't need that long one of course. It is done as long so
You can cut it in slicer
to the size You need depending on tools you will be using it for.
Some Tips here:
- Depending on Your Printer Tolerances probably You will need to file a few microns off from the very end of Angle measuring part as shown on image below:
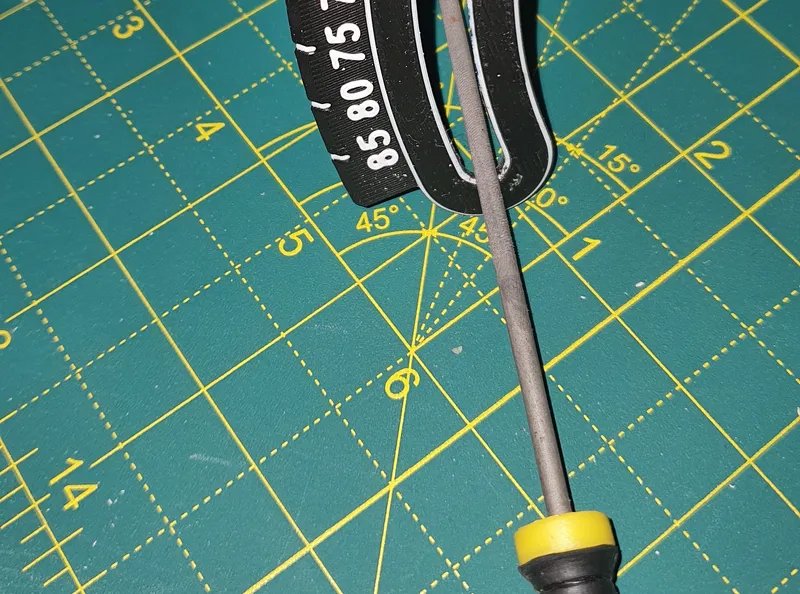
Do You need that or not you can check by a square or any other perfect 90 degree guide. Unfortunately every printer is different so little tune could be needed for precise stuff.
- Same Printer Tolerance caused problem can affect threaded parts. In my case everything works just fine, but if on Your side will be impossible to get screwable nuts on, You can try to use simple M6 Nuts for Guide or M6 Bolts for Spacer Gauge. I've done offsets as much as possible (not too much could do here as M6 Threads aren't that big) so I hope in most cases they should work ok, as they work for me.
- Here are presented 2 different Guide styles. With raised numbers and hollowed ones. Take on You like better. I'd say if you have a multicolour option I like raised ones more :)
I don't think Assembly instructions are needed here but here are some Tips how to adjust and work for better experience.
- As I said before firstly check 90 degree angle and take of a little material from inside of measuring part until very end point will be perfect 90 degree.
- Next take some pieece of scrapwood and prepare your tool you are going to use with this Angle guide. (I'll show you what I mean with my JigSaw)
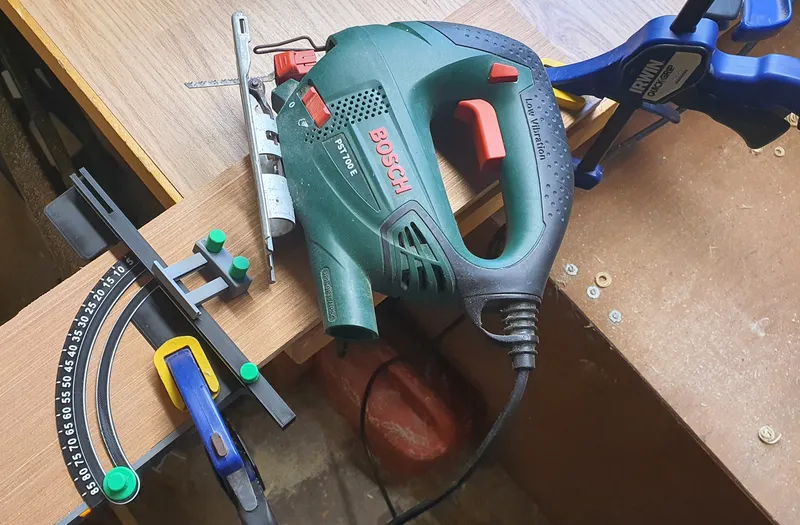
- Clamp guide to Your peace of scrapwood (angle is not that important, but I personally prefer 90 degrees). Take Your decided tool and make a cut for around 5-10cm deep.
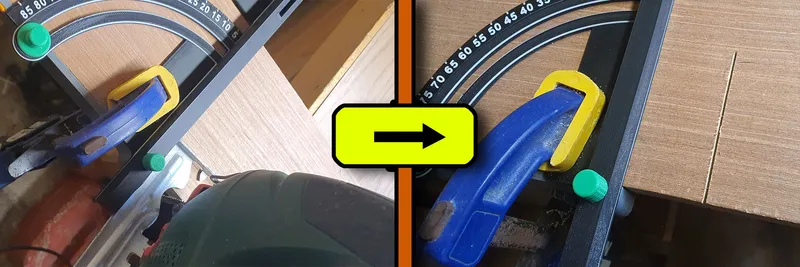
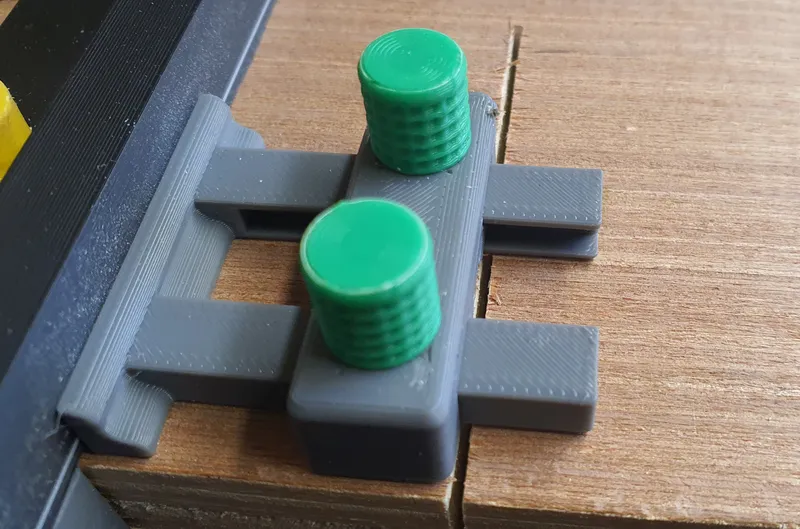
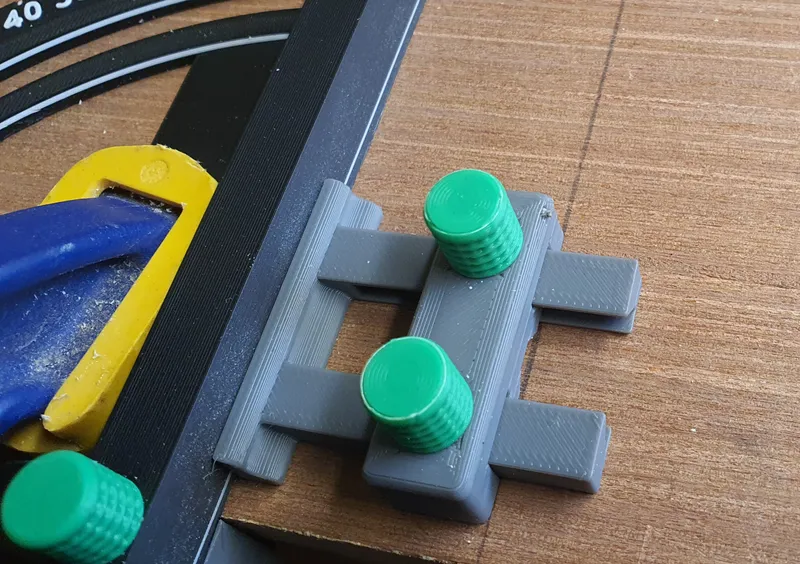
- Take a Spacer Gauge, put it at tight Angle Guide and align Gauge Tip at Your desired side of the Cut. Secure it using Locker Nuts (You can use just one if you want). It can be a bit tricky and my advise to make it even easier to do is before doing this turn a Locker Nut (or nuts) tight enough that it will do some pressure to prevent too free movement of Gauge Tip, but free enough for easy adjustments. Should look like this:
 or Gauge Tip could be at other side of cut on your preferences of Saw cutting (from which side of the marking line you make your cuts). And from now you won't b needed to measure distance every time You are doing your crosscuts. Actually you can use this Spacer Gauge everywhere else.
- So from now on You are ready to precise cuts. Just take Angle Guide, mark a cutting line, align Spacer Gauge to the line and Angle Guide:
Clamp Angle Guide to the wood piece and make a cut: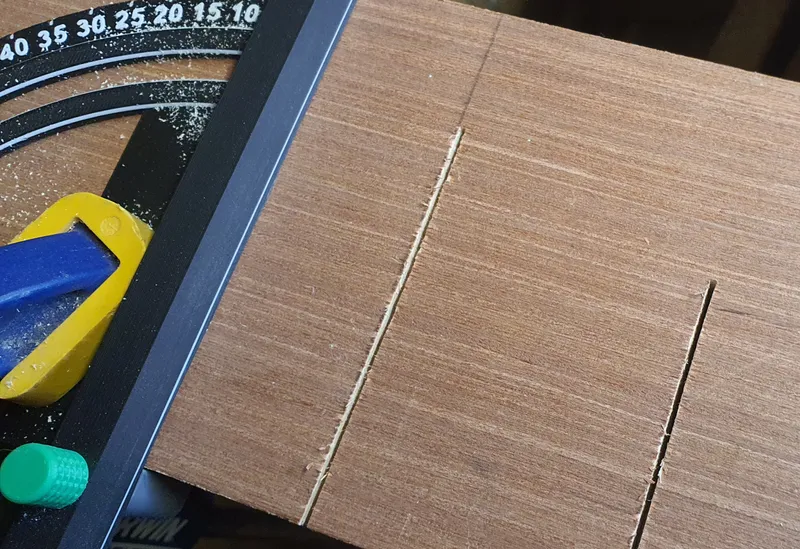
- If For the case You need to cut a wider piece and Angle Guide is not long enough, You can use Extender from this set.
One more small Advice:
Just to be sure you have aligned Angle Guide and Cutting Line perfectly it is not a bad idea to check it with Spacer Gauge on both sides of cut.
You can Buy me a coffee if You feel good doing so :)

https://www.buymeacoffee.com/warlogh
(And very big Thank You For interest in my work)


