The Original Dragon Egg, Great for Easter, Gifts
The Original Dragon Egg, Great for Easter, Gifts


Print Profile(3)


Description
This is my original dragon egg that I made on Thingiverse and Printables two years ago. I finally made a MakerWorld account and added it here. If you make a remix of this, please give proper attribution and share alike.
Less than 10 percent of people who download an item click the “like” button. Be the 10 percent. Click the “like” button and show your support. It means a lot, and us designers really appreciate it.
Also check out my standard threaded egg, locking egg with key, extra large dragon egg, and solid dragon egg.
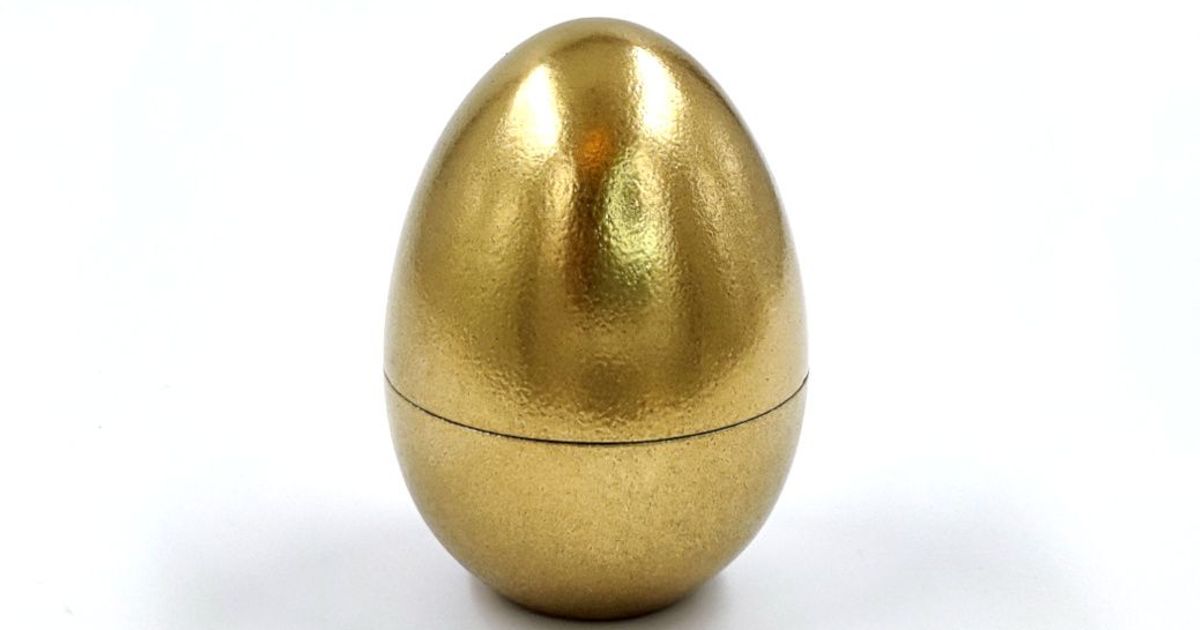
It's a threaded dragon egg, great for Easter egg hunts, gifts, and Game of Thrones fans.
The whole egg measures 63mm tall by 45mm wide (47mm if you count the scale width). This will scale fine up to 200 percent. If you want to print bigger than that, switch to the 300 percent version.
This is a remix of my own threaded Easter egg. I made every bit of this from scratch, including the scales. I made the scales by importing a custom texture into a Blender brush and placing every scale one at a time, adjusting the size as I went. I designed it with Sketchup, Blender, and Meshmixer. (And Gimp for the scale alpha.)
If you find this design useful, I would love it if you could post your make. And tips are always appreciated but never expected. Any money earned will go toward making new designs.
If you sell prints of this file, please respect the Creative Commons - Attribution - Share Alike license and credit me on the sales page with a link to this page.
Instructions:
1. Print the bottom and top pieces as oriented in the files. Supports are not required. I recommend a layer height of 0.2mm or smaller, wall thickness of 1.2mm, a bottom thickness of 0.6mm, and a top thickness of 0.8mm. Infill density of 12 percent or higher. I tried to allow for horizontal expansion in the design, so try printing first WITHOUT adjusting horizontal expansion or slicing tolerance or x/y compensation. If it prints too tight or too loose, then you can use one of those slicing features to compensate. Threads are notorious for being the hardest item to print, so please be patient. If you want to save time while testing, you can print the included calibration test instead of the full model.
2. Once printed, screw the threads in and out repeatedly to remove any stray particles. It may feel too tight on the first threading but should screw easily after ten seconds of doing this.
3. Note the small nubs near the threads. Refer to the pictures to see what I'm talking about. When the two nubs are parallel, you know you've got the proper alignment.