
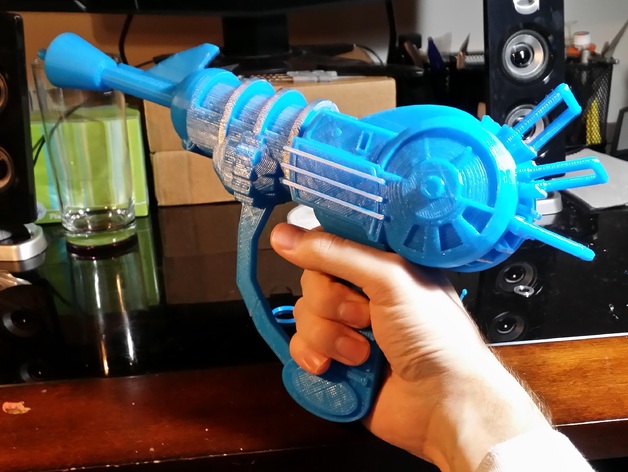
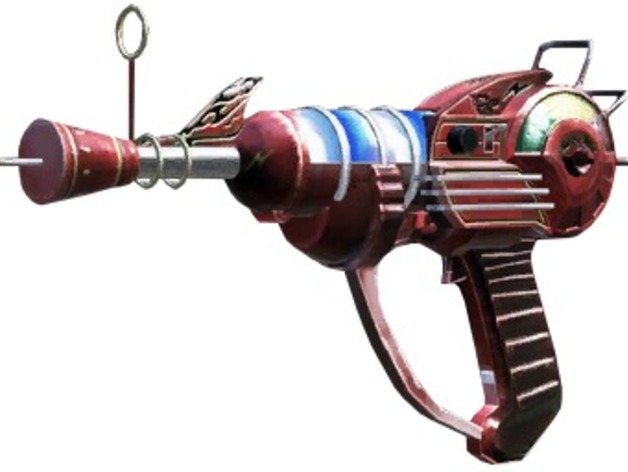
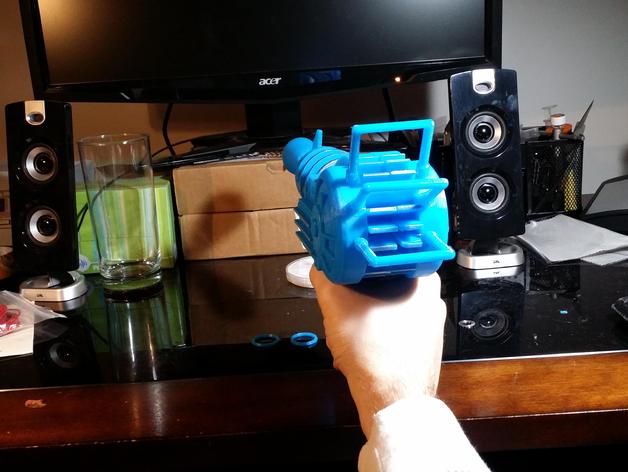
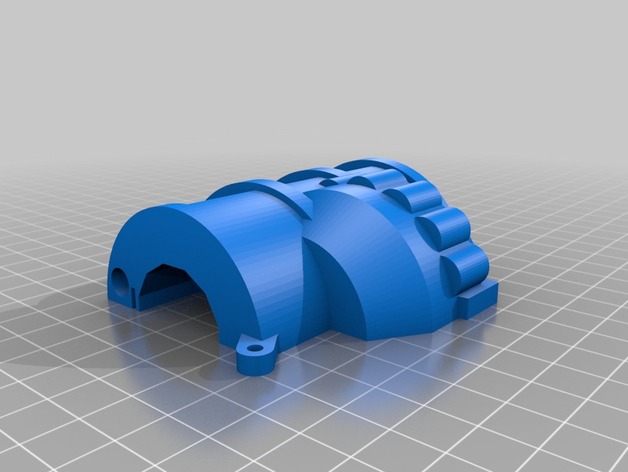

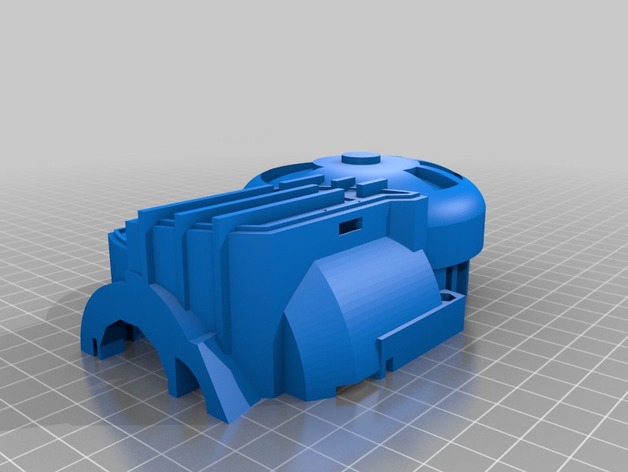
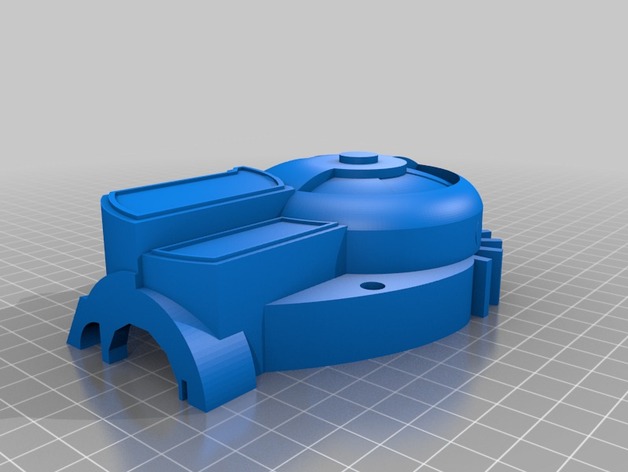

Ray Gun from Nazi Zombies in Call of Duty: Black Ops. Now ready to accept electronics to become a fully functional prop!
I used some blueprints that I found online to scale the model. It feels quite comfortable in the hand.
Supplies:
Epoxy
Two small magnets
Some wire
Clamps or some weights (cans of soda work too)
Wax paper
Flat surface
Hardware:
4x M3x10mm Socket Head Cap Screws
2x M3x16mm SHCS (for hinge and trigger)
6x M3 Nuts
6x M3 Washers
1x M3 Threaded Insert Worth it to have 99 extra for other projects.
Electronics:
A 3.3V Microcontroller with at least 5 pins for data
A Battery Charge Circuit for your MCU
Adafruit Audio FX Mini Board
Adafruit Mono 2.5W Amp
Mini Metal Speaker
LiPo 1S Battery that will fit
6 or more WS2812B LEDs on Individual Pads
Servo wire for those LEDs
2 Small pushbuttons.
SPDT Switch
Rotary Encoder (aesthetic, optional)
Encoder Knob (aesthetic, optional)
Tiny extension spring (I found one in an old tapedeck at Goodwill) or small rubber bands.
Print Settings
Printer:
ORDbot Hadron
Rafts:
Doesn’t Matter
Supports:
Yes
Resolution:
0.4
Infill:
20%
Notes:
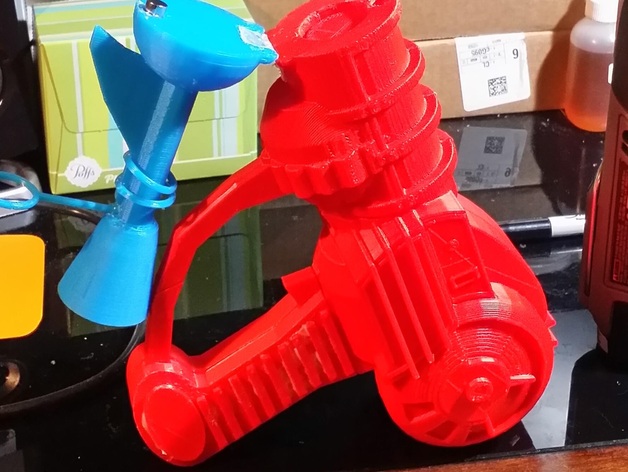
This project needs translucent filament! I used clear PETG with good results, but that presented some challenges with overhangs. The “Grip”, “Barrel”, and small parts don’t need to be translucent so choose your favorite filament.
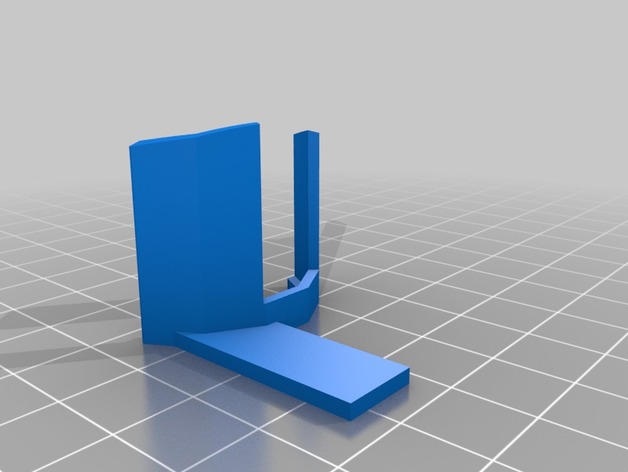
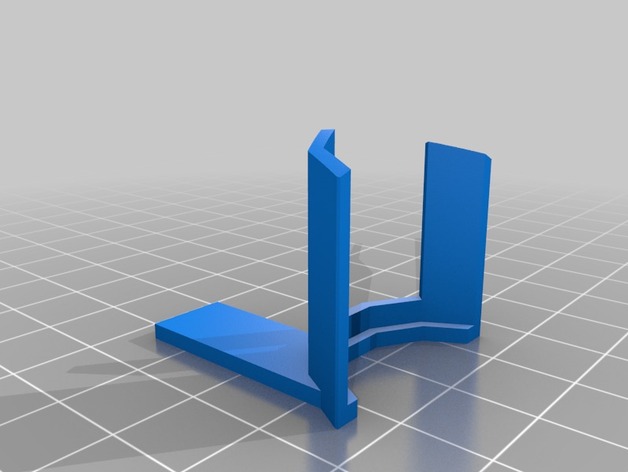
Print a mirrored version of “Chamber Stop L”.
I’m using an E3D V6 Volcano with a 0.6mm nozzle, so the lines are quite thick for mine. The overhangs inside the frame can be a bit tricky, so choose your support settings wisely. I do not need a raft since I use a PEI build plate.
I’d like to try to print it in ABS so that I can vapor smooth it, but that will be a challenge.
Post-Printing
A. Assemble the Gun Body
I suggest painting the silver paddles on the “power” parts first, painting the red walls next to the paddles, then proceeding to the rest of the build. Those paddles will be a real pain to paint after you have glued everything together.
Using a very strong 5 minute epoxy is recommended.
After painting the paddles lay all three pieces for each side of the gun (left or right) on wax paper covering a flat surface and epoxy the parts to one another. Try to line up the seams as best as you can and glue. The best method I have found to keep the three pieces aligned is to weigh down each part with something like a can of soda. Repeat for the remaining side.
After the epoxy on two halves has had time to set, I suggest trimming any ooze on the mating faces of the two halves so that they will assemble flush. Place a piece of wax paper between the two halves and bolt them together to check that the holes match. Then you can let the epoxy fully cure.
Install your magnets.
Paint the complete body before installing the small parts since they are usually a silver color, not red.
B. Add the Small Parts
Paint the parts.
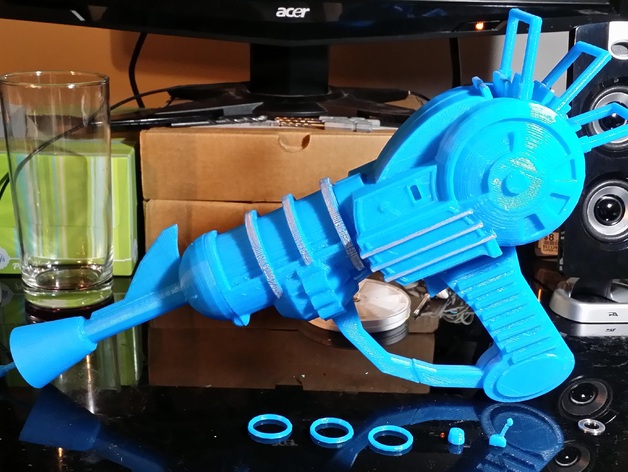
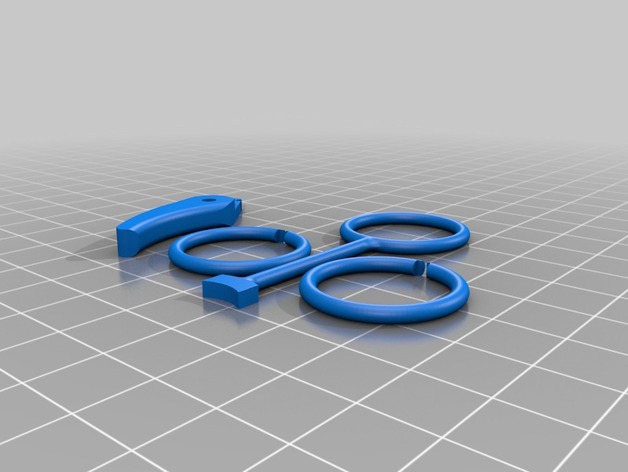
Take the two split circles, open them, and force them around the barrel. You can heat them with hot air to make this easier. Glue them to the fin on the barrel to make it look like the in-game model. I had to make these separate because they’d be impossible to print while attached to the barrel.
Take the sight and glue some wire in a cross shape to create the reticle. Epoxy the sight securely to the front of the barrel. It may be a good idea to drill a hole in the barrel so the sight can be inserted into it and glued.
Take the three bridge pipes and epoxy them to the assembled gun ONLY ON THE LEFT SIDE to allow the gun to be disassembled later. DO NOT GLUE BOTH POSTS OF THE PIPES. Make sure that they remain aligned while the epoxy cures. This can be done by using hot glue to strap the pipes to the main part while the epoxy sets. Remove the hot glue after the epoxy has cured.
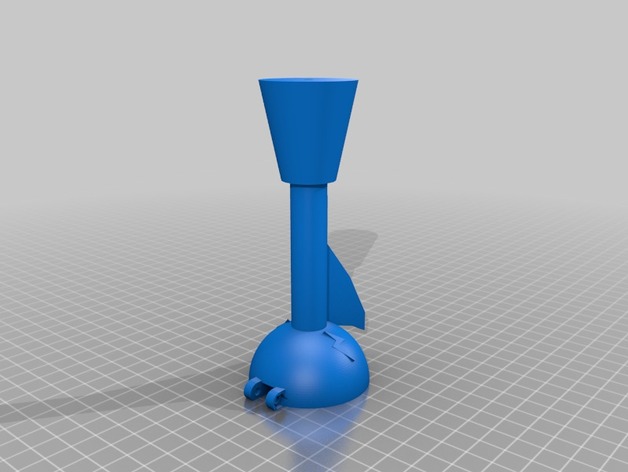
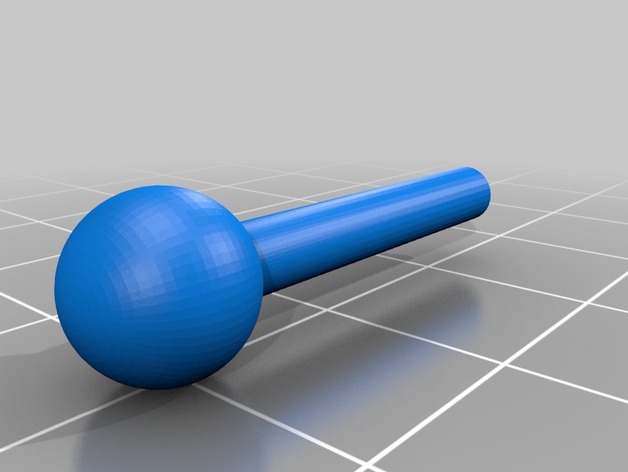
Attach the emitter antenna to the front of the barrel. You may need to sand the emitter to fit into the hole or drill the hole a little. Attach it securely with epoxy or hot glue since it can be quite fragile.
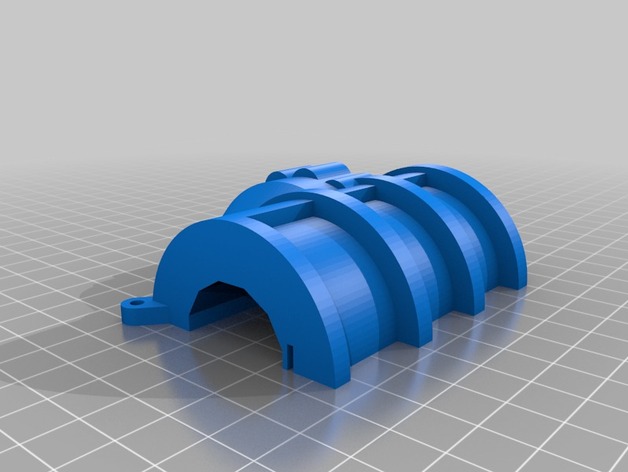
Attach the Chamber Stops to the two halves with hot glue. DO NOT INSTALL THE LEFT ONE UNTIL AFTER ADDING THE ELECTRONICS
Imgur
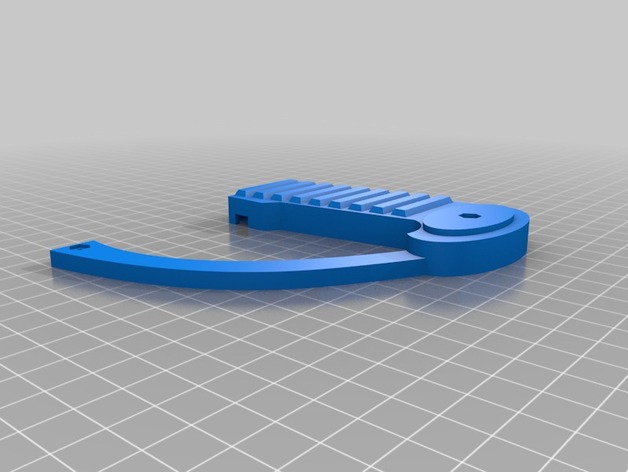
Use a soldering iron with a clean tip to heat the threaded insert and gently press it into the hole where the trigger will be installed.
Install the trigger using the 16mm screw and enough washers that the trigger does not rub the body. You may need to trim the slot if the overhang did not print well.
C. Now Set Up Your Electronics
I don’t have a guide yet, but it would be similar to this one.
Here is a wiring diagram. Your pin assignments may vary. The code may not match this specific diagram so examine your pins if there is an issue.
PROTOTYPE YOUR SETUP BEFORE YOU INSTALL/SOLDER IT
[Try the code in the files section.] NEEDS DEBUGGING. THANKS FOR YOUR HELP!
You need FastLED and UsiSerial libraries to compile it and reading this thread may help. I’ve moved onto other projects for now, so I may not have the perfect code for a while.
Install the switches and rotary encoder.
Solder your LEDs together and make sure they all fit.
Solder your MCU to the LiPo Charger.
Solder the Amp the the FX Board.
Solder the speaker to the Amp.
Hot glue the speaker to the left Chamber Stop print.
Solder the switches to the MCU.
Install the Chamber Stop with hot glue.
Test system over USB.
Glue MCU to print with hot glue while still plugged into USB.
Secure other electronics with glue.
Solder or plug in your LED strip. The LED on the dial is LED #0.
Install battery.
Bolt everything together.
Profit.
Credits:
Fragmaster
Download 3D models
| File | File size |
|---|---|
 Ray_Gun_from_Black_Ops_SOME_CODE_INCLUDED
|
3 MB |