Skip to content

Biplane (hand thrown)

Advertising
Advertising
?
Creation quality: 5.0/5 (1 vote)
Evaluation of members on the printability, utility, level of detail, etc.

  • 979 views
  • 4 likes

License
3D design format
ZIP Folder details Close
  • Hand thrown airplane Zip.zip

Learn more about the formats

Publication date 2024-04-04 at 10:16
Design number 1900158

aquilo3dp

3D printer file info

3D model description

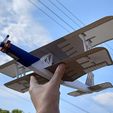
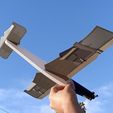
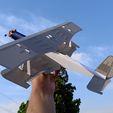
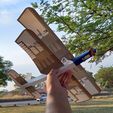
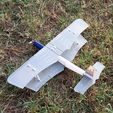
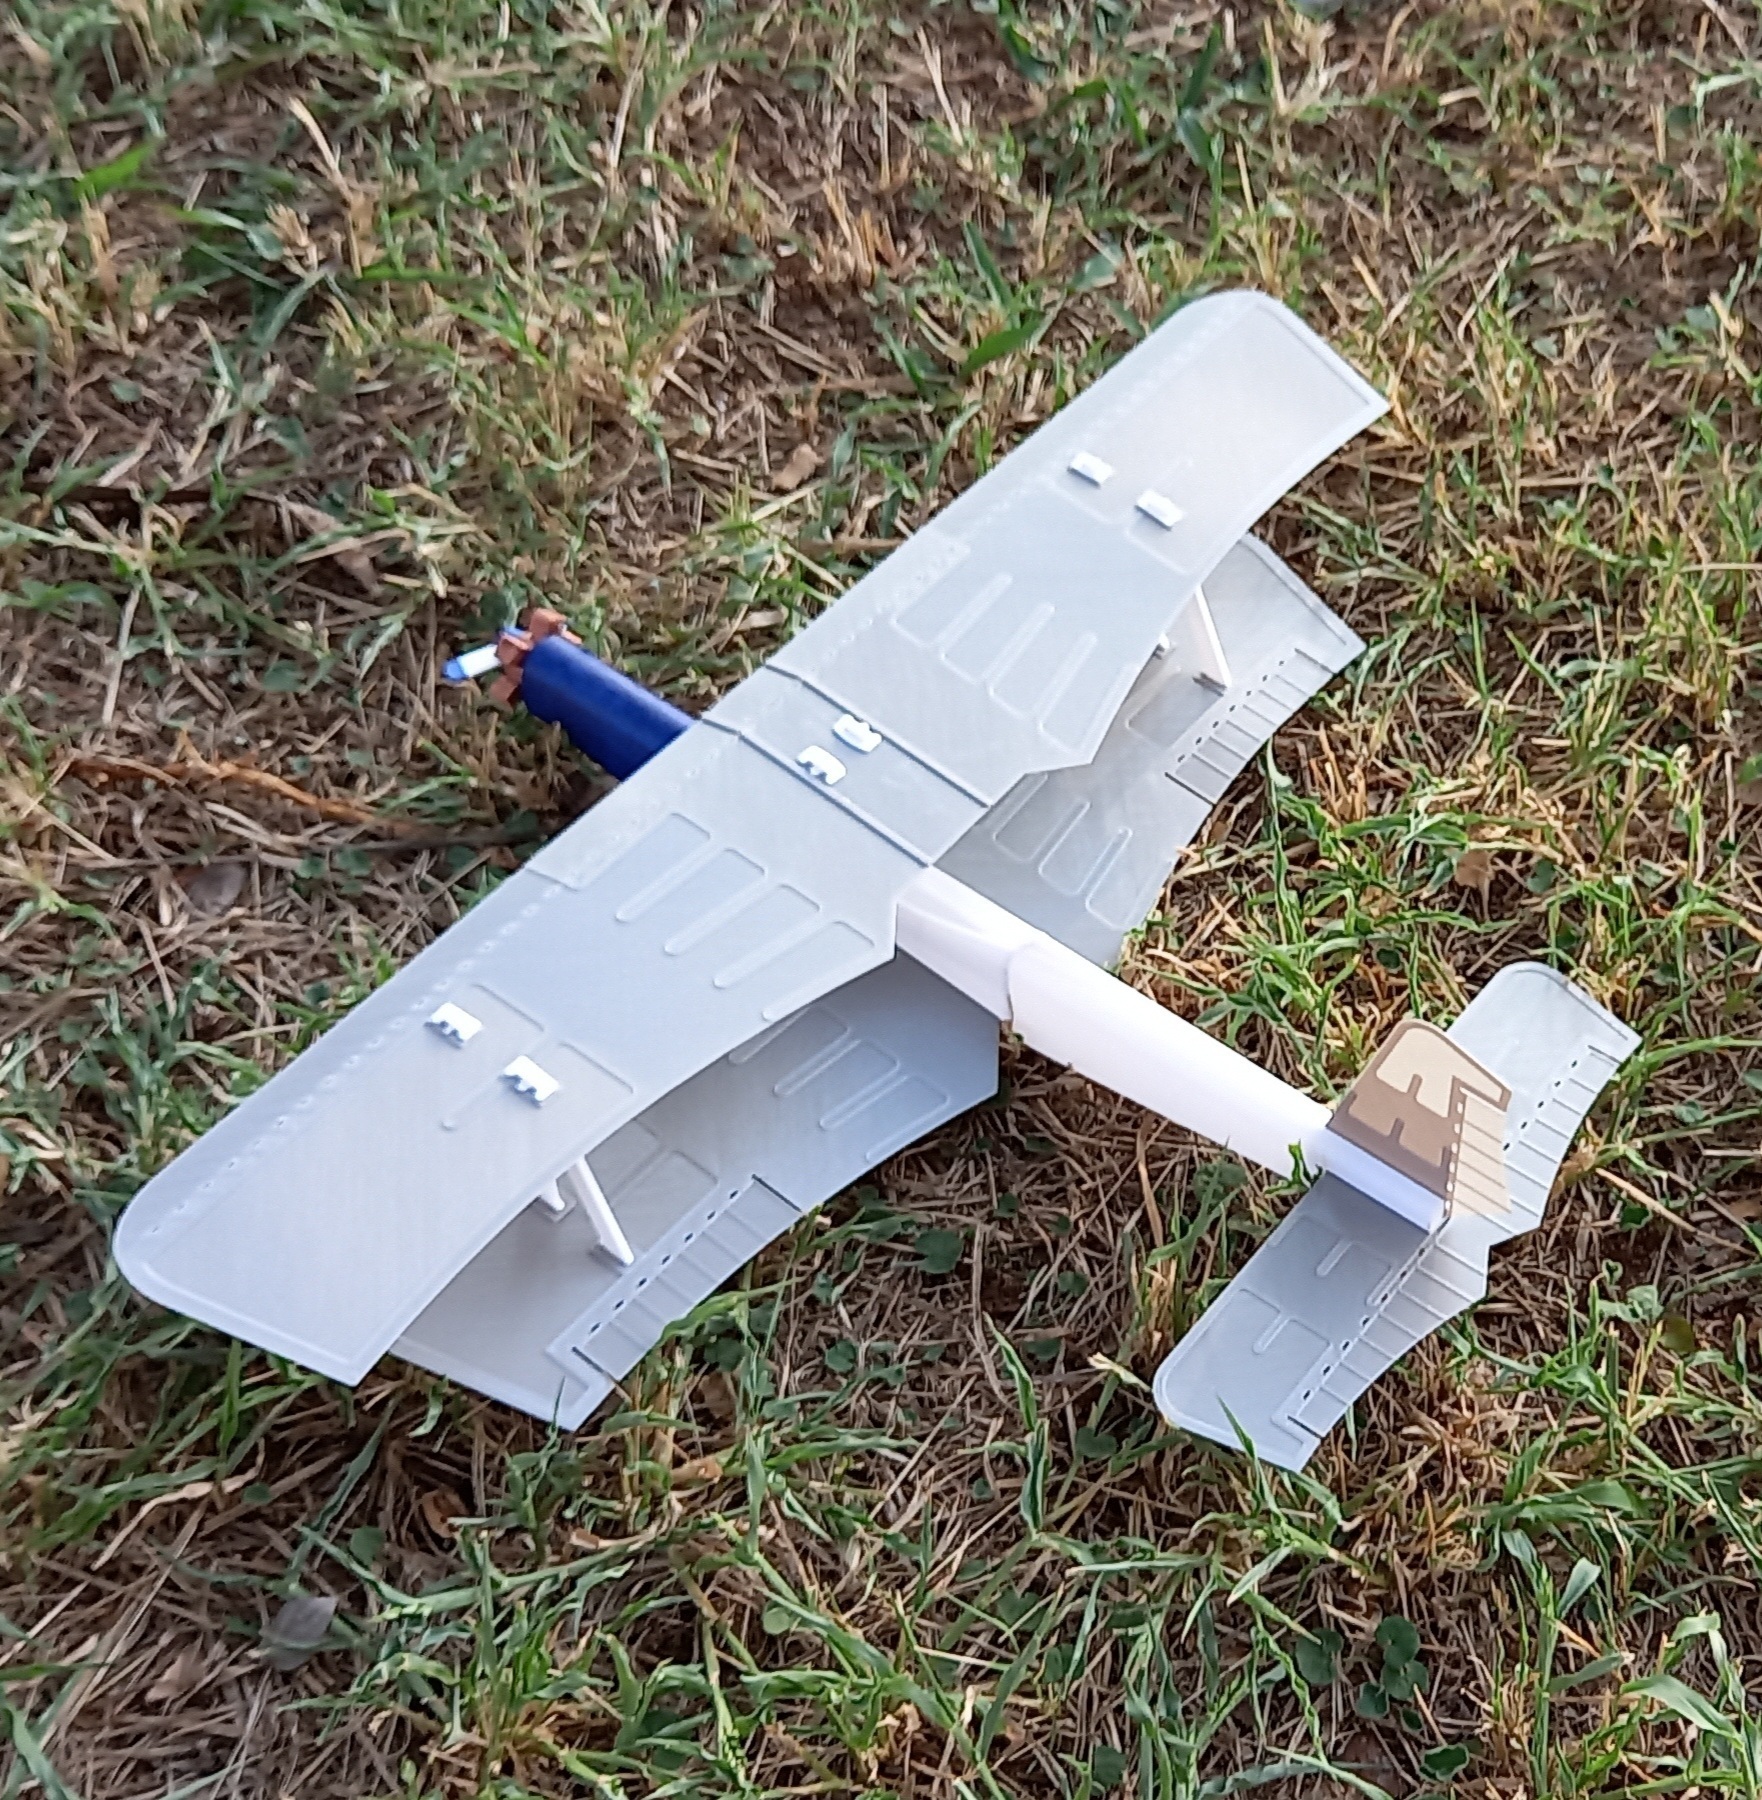
This is a non powered hand thrown airplane.
Light weight is essential to every aircraft, so this product is designed to be lightweight, and therefore also fragile. Handle with care and respect.
It is recommended to be flown in open areas with grass fields. Grass should be dense and preferably around 10cm/4inches in height or higher. This will absorb energy from landing/crashing impact and avoid damage.
Wings and horizontal/vertical stabilizers may dislocate during ground impact. Just pop them back in. To avoid dislocation you may apply some glue, but this is not recommended as it will make the whole unit a single unit and therefore hinder replacing parts when damage is beyond repair.
Keep superglue and clear cellophane tape close by, just in case of any mishaps resulting in damage. Every part also has a separate STL, so replacement parts can be printed if necessary.
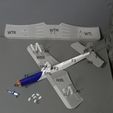
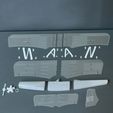
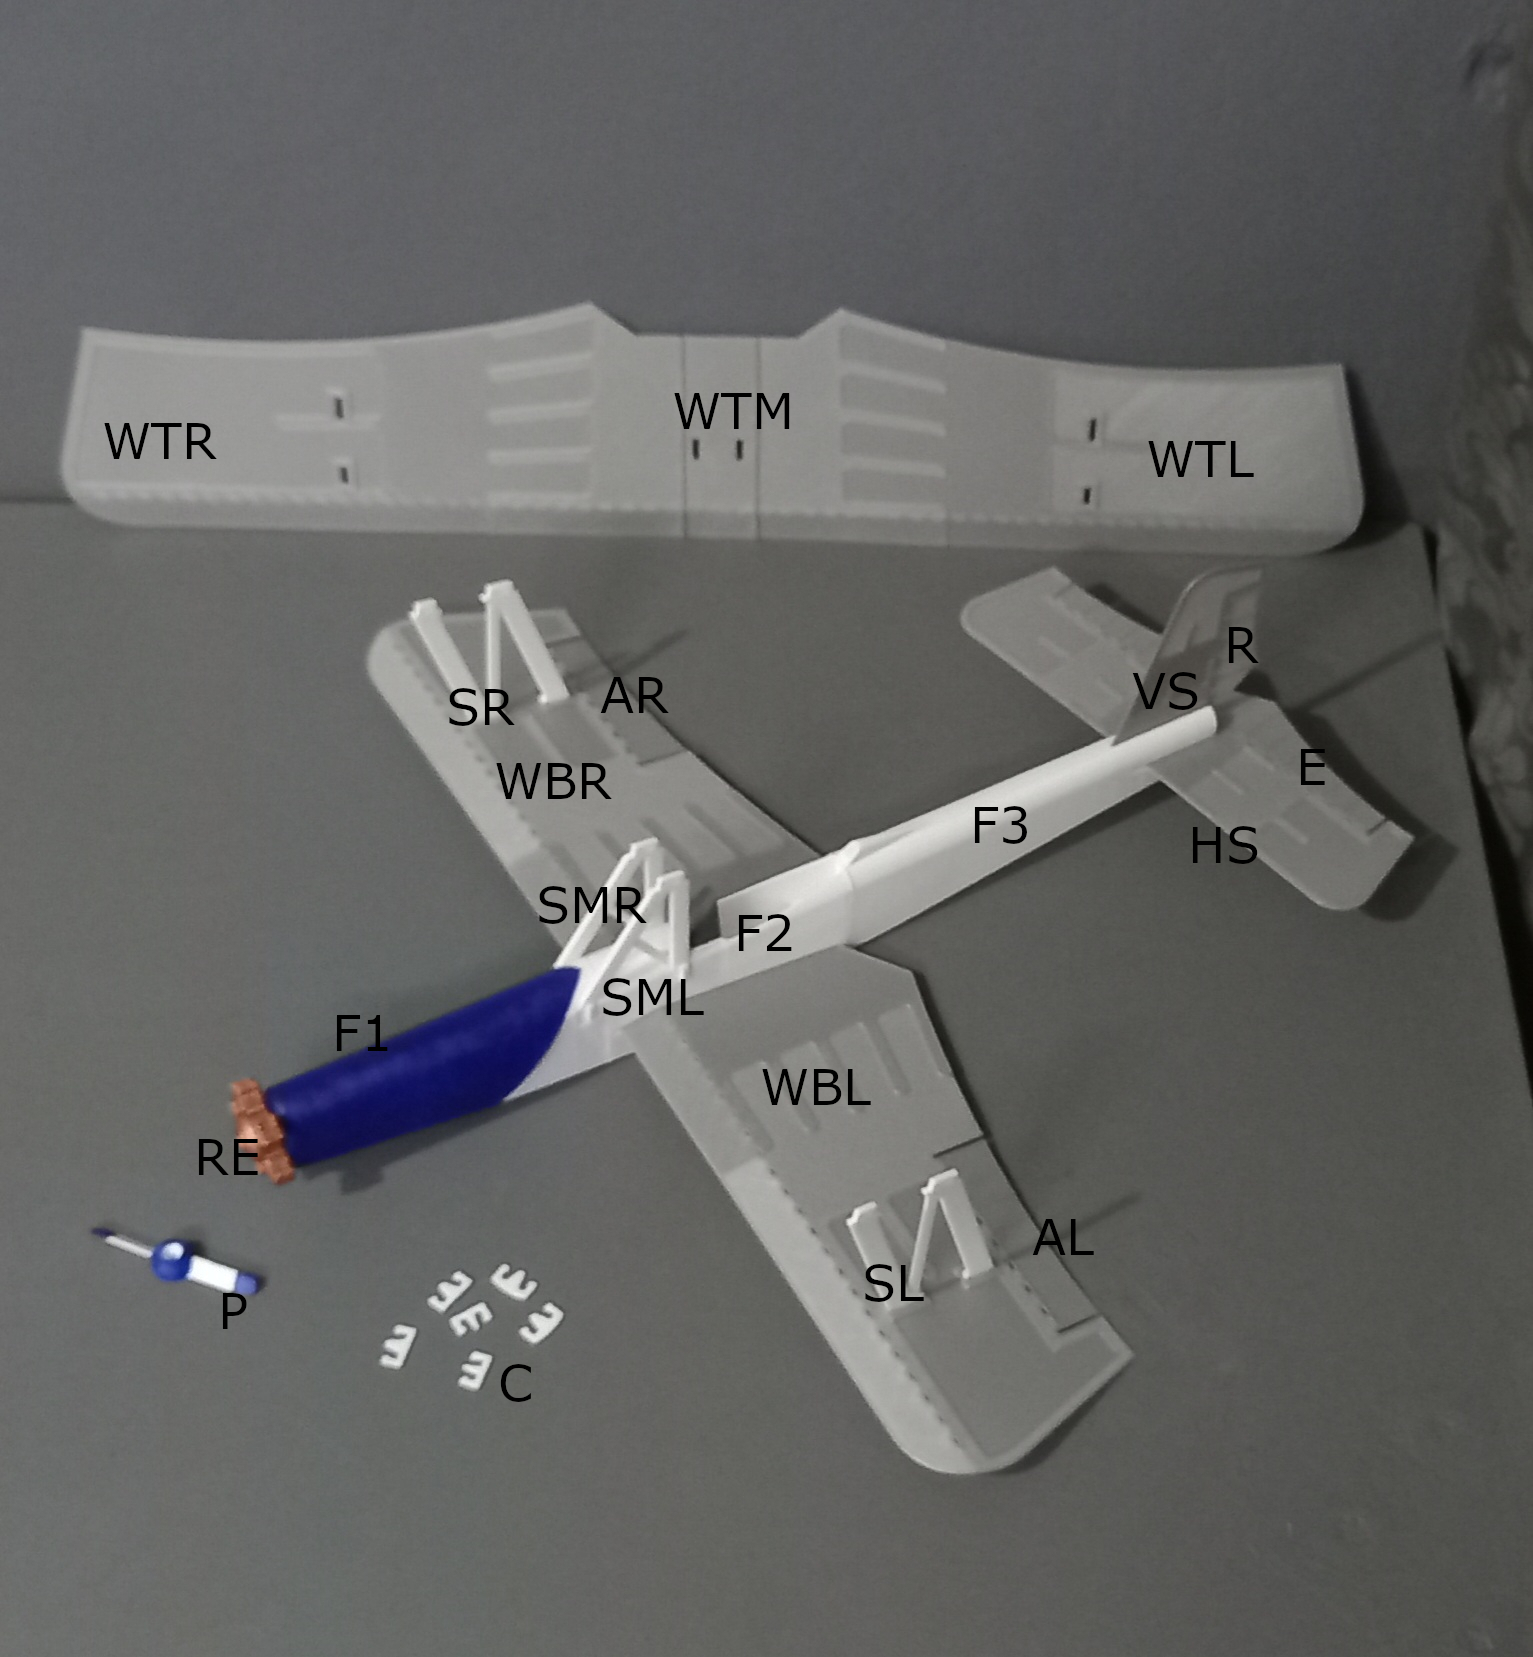
Assembly, part names and flight controls (refer to picture):
P - propeller.
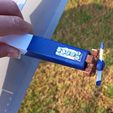
Use a 3mm bolt to connect the propeller to the fuselage nose. During flight air flow spins the propeller which gives a nice flying effect, so when tightening the propeller don't lock it.
RE - Radial engine.
F1 - Fuselage nose section.
F2 - Fuselage wing or mid section.
F3 - Fuselage tail section.
The fuselage sections are glued together (superglue is recommended). Holes and bumps (refer to picture) helps with alignment.
WBR - Wing bottom right side.
WBL - Wing bottom left side.
WTR - Wing top right side.
WTL - Wing top left side.
WTM - Wing top middle.
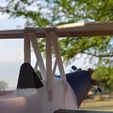
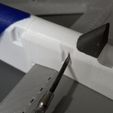
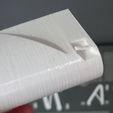
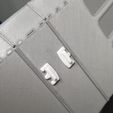
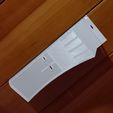
Wings need to be bent slightly along the perforated line. This is easily done at home using the spaces between drawers or spaces between doors and frames (refer to picture).
Place top wings right next to each other. Apply superglue on the middle area between the protruding lines left and right that crosses the perforated lines. Apply wing top middle section on top and press and hold for a secure connection/bond.
AR - Aileron right side.
AL - Aileron left side.
Right aileron up and left aileron down - airplane turns right. Left aileron up and right aileron down - airplane turns left. Both ailerons down will act as flaps, which increases wing lift.
HS - Horizontal stabilizer.
VS - Vertical stabilizer.
E - Elevetor.
R - Rudder.
Elevator up - airplane goes up, elevator down - airplane goes down. Although rudder is available it is not essential for this product.
SR - Strut right side.
SL - Strut left side.
SMR - Strut middle right side.
SML - Strut middle left side.
The outer struts each has 4 connection points. Each has one connection point with a small protrusion. That point identifies the bottom front position on each side.
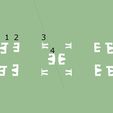
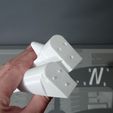
C - Clips.
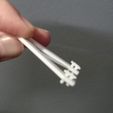
Clips position identification (refer to picture).
1 - Flat back with small protrusion (Outer struts bottom connections).
2 - Flat back (Outer struts top connections).
3 - 90 degree lip (Middle struts bottom connections).
4 - Rounded back (Middle struts top connections).
Balancing points and balancing weights:
With one finger under each bottom wing right below the perforated line, your airplane should be balanced with the fuselage in a horizontal line (refer to picture). This is the average balancing point between the top and bottom wing. To achieve this, fill the cavity in the nose bottom with prestik and add some bolts until the nose and tail remain in a horizontal position or with the nose having the tendency to slightly drop downwards.
Flight distance does not necessarily increase if you throw harder. To increase flight distance add even more weight. With more weight throw a little harder, this will increase speed, but also increase energy during ground impact which will increase possibility of damage.
To reduce speed and flying distance reduce weight. This will also hinder balancing and make the airplane more unstable.
Indicated balancing points and weight are the standard setting. When adding or removing weight, no need to check balancing points again as they will shift forward or backward with different weights, and thereby also produce more or less stability respectively.
Flying:
Start by flying with prestik only, and with flight controls in neutral position. Softly throw your airplane in a straight line pointed slightly down towards the ground. Throwing your airplane slightly towards the ground may result in a soft belly landing. Throwing it up towards the sky could result in nice aerobatics, but also end in a nose dive crash. This setting is not the most desirable setting as your airplane won't fly far, but it's a starting point to get the feel for your airplane.
It takes time and practise to get it right. Add weight as your skills improve and start to manipulate your airplane by deflecting the flight controls. Slightly deflect the flight controls as not much is needed to manipulate your airplane. This will also reduce plastic fatigue (weakening) in the joints/hinges.
Remember, getting awesome flights out of your airplane depends on your throwing and manipulation skills and your patience to develop them.
Downhill flights are usually more successful. Flying in strong wind is not recommended.
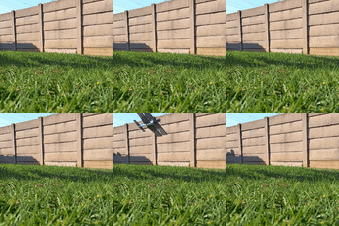
GIF1 demonstrates an "indoors" flight with standard weight settings (prestik plus a few bolts). Only half of the flight distance is shown in the GIF and not much power is required behind the throw to get the airplane going.
This product can be harmful to people and animals if they get hit.
Children operating this product should be supervised by adults.
Happy flying!
The STL file(s) is licensed under private use, but your 3D print may be reproduced (reprinted) and shared or sold for a profit.

3D printing settings

PETG recommended.
Fuselage print settings:
Infill - 0%.
Layer height - 0.3mm.
Perimeters - 1.
Seam position - random.
Print support off.
Brim on.
Wings and stabilizers print settings:
1st layer height - 0.3mm.
Layer height - 0.3mm.
Perimeters - 2.
Seam position - random.
Print support off.
Brim off.
The perforated holes may prove difficult to print in the first layer. If so, then significantly reduce all perimeter speed settings.
Propeller print settings:
Infill - 0%.
Layer height - 0.3mm.
Perimeters - 2.
Seam position - random.
Print support off.
Brim off.
The propeller is the most vulnerable point regarding ground impact. Consider printing it with TPU, this will highly reduce possible impact damage and also slightly reduce shock transfer to the rest of the airplane.
Struts and clips:
Layer height - 0.3mm.
Perimeters - 2.
Seam position - random.
Print support off.
Brim off.
Check your extrusion flow. Rather under flow than over flow. Over flow may cause clips to not fit.
Consider printing the clips with TPU.

Advertising


Issue with this design? Report a problem.

Would you like to support Cults?

You like Cults and you want to help us continue the adventure independently? Please note that we are a small team of 3 people, therefore it is very simple to support us to maintain the activity and create future developments. Here are 4 solutions accessible to all:

  • ADVERTISING: Disable your banner blocker (AdBlock, …) and click on our banner ads.

  • AFFILIATION: Make your purchases online by clicking on our affiliate links here Amazon.

  • DONATE: If you want, you can make a donation via Ko-Fi 💜.

  • WORD OF MOUTH: Invite your friends to come, discover the platform and the magnificent 3D files shared by the community!


Sharing and downloading on Cults3D guarantees that designs remain in makers community hands! And not in the hands of the 3D printing or software giants who own the competing platforms and exploit the designs for their own commercial interests.

Cults3D is an independent, self-financed site that is not accountable to any investor or brand. Almost all of the site's revenues are paid back to the platform's makers. The content published on the site serves only the interests of its authors and not those of 3D printer brands who also wish to control the 3D modeling market.
100% secure payment by credit card, PayPal, Apple Pay, Google Pay, etc.
View all payment options.