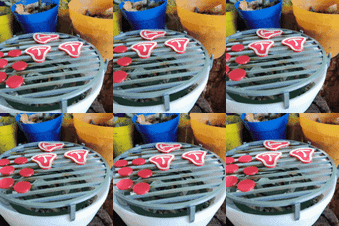
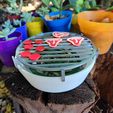
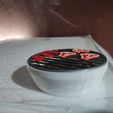
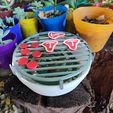
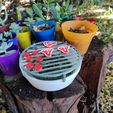
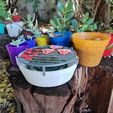
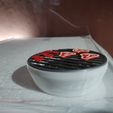
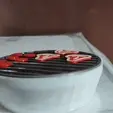
Hi everyone, this time I've designed a mosquito repellent holder. But this time inspired in the out side time. During the last weeks in my country there was an invasion of mosquitoes (with different diseases that they can spread). So I wanted to have a barbecue (or asado) out side, in the yard with out the mosquitoes. So eureka why do not create a spiral repellent holder that is so common and works fine to the exterior.
Here you will find two variation, the main difference is the center hole for pin (y I've use a screw) one is in the center the other is displaced to a side, this is because the shape of the spiral, they came in pairs so the "center" is not the center, the center is between the two spirals, the center is displaced. With this modification I intent to put the spiral in the center, I have more separation between the hot tip and sides walls of the holder.
You can put the gill (full or not) over the holder or use the separator that is attached but I recommend to use it. (I printed In PLA, and if it closer the grill could suffer deformation by the heat, I would recommend PetG or use the separators)
I've printed in an artillery hornet (The grill) with multiple colors, (Silver/Grey for the gill and the separated), red for the meat and white for the bones, All in PLA. And I’ve use my Hellbot Magna SE Pro to print the base with white PLA.
SPANISH/ Español
Español / Spanish /
Hola a todos, en esta ocasión he diseñado un soporte para repelente de mosquitos. Pero esta vez inspirado en el tiempo exterior. Durante las últimas semanas en mi país hubo una invasión de mosquitos (con diferentes enfermedades que pueden propagarse). Entonces quería hacer una barbacoa (o asado) afuera, en el patio, sin mosquitos. Entonces, eureka, ¿por qué no crear un soporte para repelente en el común espiral que funciona bien en el exterior?
Aquí encontrarás dos variaciones, la principal diferencia es el hueco del centro (y yo he usado un tornillo como pin) uno está en el centro y el otro está desplazado hacia un lado, esto se debe a que la forma de la espiral, ya que vienen en pares y el centro esta en la mitad de ambos. Entonces el "centro" no es el centro, está desplazado. Con esta modificación intento poner el espiral en el centro para tener más espacio entre la punta caliente y los lados de las paredes soporte.
Puedes poner la parrilla (completa o no) sobre el soporte o usar el separador que viene adjunto, pero recomiendo usarlo. (Yo lo imprimí en PLA, y si al estar más cerca la parrilla podría sufrir deformación por el calor, recomendaría PetG o usar los separadores)
He impreso un Artillery Hornet (La parrilla) con múltiples colores, (Plata/Gris para las branquias y los separados), rojo para la carne y blanco para los huesos, Todo en PLA.
Y en banco la Base con una Hellbot Magna SE Pro.-
Estos son los parámetros que utilice.
Altura de la capa 0,2,
relleno15%
Capas 3 arriba y abajo.
3 perímetros.
Temperaturas: primera capa 208 ºC y la cama puesta en 60ºC. Las otras capas en 205ºC y el cama en 55ºC.
Puedes imprimir la base sin soporte (simplemente coloca la base 1 mm por debajo de la placa en la impresora cuando la cortes).
La parrilla necesitará soporte si la imprimes con la carne.
En total tomo unas:
3:00 horas para la base.
2:15 para la parrilla completa.
20 min para los soportes.
PD: Pronto trabajaré en una versión vegetariana de la parrilla.

