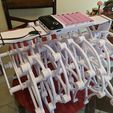
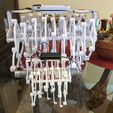
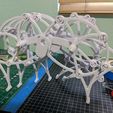
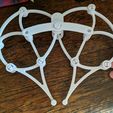
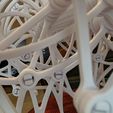
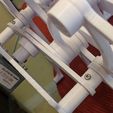
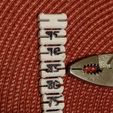
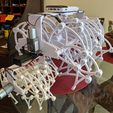
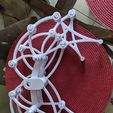
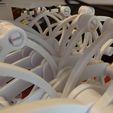
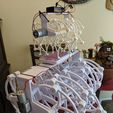
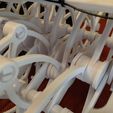
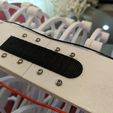
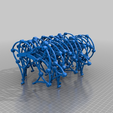
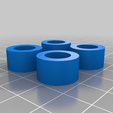
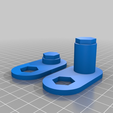
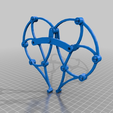
This is the double sized Brabeast I've been working on. It was a continuation from my previous Brabeast Electric and also uses electric motors for power. At twice the linear dimensions, it takes 8 times longer to print than the original, and uses 8 times more material. Keep this in mind, this is a long build. I ended up building a nine-segment version and it took a very long time to make. It took me about 12 hours per segment just to print, plus preparation and assembly time, plus additional time for design and test of various parts on the fly as I was building it. Just the print time alone was 120 hours. I've been working on this for over five weeks.
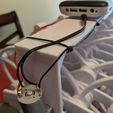
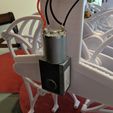
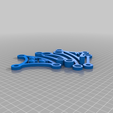
Print the "per" parts listed, per segment and per beast. Use the "instruction" files to get an idea of how the leg segments and whole beast go together. I used two 10rpm worm drive motors from Amazon and a 12v battery pack that uses 6x 18650 lithium batteries.
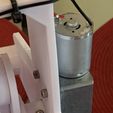
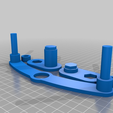
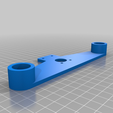
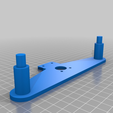
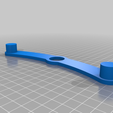
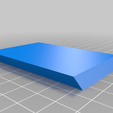
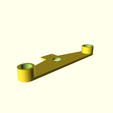
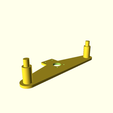
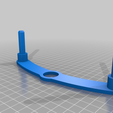
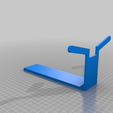
The motor mounts do not have the extra screws holes needed to mount them on the end of the beast. I just drilled some holes by hand and added screws, it doesn't need to be exact. The same can be said for joining the cargo deck together, just drill holes by hand and use screws to connect them. The cargo deck rests on the motor mounts and attaches to them simply with super glue and zip ties.
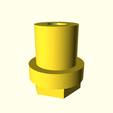
Glue the segments together with super glue at the crank shaft hex joints and the ends of the support beams on either side of each segment. Be sure parts are still mobile before the glue dries. To avoid the bending of the entire beast that I mention below due to imperfect dimensions between the crank and the support beams, you may want to glue only the crankshaft at first and leave the gluing of the support beams until you're finished.
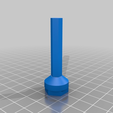
The machine has some wear-in required. I help this along by using a drill with a flat-head screwdriver and spinning all the hinge clips as I build each segment so they are worn in prior to finishing the machine. Silicone lubricant also helps on the cranks and hinges. I've also provided some drill adapters to run the machine with a drill motor to wear it in as well.
NOTE: A problem I have noticed is that the length of the support beam and crankshaft of each segment do not match exactly due to imperfections in the parts. So at 9 segments long, my Brabeast has the middle of the motor mount at one end poking out a few millimeters more than the sides. This causes my Brabeast to have a definite curve or arch to it, since the crankshaft is slightly longer than the support beams on either side. This would become a worse problem as longer beasts are made. However I haven't worked on fixing this and probably won't be revisiting this machine again, so just be aware of that problem. Maybe glue the crankshaft parts first and then do the support beams later once you have all your segments in place.
I've supplied OpenSCAD files for all the parts I modified in case you need to modify them.
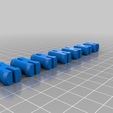
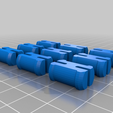
Update September 1st, 2019: I just added the .scad and .stl files for shoes for this machine. These should be printed using polyurethane or some other flexible plastic. Print as many as you need based on how many feet your machine has. Then slip them on and use a small screwdriver or other lever to get the shoe on all the way. Be aware though, that since the longer machines tend to have a bend in them as I mentioned above, these shoes may cause the feet to interfere with other and jam the machine.
I'll add a video of the full device and some more photos later.
Here is a 15rpm worm driver motor similar to the 10rpm motor I used. Two of these have plenty of torque to turn the machine, so you can use a faster motor if you want to.
https://www.amazon.com/15RPM-Shaft-Torque-Turbine-Geared/dp/B00EDMIH7E
Here is the battery pack with it's switching power supply. It uses 18650 Lithium batteries and can produce 12 volts from just a single 4v battery, so you don't need to fill it with six batteries. Just be aware this device has no safety features, and the positive and negative battery connectors are a single rail each, so if you put one battery in backwards or have batteries with different levels of charge, it could be very bad, maybe start a fire or cause a battery explosion.
https://www.amazon.com/gp/product/B07G89BWLN

/https://fbi.cults3d.com/uploaders/32176804/illustration-file/de6ec4a8-ee49-40a2-a9fd-84f1de36e483/Brabeast_TPU_shoes.png)
