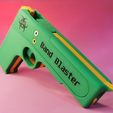
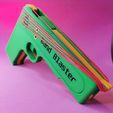
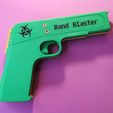
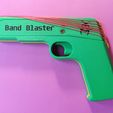
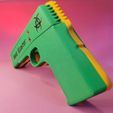
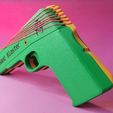
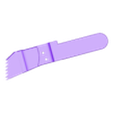
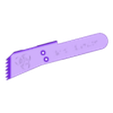
Band Blaster - The 7 Shot 3D Printed Rubber Band Gun
Features:
- 7 round semi-automatic
- Realistic slide movement
- Front and rear sights built in
- Easy to reload
- Safe for kids (No removable parts, low velocity rubber bands)
- Prints in under 5 hours (3 Colour)
- Ingenious reloading design
- Very strong robust print
- Sounds like a real gun
- Easy to assemble
- Only 1 moving part
- Lost bullets are not an issue, just buy another pack of cheap elastic bands!
Video Demonstration:
LINK
Assembly:
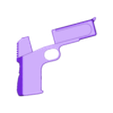
- Insert either slide into the main body
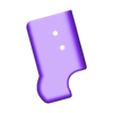
- Insert the trigger ensuring the holes line up with the holes in the slide
- Screw in 2 screws until the head is flush with the surface of the slide
- Insert the other slide
- Insert the last 2 screws
Tip: If the slide doesn't move freely after assembly, check that both sides are perfectly aligned with each other. Any miss alignment here can mess up the tolerances can cause a sticky action.
You could also sand the contact surfaces to decrease the amount of friction even further. I haven't needed to do this myself though.
Screws:
- 4x 4mm-5mm diameter countersunk screws or whatever you have in your toolbox as long as they fit! :)
You can use smaller diameter/longer screws as the threads will meet and interlock in the middle, so the only important thing is that the heads don't protrude in to the path of the rubber bands.
Loading:
- Hook the first band on the tip of the barrel
- Stretch and locate it on the lowest groove to the rear of the main body
- Continue this one band at a time until you reach the last groove
- Ensure all bands are seated correctly with a clear gap between each groove
- The Band Blaster is now ready to fire!
Firing:
For the action to work properly the slide needs to move fully back and fully forward. This is so the rubber bands can fully engage and climb up the ladder of teeth.
After giving this to my kids to play with for a few hours (Age 4,6,7) they were struggling to fully pull back the trigger with all 7 bands loaded. This then messes up the order of the bands and jams the blaster. This shouldn't be an issue for anyone over the age of around 12 but if you do find it a problem for your kids, then you can simply use 3 or 4 bands to relieve some pressure off the trigger.
Rubber Bands:
You can use a wide range of rubber bands for this blaster, as long as they're all the same size.
Here's a link to the size that i have been testing with:
LINK
These are not a fail safe though as I've found that even different coloured bands of the same size can have widely different strengths. I would suggest getting a large bag of mixed sizes to really dial in the right tension for your specific blaster.
Tip: If you use your own bands and find that the action is stiff or not working properly, the bands are most likely too tight.
I really hope you like this design! - It has taken a fair bit of work to get a super reliable, accurate, easy to print, fun for all the family rubber band blaster, and I personally can't stop playing with it!
I will be releasing a set of targets to go with this very soon, so follow me to stay updated :)
Please like the model and review your experience - It helps a lot! :)
Also, post pictures of your makes! - I'd really like to see some different funky colours of this design! :P
This listing is for 1 commercial licence for this model only. It cannot be transferred to anyone other than the original purchaser after the initial sale on this site. This licence give you the right to sell the model in physical or digital formats, as long as you include the provided watermark in any advertisement or digital media.
You can find the model for free on a standard non commercial licence here:
bit.ly/Zurlingo-3D

/https://fbi.cults3d.com/uploaders/26478421/illustration-file/7c0a11de-8b98-42bd-bae1-6fe4a1d0f8ea/IMG_20240104_103415_edit_69980828577863.jpg)
