Skip to content

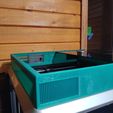
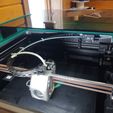
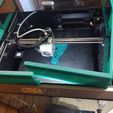
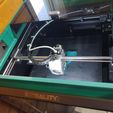
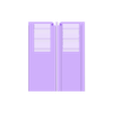
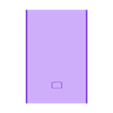
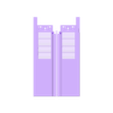
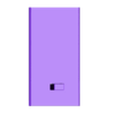
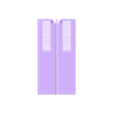
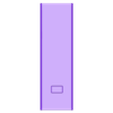
K1 Max lid extension with sliding lid & vent covers.

Advertising
Advertising
?
Creation quality: 5.0/5 (1 vote)
Evaluation of members on the printability, utility, level of detail, etc.

  • 1.4k views
  • 4 likes
  • 11 downloads

License
3D design format
STL Folder details Close
  • 30mm riser - FRONT.stl
  • 30mm riser - REAR.stl
  • 30mm vent cover.stl
  • 40mm riser - FRONT.stl
  • 40mm riser - REAR.stl
  • 40mm vent cover.stl
  • 50mm riser - FRONT.stl
  • 50mm riser - REAR.stl
  • 50mm vent cover.stl
  • 60mm riser - REAR.stl
  • 60mm riser- FRONT.stl
  • 60mm vent cover.stl

Learn more about the formats

Publication date 2024-01-06 at 23:34
Design number 1693356

3D printer file info

3D model description

  • Increase clearance so the bowden tube does not rub on lid.

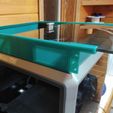
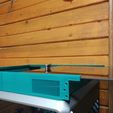
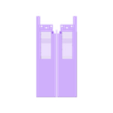
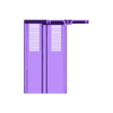
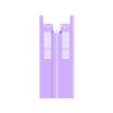
  • Included are 30mm / 40mm / 50mm / 60mm riser versions (pictured are the 50mm riser).

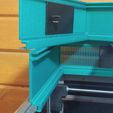
  • The edges form tract to allow lid to slide open & close.

  • Assemble in alternate orientations to allow lid to slide to: rear, left, right, or forward.

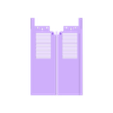
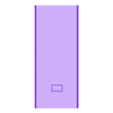
  • Four vents with sliding covers.

  • Fits around top lip of printer to securely hold extension in place.

  • All parts are 3D printed, no bolts or drilling needed.

3D printing settings

for 0.40mm nozzle I suggest
2+ walls
0.20 - 0.30 layer height
0.40 wall width

Align so the outside vent edge lays flat on the build plate.

Supports are needed, set support placement to "Touching Build Plate".

The front and rear frame files each have two edges (left & right). For the extension height of your choosing print FRONT, REAR and 4 copies of the vent cover.

To Assemble:
1) Remove support material.

2) Slide vent covers into tracks for the four edges with vent holes.

3) Carefully remove lid from printer and set on a safe surface.

4) Install both rear frame edges around the lip on top of the printer (see pictures).

5) Keep in mind that the frame edges have a fairly snug fit, slide each edge firmly into its appropriate corner as you go to make next steps easier.

6) Now slide the lid into the track formed by the rear frame edges, sliding from the front. (Alternately lid can be inserted after all frame parts are installed but the handle will need to be temporarily removed from the lid). The inside part of handle makes contact with the rear frame edge by design to reduce risk of lid being opened to far during use.

7) Next install the front edges. The frame edges fit together snug so make sure to slide them fully into place. Easiest to rotate the edges into place as indicated from the pictures. The last edge to install will require a modest to firm amount of force.

Optional: The frame edges are held in place by friction and have no connections between them, there should be no movement, however if you desire you can print extra vent covers and use them as sliding pins between the edges (the tracks of the edges align with each other).

Hope you enjoy the extensions. I find them a necessary alteration to the K1-Max.

Advertising


Issue with this design? Report a problem.

Would you like to support Cults?

You like Cults and you want to help us continue the adventure independently? Please note that we are a small team of 3 people, therefore it is very simple to support us to maintain the activity and create future developments. Here are 4 solutions accessible to all:

  • ADVERTISING: Disable your banner blocker (AdBlock, …) and click on our banner ads.

  • AFFILIATION: Make your purchases online by clicking on our affiliate links here Amazon.

  • DONATE: If you want, you can make a donation via Ko-Fi πŸ’œ.

  • WORD OF MOUTH: Invite your friends to come, discover the platform and the magnificent 3D files shared by the community!


Sharing and downloading on Cults3D guarantees that designs remain in makers community hands! And not in the hands of the 3D printing or software giants who own the competing platforms and exploit the designs for their own commercial interests.

Cults3D is an independent, self-financed site that is not accountable to any investor or brand. Almost all of the site's revenues are paid back to the platform's makers. The content published on the site serves only the interests of its authors and not those of 3D printer brands who also wish to control the 3D modeling market.

100% secure payment by credit card, PayPal, Apple Pay, Google Pay, etc.
View all payment options.