For personal use only
DOES NOT INCLUDE VORTEX M4
OUR COMPLETE RECEIVER COLECTION
This listing encompasses our entire collection of designs for our receivers, allowing you the freedom to mix and match as you please. For a more specific version, please visit our page and explore our sets.
New addition
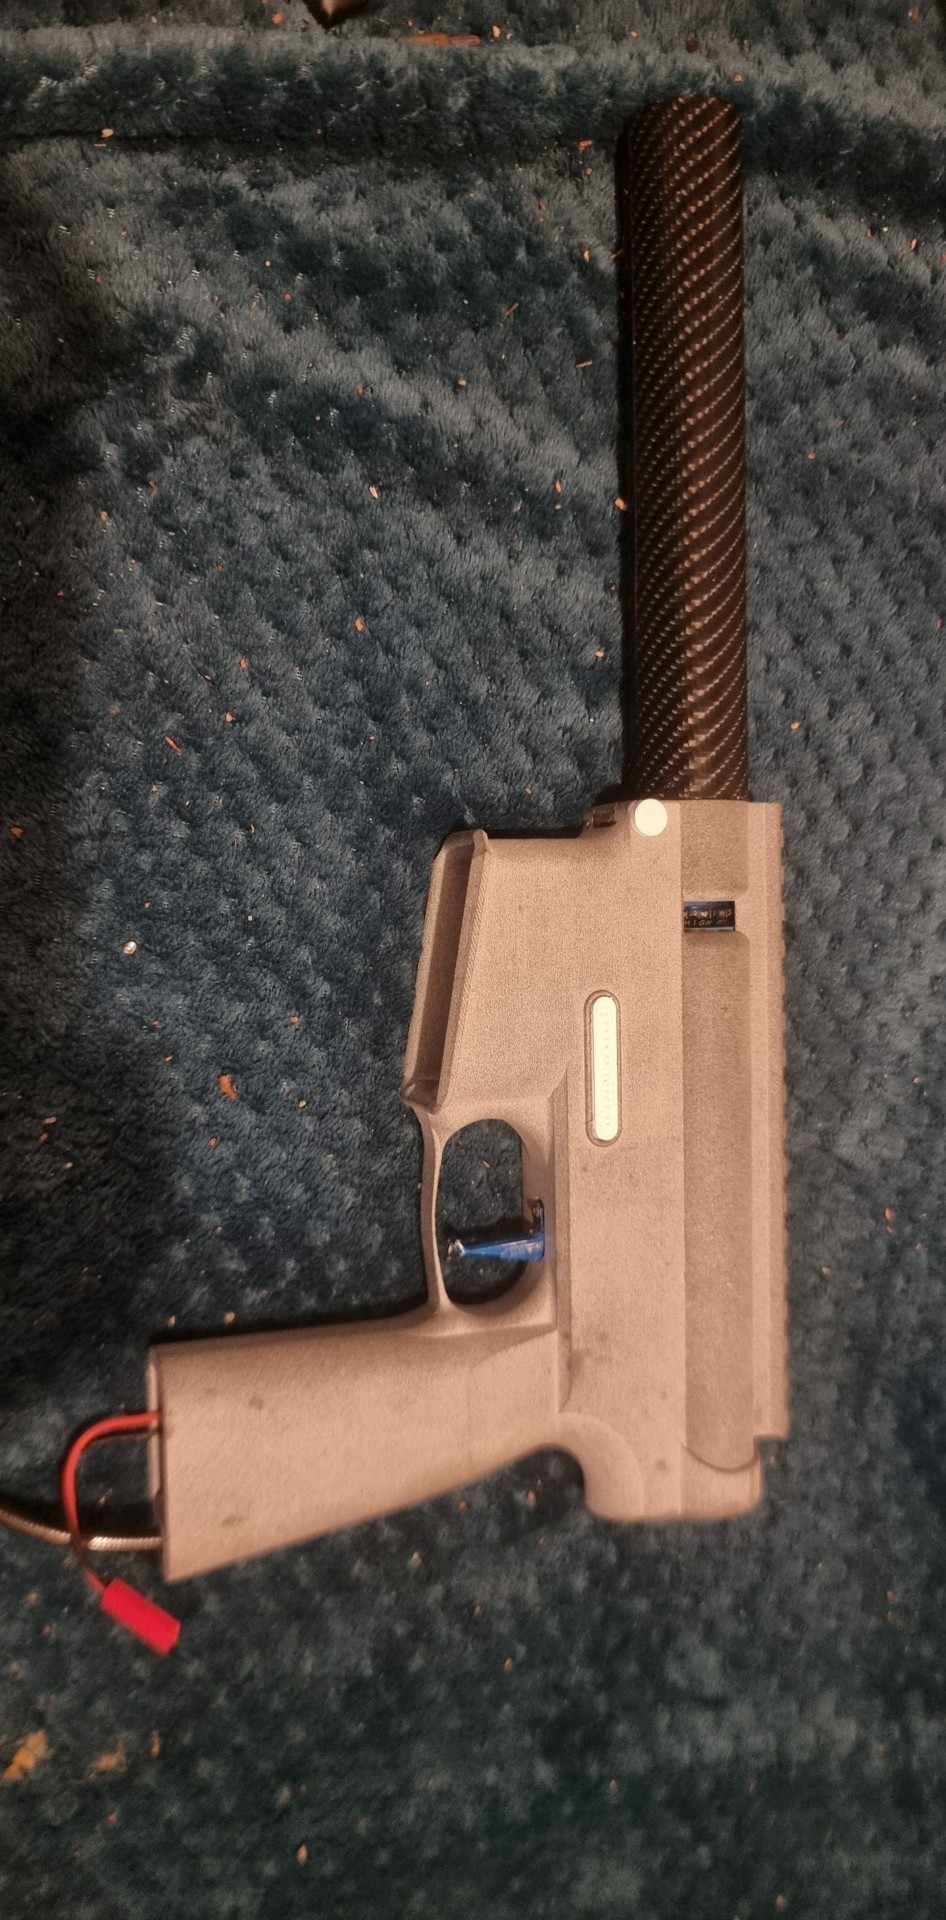
** modified lowers to accept a new trigger box which now allows for a safety and 3 selector points.
titan trigger box added
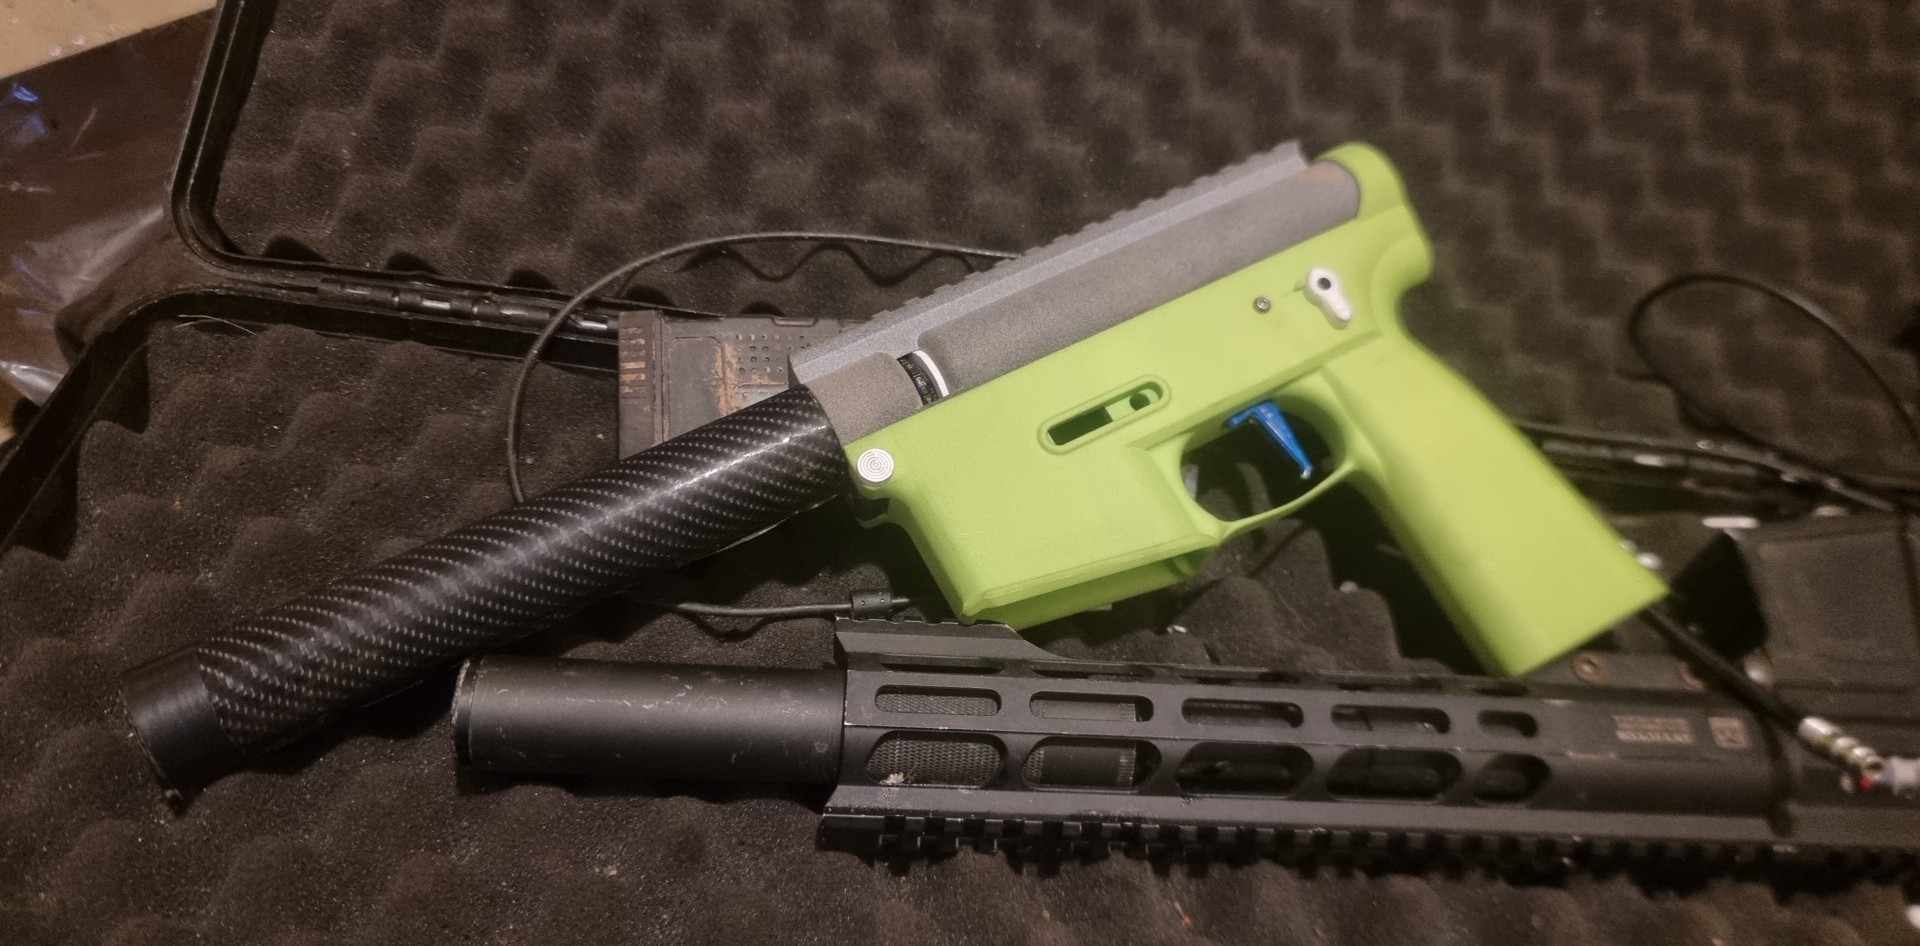
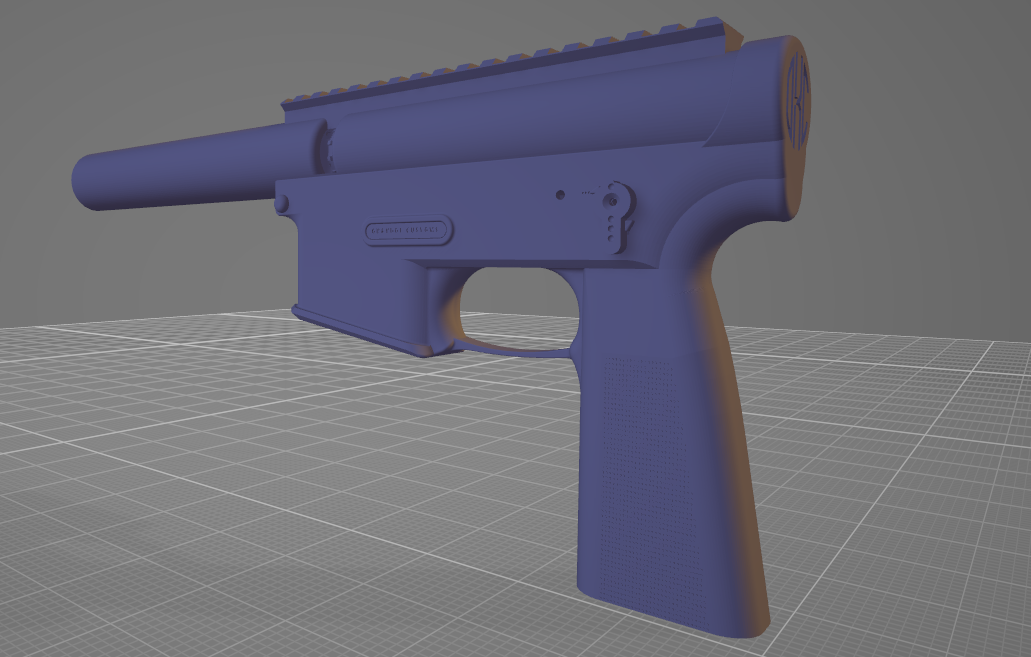
Speedsoft lower for Wolverine Storm (Original) regulator
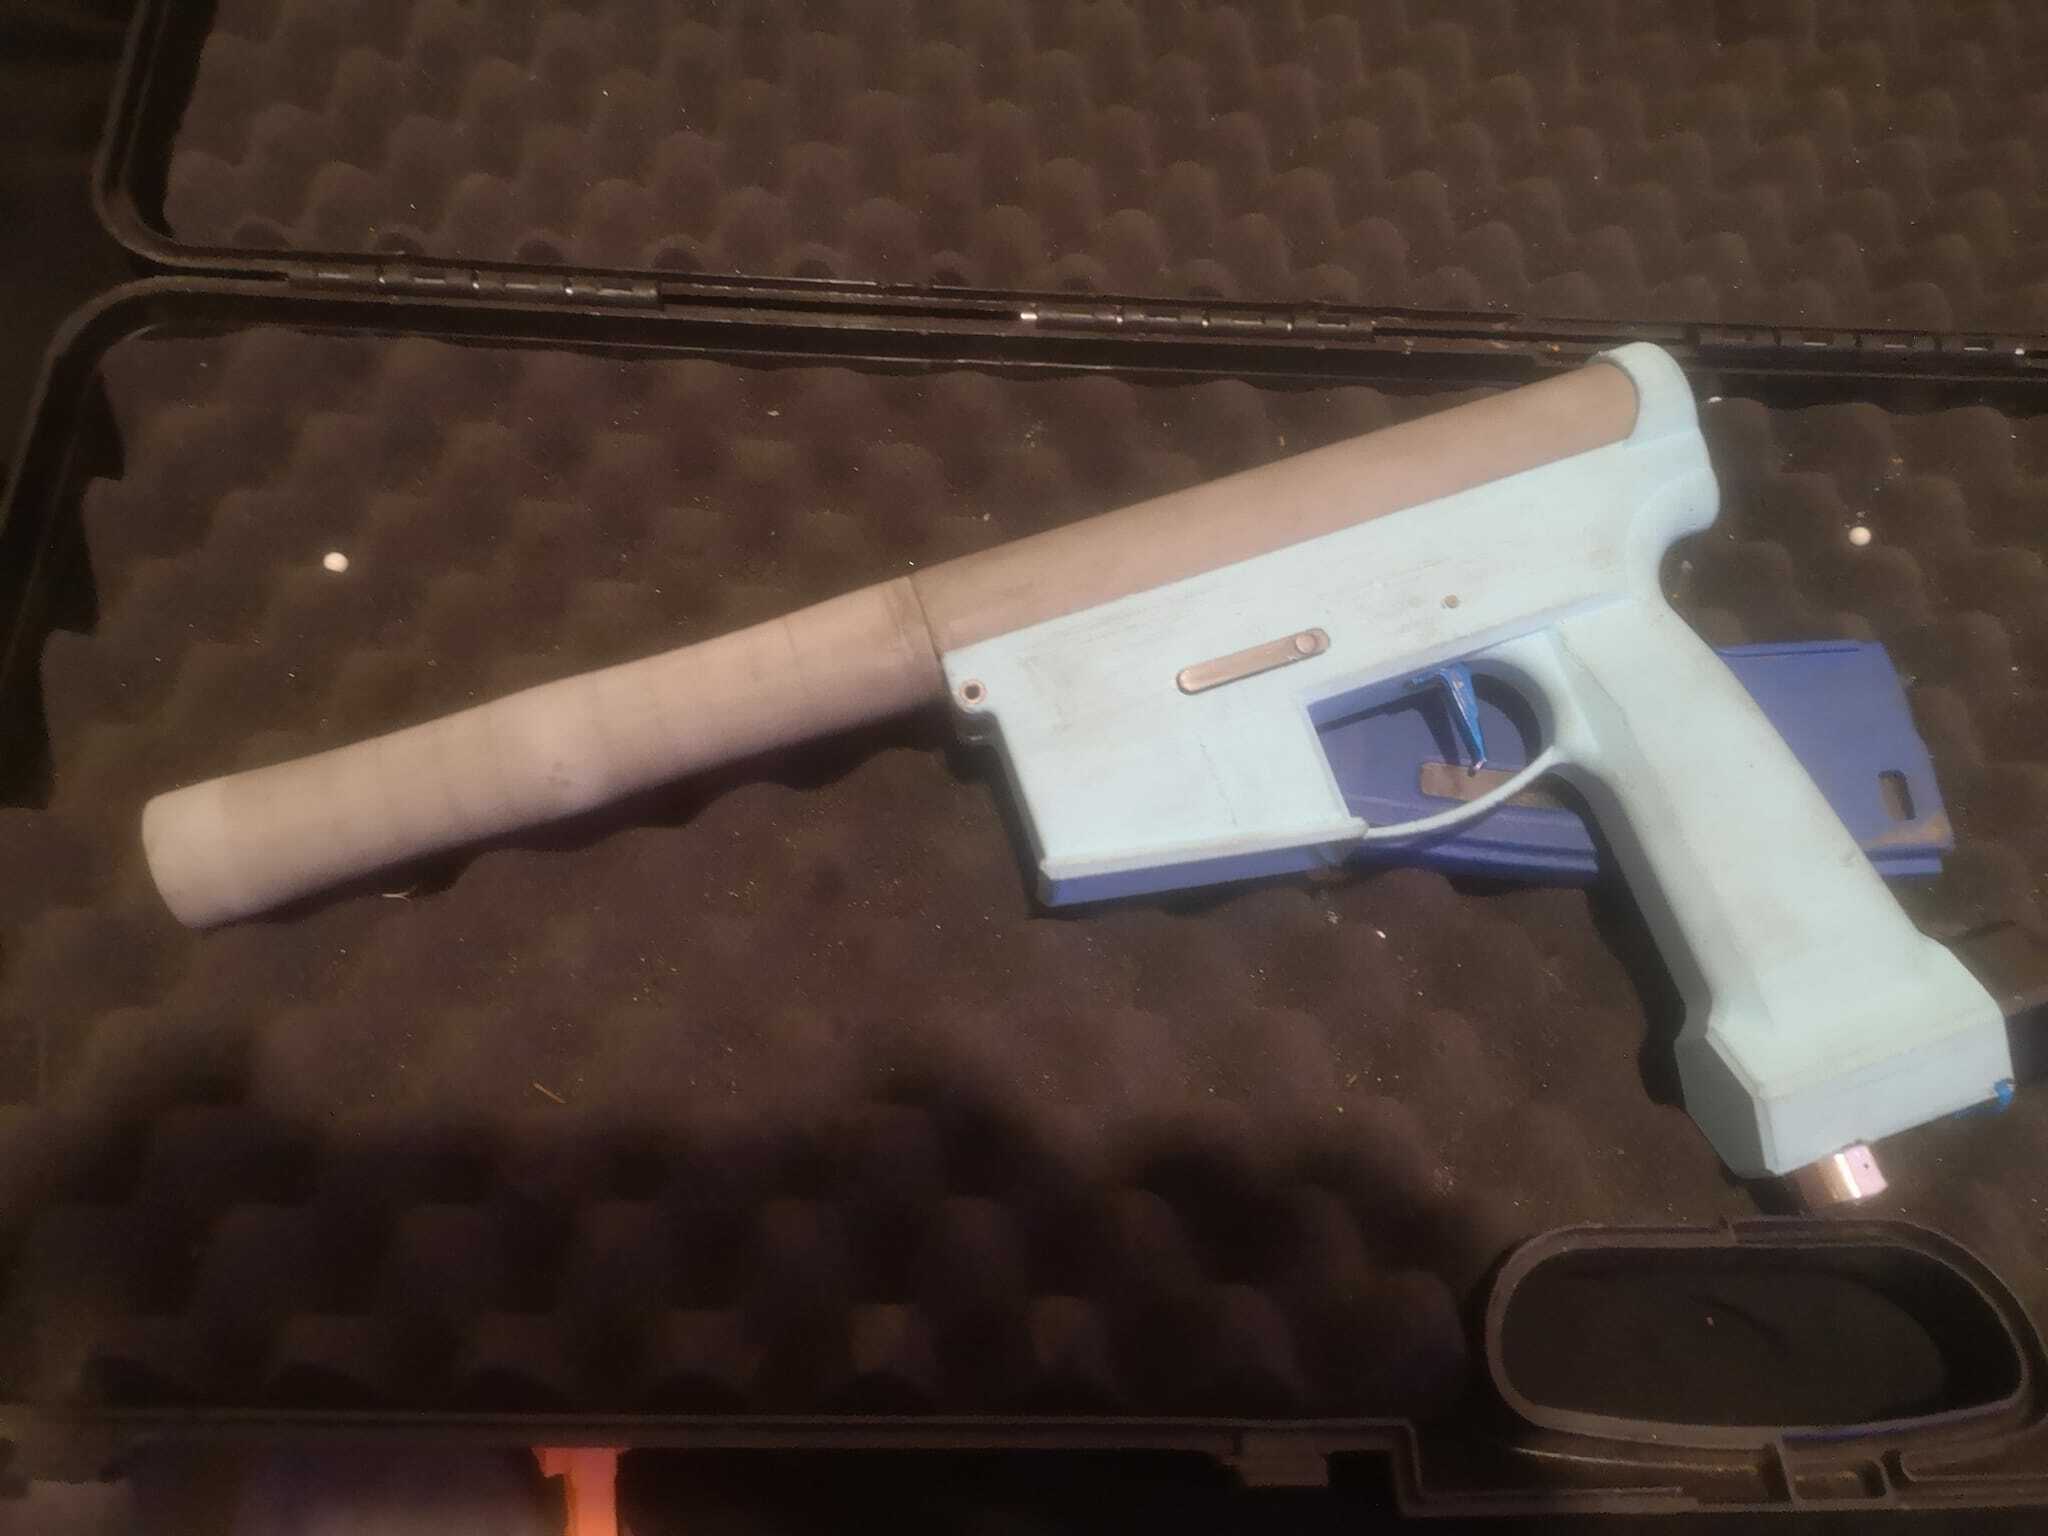
Hpa Lower aeg style
(not compatible with magpul type grips)
(also recommend fitting buffer tube tightening down and cutting screw to correct length to prevent fitting issues on fitting kits)
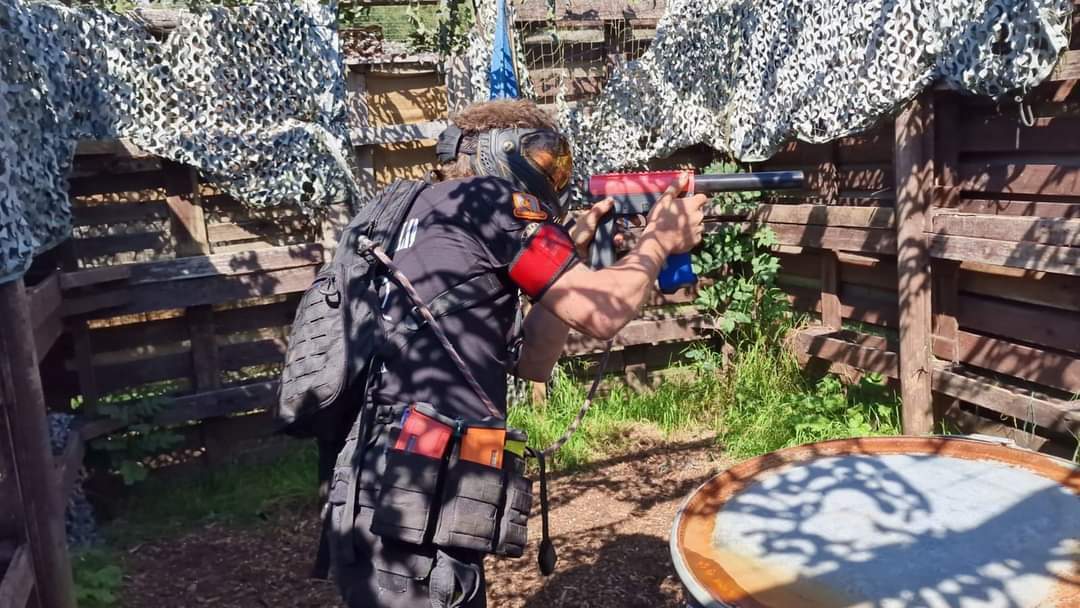
🔫💨 Revolutionize Your Airsoft Experience with All Our HPA Receiver Design's! 💨🔫
Introducing All Our Revolutionary HPA Receiver's:
Elevate your airsoft gameplay with our cutting-edge HPA Receiver, redefining industry standards! Engineered for peak performance and limitless customization, this receiver bids farewell to traditional gearboxes, ensuring unparalleled reliability. Enjoy a seamless experience with consistent power output and remarkable shot-to-shot accuracy. Meticulously crafted for precision and durability, all our HPA Receiver's set the stage for a new era in airsoft.
Unleash Your True Potential:
Dominate opponents with unparalleled precision and reliability on the field. Embrace the future of airsoft and make a lasting impact with our HPA Receiver. Secure yours today and unlock the true power within!
Compatibility:
Designed to seamlessly function with PolarStar F2 and Jack engines, as well as Wolverine Inferno and Reaper engines. Should also be compatible with the Redline N7 using the Wolverine engine clip.
Important Installation Tip:
Ensure the selector plate and trigger box are slid into the lower together to eliminate the risk of breaking or damaging the fire selector switch on the trigger board.
Stay Tuned for Exciting Additions:
Explore various uppers and lowers, including upcoming additions, diverse handguard choices more realistic looking uppers and lowers. Work is underway to accommodate the Pulsar S engine.
Contact Us to Obtain this SLS Printed:
Files currently Included.
** (Handguards) **
normal handguard.stl
** (Fitting Kits) **
f2 fitting kit.stl
Polarstar front cap.stl
fitting kit clip.stl
wolverine engine cap.stl
jack fitting kit.stl
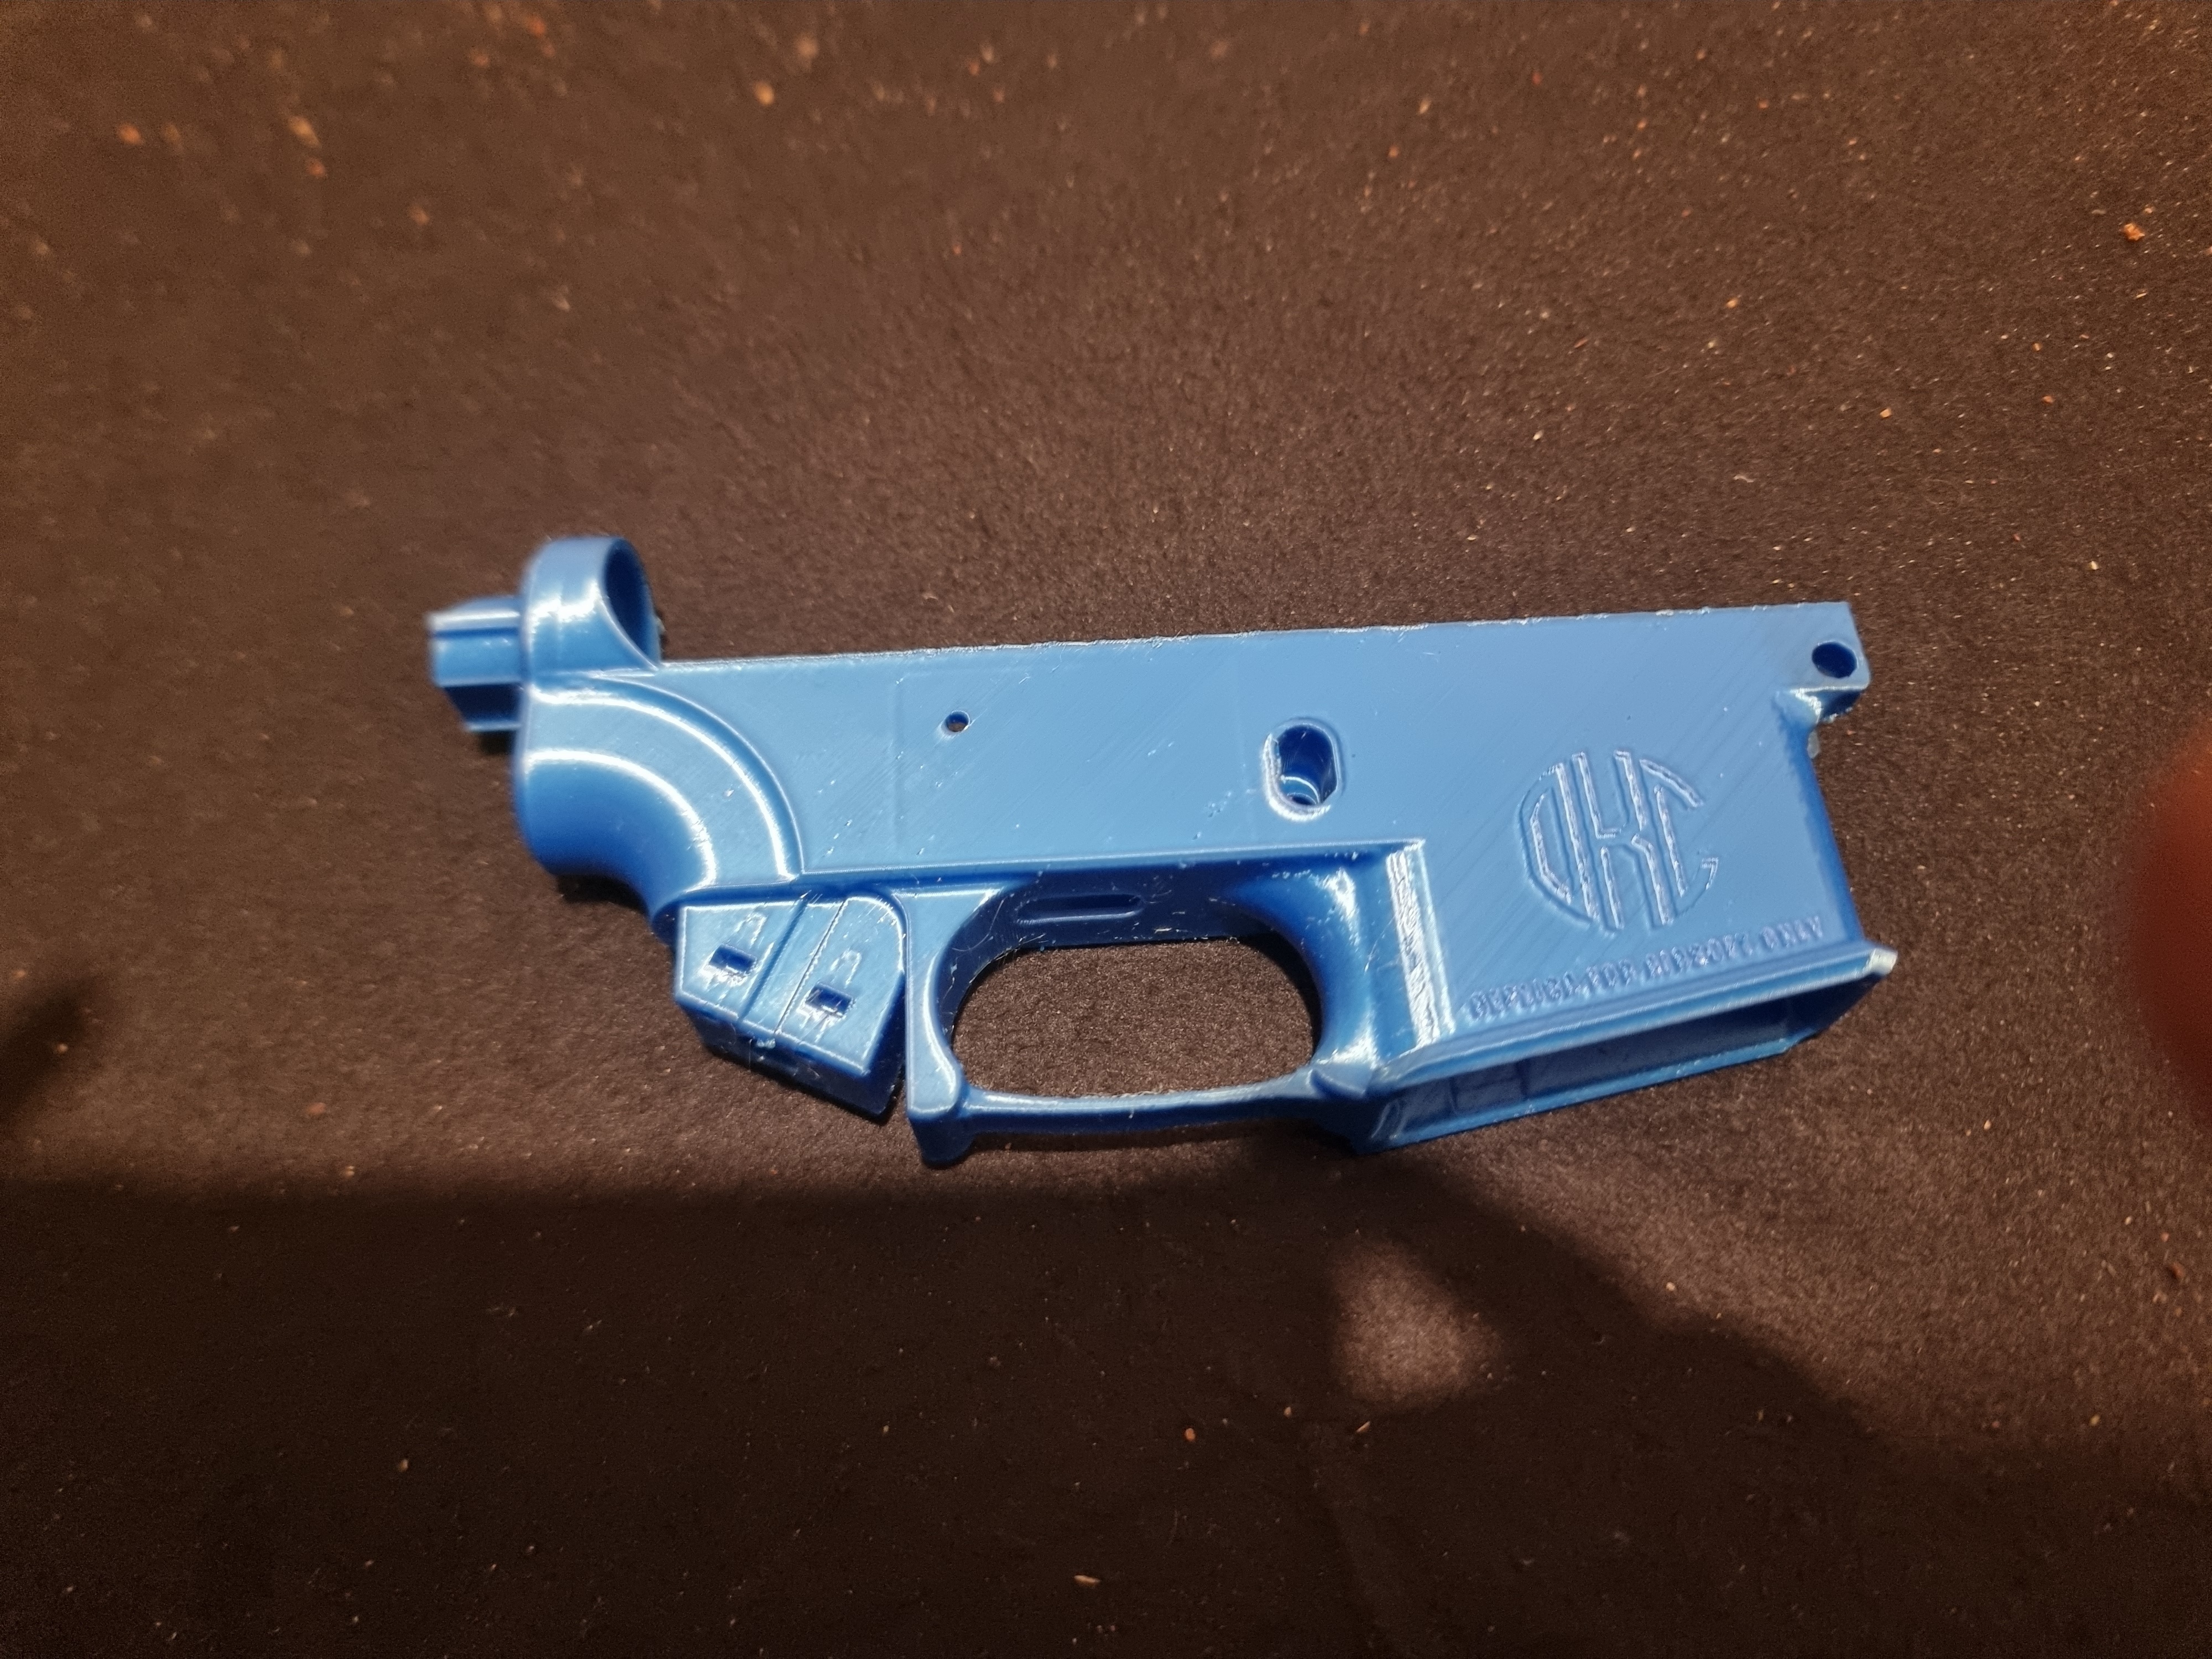
** (Lower Parts) **
body pin.stl
grip cap.stl
mag catch button.stl
mag catch.stl
speedsoft lower door.stl
speedsoft cat 5 cap.stl
sling plate for aeg style lower.stl
(Lowers)
speedsoft lower Wolverine cat 5 regulator.stl
m4 Pistol lower.stl
hpa lower aeg buffer and grip attachment.stl
Speedsoft Lower Storm reg.stl
** (Trigger box and fire selector parts) **
fire selector.2.stl
full auto trigger box top.2.stl
full auto switch.2.stl
full auto trigger box.2.stl
fire selector plate.2.stl
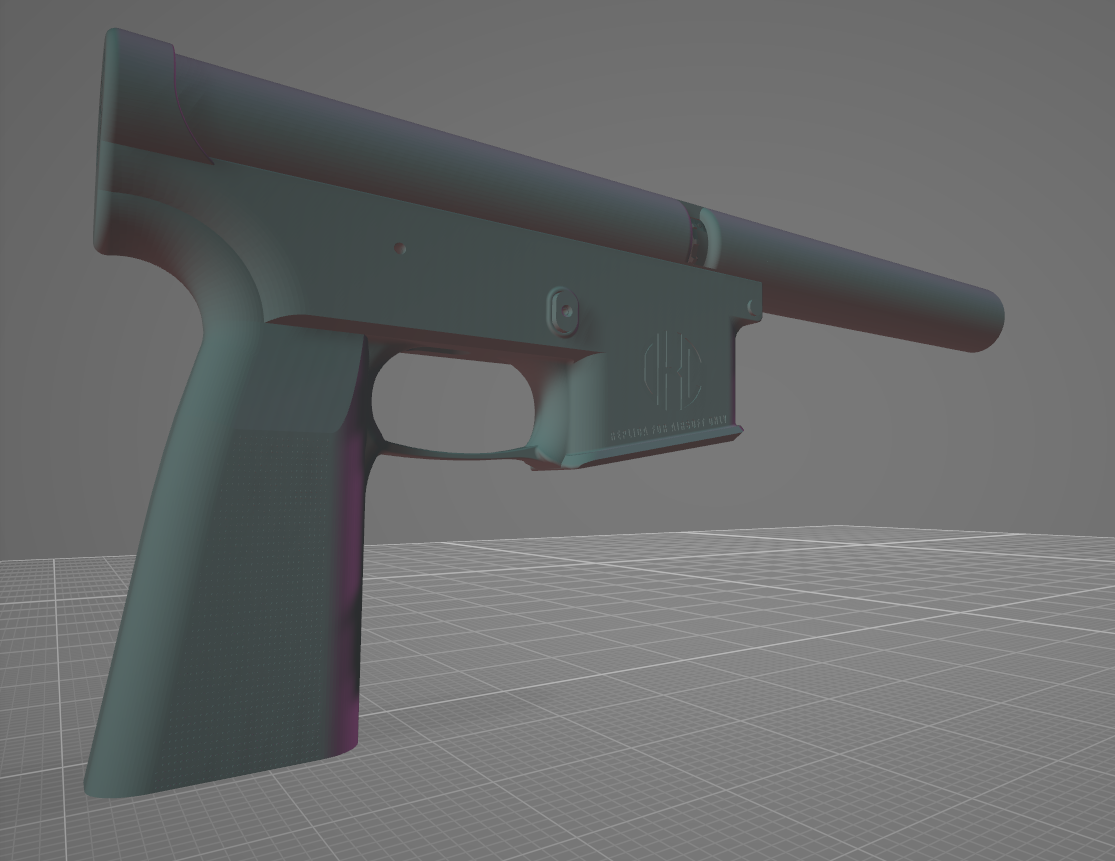
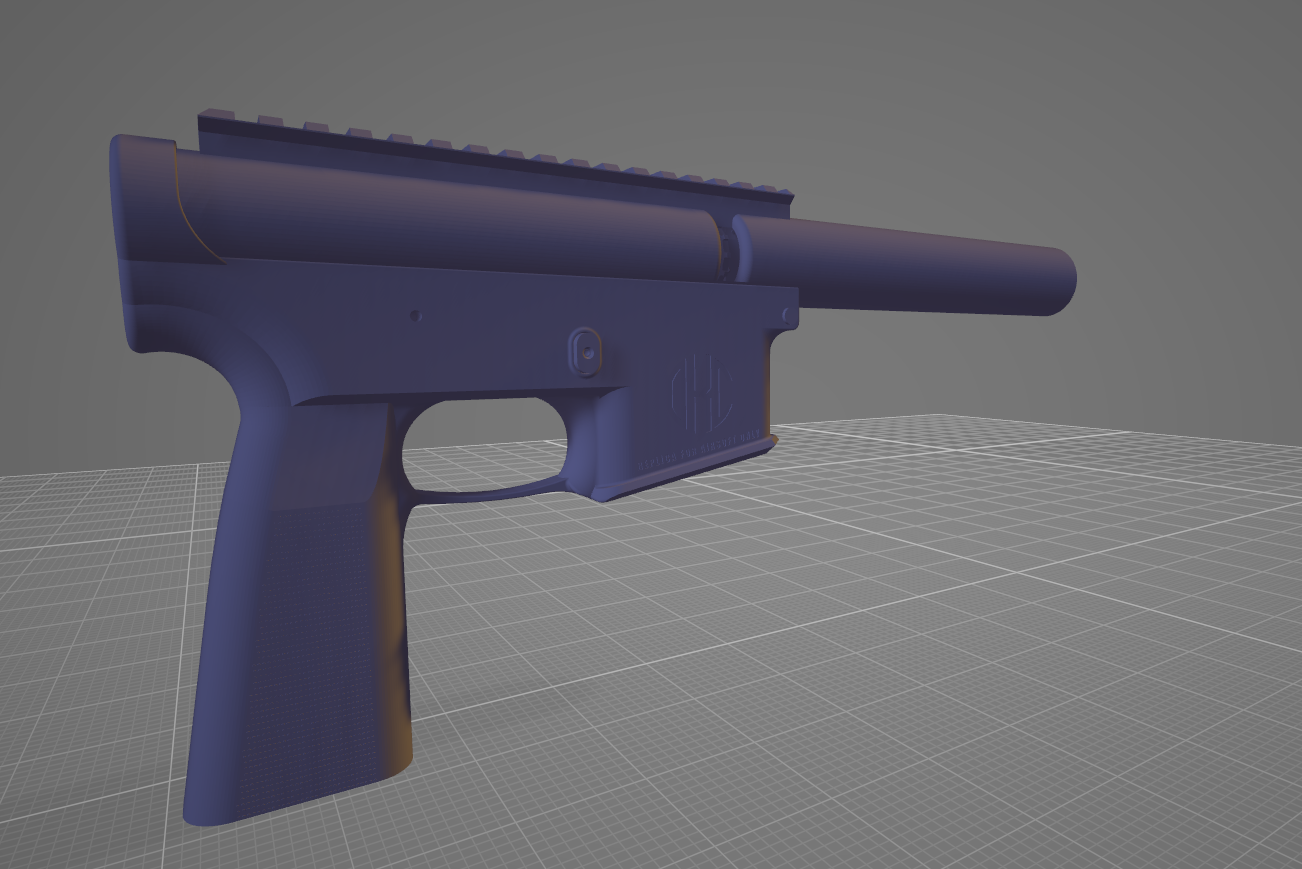
** (Uppers) **
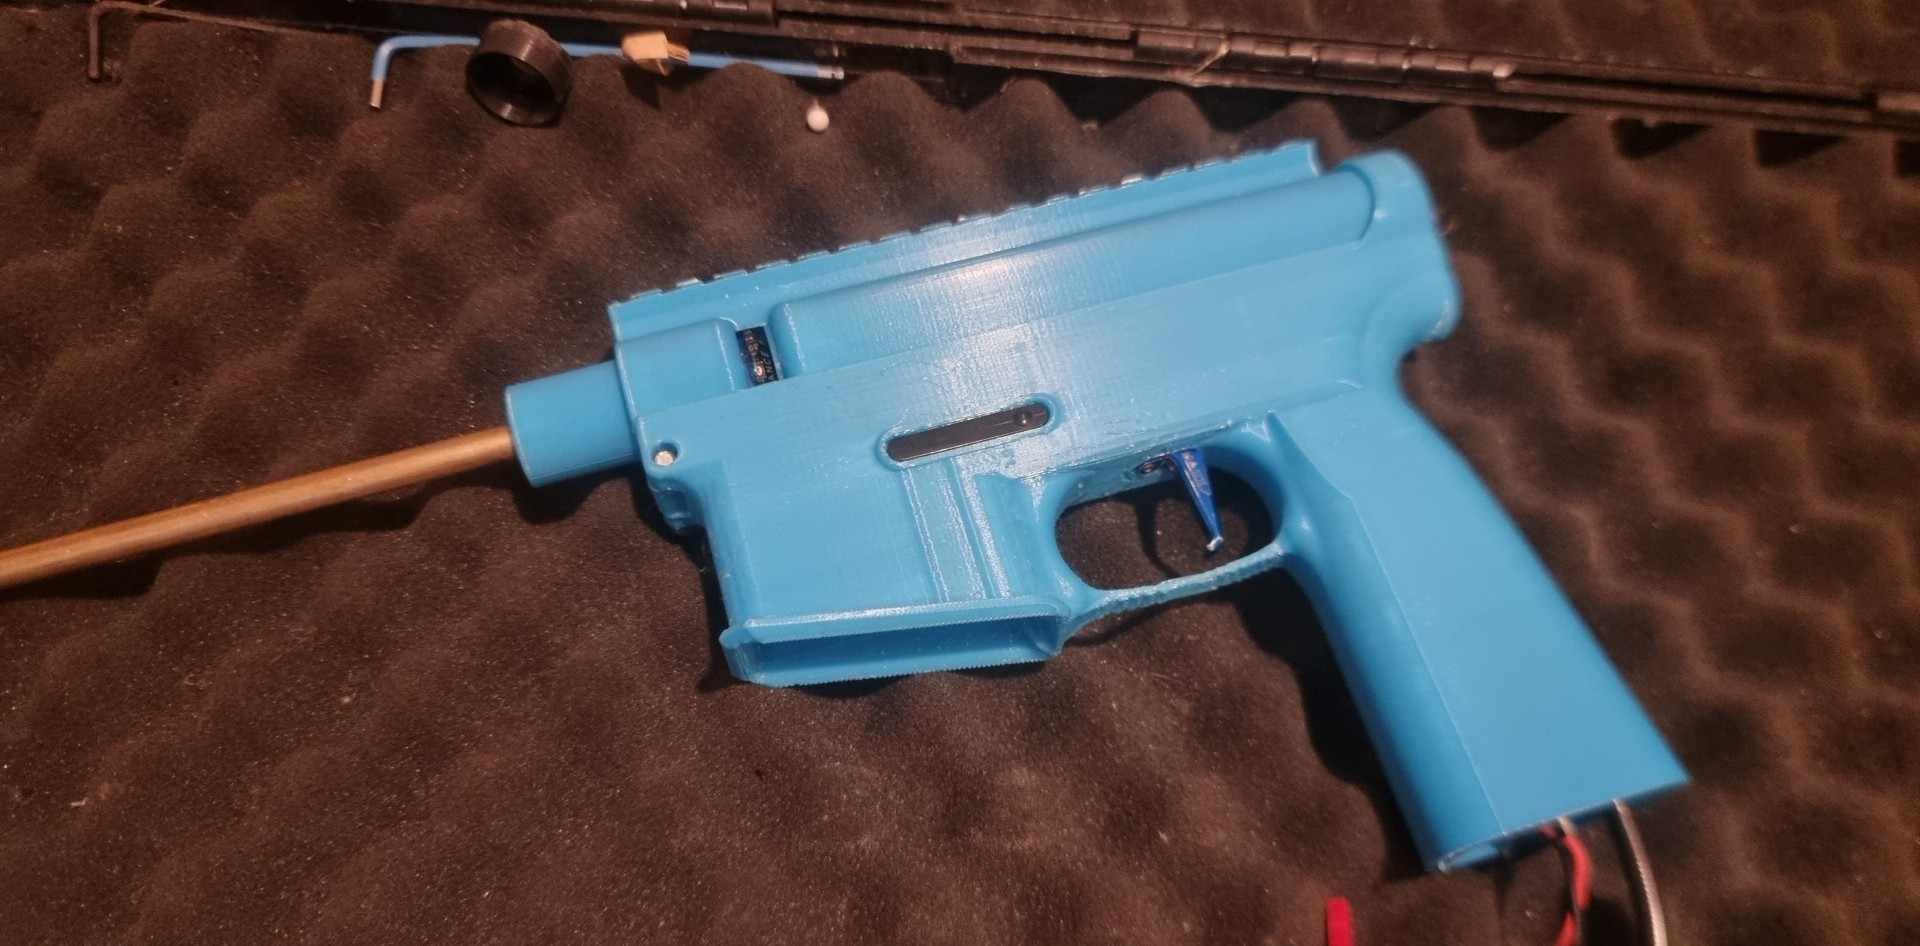
HPA reciever upper with picatinny.stl
HPA reciever upper.stl
Building Your HPA Receiver - Step-by-Step Guide
Parts You Will Need:
1. PolarStar F2 or Jack / Wolverine Inferno / Reaper
2. Maxx Hop M4P (works with the original, remove bottom spring)
3. M4 Small Body Pin or M3x30 Screw
4. Mag Catch of your choice (or use supplied one with M2x5 screw and spring)
5. Trigger Board Screw (any from a standard gearbox)
6. Your choice of trigger (Speed Trigger recommended)
7. M2x5 Screw for the fire selector, and a spring with ball bearing from any M4 airsoft gun.
8. barrel length of up to 200mm ( if you require a different length hand guard let me know and i can make you one)
For speed soft lower
- A M2 square nut and a 10/M2 screw
- A Pneumatic Push to Quick Connect Fittings 1/8NPT Male X 6mm
For AEG style lower
1. 4 x M3 square nuts for grip.
2. A 8mm M5 nut for buffer tube.
Lower Instructions:
Step One: Install Mag Catch
Step Two: Place the full auto switch through the lower receiver from the inside. Attach the fire selector with the optional spring and ball bearing onto the peg, securing it with an M2x5 screw. Leave it in the upward (semi) position.
Lower is now ready for the trigger box.
Trigger Box Installation:
Step One: Install trigger board and secure with the trigger board screw.
Step Two (for FCU-based boards, Spartan boards skip to step three): Plug wiring connections into the trigger board, route the FCU and wiring around the peg, and down through the lower gap.
Step Three: Install trigger and trigger spring (if desired), then close the trigger box.
Step Four: Place the fire selector plate and trigger box together and slide them into the lower. Route the FCU and wiring down the grip and secure using the M4 body pin or an M3x30 screw.
The lower is now fully built.
Upper Installations (Wolverine Engines):
Step One: Screw handguard onto upper.
Step Two: Place Maxx Hop into the upper receiver with the barrel spring attached.
Step Three: Attach the Wolverine engine cap to the front of the engine and slide it into the upper receiver. Secure in place using the Wolverine engine clip.
Step Four: Connect solenoid wire to the engine, put the lower and upper receiver together, and secure using the front body pin.
Your replica is now built.
Upper Installations (PolarStar Engines):
Step One: Place Maxx Hop into the upper receiver with the barrel spring attached.
Step Two: Attach the PolarStar engine cap to the front of the engine and slide it into the upper receiver.
Step Three: Connect solenoid wire to the engine, use the fitting kit for your engine (Jack and F2) behind the engine, and secure in place using the fitting kit clip.
Step Four: Put the lower and upper receiver together and secure using the front body pin.
Your replica is now built. 🛠️🔧🔫