Pegboard panels for Bambu P1P minimal shell enclosure
Pegboard panels for Bambu P1P minimal shell enclosure


Print Profile(2)


Description
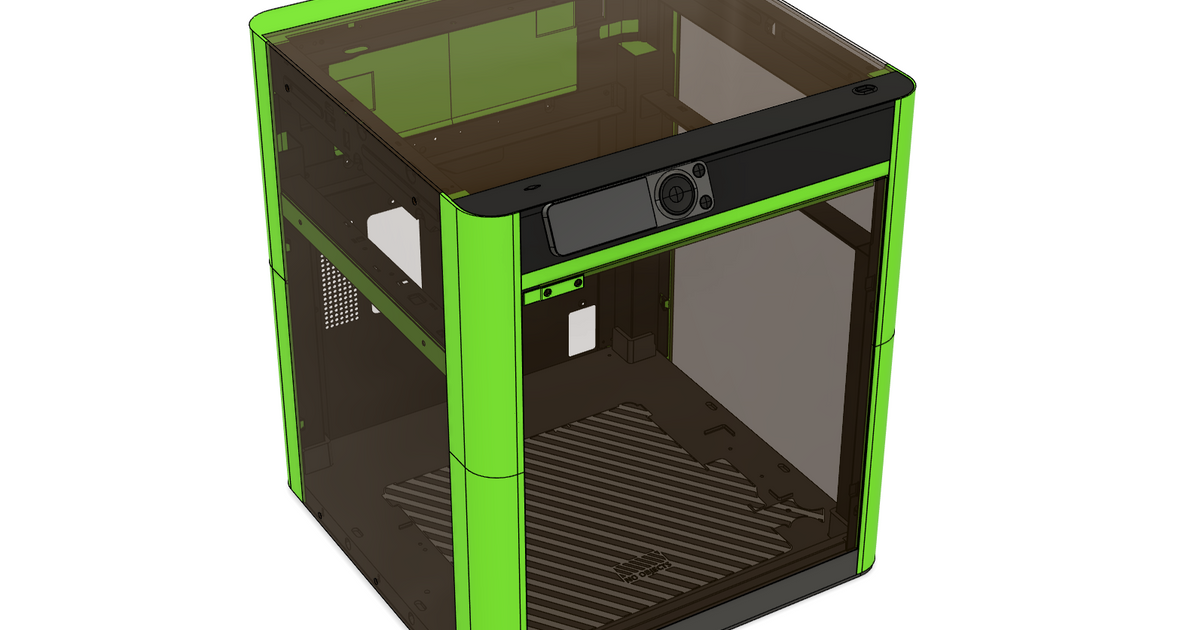
wanted to add pegboard side panel like the ones on Bambu's website. So i replicated the pegboard design onto the dxf cutout that the minimal shell had for the left side panel. I then imported it into the slicer and cut it so that i can print. I'm still a couple of panels away from complete. There needs to be a way to hold them together which i have yet to figure out as i'm still a 3d modeling software newb…
update: figured out a simple way to hold the panels together using the pegboard holes. I dropped a file called panel connector, these are sized to be pressfit - they seem to work quite well, tho i think you may need 2 for each connection. I plan to superglue them using these connectors when i'm done printing (one more panel left!) I will put up photos when i finally have time to assemble the entire build.
Update 2: done with the print, and installed it. Looks pretty good, though its a little flimsy, and needs more reinforcement in the seams. I could either print more connectors or add some supports,. i'll live with it for a while, and perhaps do a rev later. So far pretty happy with it! :)
Update 3: was going to get some clear acrylic for the right side of the printer, but got lazy. So i did the same import for the right panel, and printed it. This time in white - love the contrast… uploaded here if you are so inclined. Oh, and in case you are confused - the plate side down is the “face” of the pegboard. I have a textured plate, so i liked the look. Also look at Double spaced pegboard hook connector for minimal shell enclosure by Jerich0 - MakerWorld for the hook connectors. The combination of the flat and hook ones give this pegboard good stability. I've so far used it without any superglue.
UPDATE: Refined version 2 added. The pegboards now have built in stand offs, as i found in some intances, depending on where you fill some of the pegboard holes, they may interfere with the movement of the print head. So i have stand offs on the top of the model now. The way to connect up the panels has also changed, now you glue a cross member connector, and smaller connectors after you print them. you need a set of connectors for each panel.
Remember, you are printing face down - which is the OUTSIDE of the panel. Hope you enjoy this update!! let me know in the comments if it works for you, and if you have any questions or suggestions.
How to attach the panels? So i initially used M3x4 screws, but it was hard to screw them in. With the new standoffs, i needed self-tapping M3x8 screw. Amazon.com: uxcell Hex Socket Self Tapping Screws, M3 x 8mm Carbon Steel Wood Screw 200pcs : Industrial & Scientific
Comment & Rating (6)