DrawlR - The Universal Pen/Pencil Mount for Ender 3 V2 NEO
DrawlR - The Universal Pen/Pencil Mount for Ender 3 V2 NEO


Print Profile(1)
Description
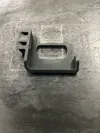
Introducing DrawlR! Your new drawing robot upgrade to your Ender 3 V2 NEO. You will need 2 Zip/Cable ties to secure your pen or pencil.
NOTE: Though you can use a pencil with this I would recommend you to use a pen as the lead in the pencil will wear down.
SETTINGS
- 0.2mm Layer Height
- No Supports
SET UP
- After you print simply attach the print to the left side of the extruder it should click in. (You may have to use some force).
- Insert zip/cable ties into the stots and slightly tighten around the pen. DO NOT FULLY TIGHTEN YET.
- Under Prepare > Move > Move Z Set to 0.3 and let the tip of your pen touch the plate. NOW TIGHTEN ZIP/CABLE TIES.
- Test to see if it works by using the .gcode labeled MMP DrawlR Test.
DrawlR PRINTER PRESET
- Under the profile of your Ender 3 V2 NEO go to Printer Pettings > Dependencies. Click detach from system preset.
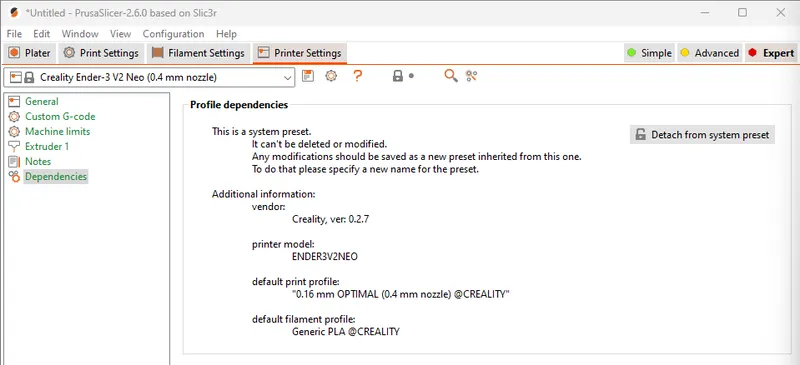
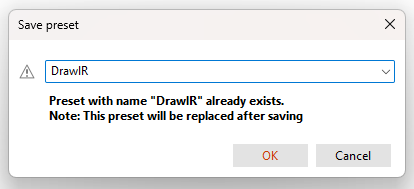
2. Then title this preset "DrawlR"
3. In your DrawlR preset go to Printer Settings > General. Set G-code flavor to No extrusion

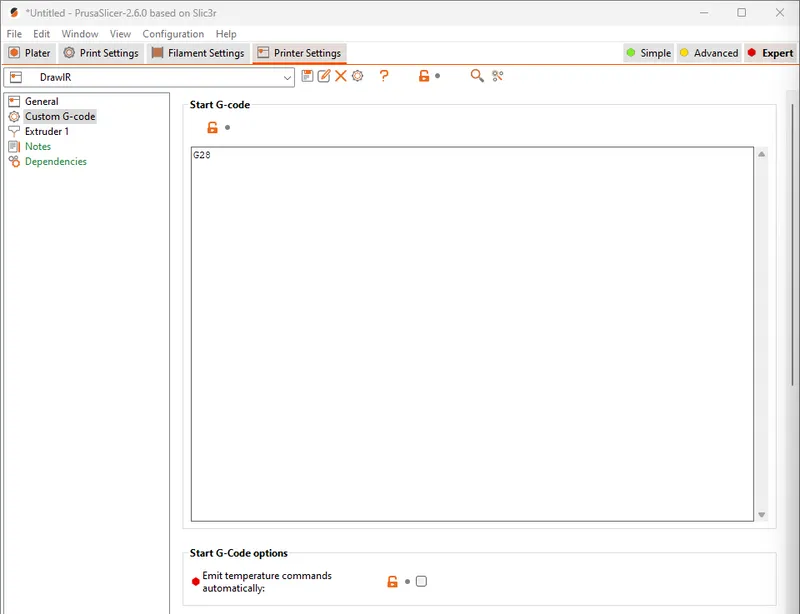
4. Under Custom G-code Delete everything in Start G-code, and add the command G28 (This is the command for Home All Axis). Now unselect the checkmark on Start G-code options.
5. Under Extruder 1 set Nozzle diameter to 0.2mm (This might need to be changed but it works well for most pens). Now set Extruder offset to x : -25 y : -45. Finaly set Lift Z to 2mm.
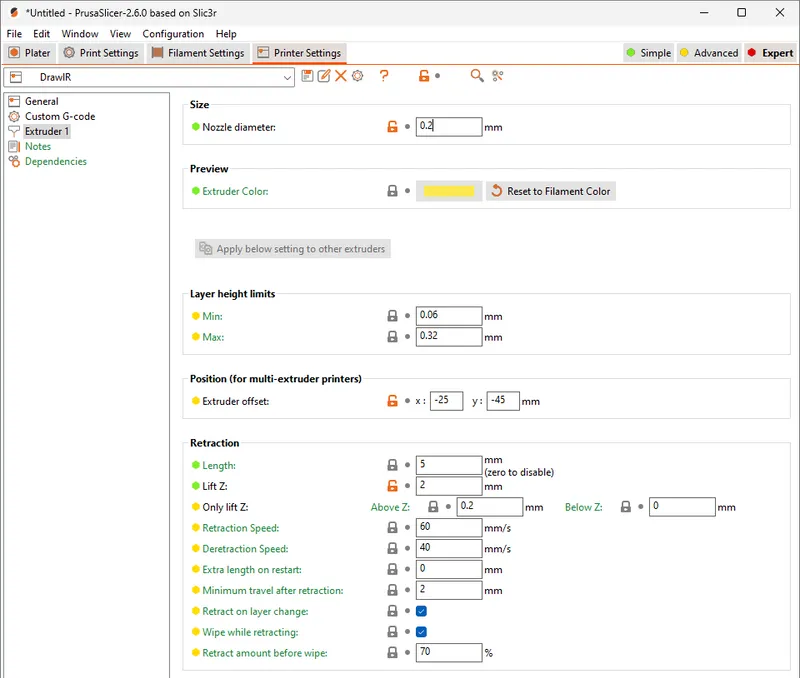
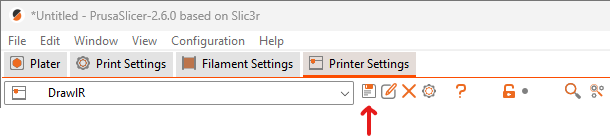
6. REMEMBER TO HIT SAVE PRESET! It's the button that looks like an SD card next to DrawlR at the top.
PRINT SETTING PRESET
1. Under Print Settings set First layer height to 0.2mm. after that, you can set Vertical shells > Perimeters to 1
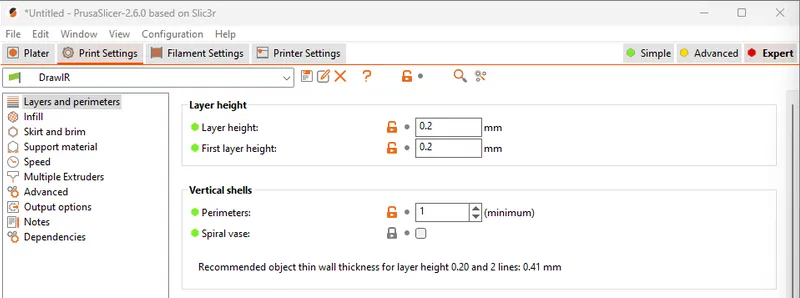
2. Now rename the preset to DrawlR
3. REMEMBER TO HIT SAVE PRESET! It's the button that looks like an SD card next to DrawlR at the top.

HOW TO GET THE ART
To get the art you can use some of the many 2D art on Printables or Thingiverse. If you choose to use these you will have to use the Cut tool in PrusaSlicer, and make them 0.2mm thick. Now if you want to create your own art to print you will need to export as an .SVG. MAKE SURE YOU HAVE NO BACKGROUND! Once you have your .SVG go to Tinkercad and click Import. From there select your art and resize it to your liking then export it to PrusaSlicer. Now slice it and Viola! Your 3D printer can now draw and write for you!
If you like my models please consider giving a like or following!


