Desk Stranding - The Death Stranding Desk Lamp


Print Profile(2)


Description


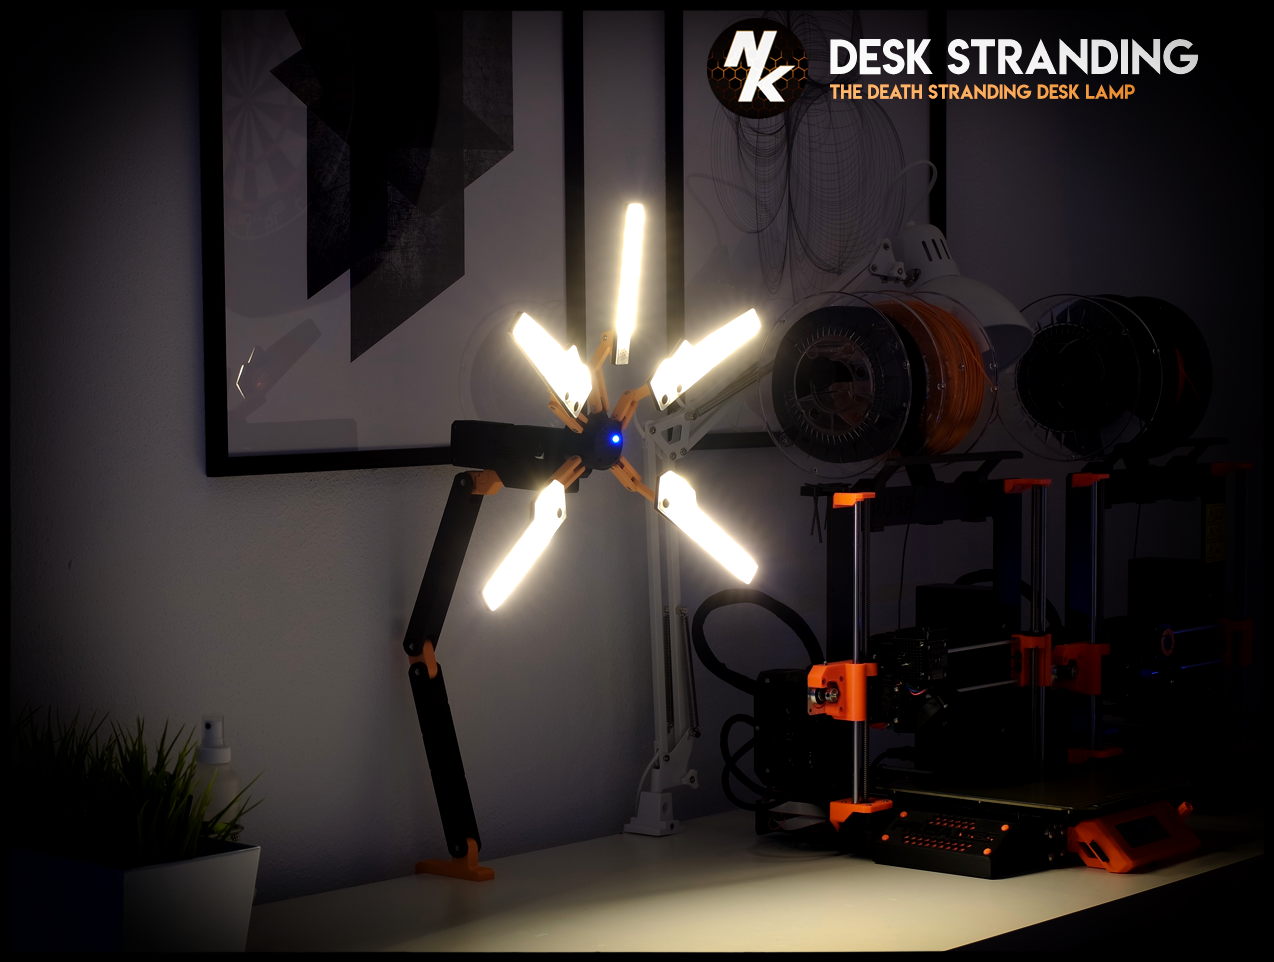
I'm currently playing death stranding on my PC and came up with the idea of recreating the „Odradek“ scanner as a desk light so I'd like to present you the "Desk Stranding" lamp (thanks to reddit user u/Typh_R who came up with the name).
This is one of my biggest projects so far with a total of 37 parts needed (30 individual parts).
I only used screenshots to recreate the original look as close as possible with keeping the printability in mind.
I ended up with 4 different .3mf's, divided into their color style.
All parts won't require any supports and you also won't need an MMU for this project, all color changes are layer based.
There is a bit of assembly required, you'll find everything that's needed below!
You can also use this as a cosplay prop if you are using batteries or a powerbank as the power source, there is still some space inside the main body for small power sources.
All parts are labeled with a version number so you can easily detect any future changes!

Note: Two lights are flipped in some pictures, the final version has got the correct original look!
Features:
- Fully FDM compatible with no supports needed
- On/off switch
- Invisible wiring (wire channels through the hinges)
- All lights are fully adjustable
Hardware needed:
- 0.25mm² wires (About 2 meters red and black)
- Switch (21x15mm [punch hole is 13x20], standard size, like this)
- Soldering tools
- LED Strips
- 1x LED Diode Blue
- Power Source
- 10x M3x4 Screw
- 15x M3x12 Screw
- 5x M3x20 Screw
- 21x M3 Nut
- 5x M4x20 Screw
- 5x M4 Nut
Installation guide:

Click here for a detailed instruction manual (pdf file).
This design is still subject to change so check back again for updates (I already made some changes after taking the pictures so they might differ from the printed version).
Have fun with the lamp!
As bonus, here is a little stop motion animation from the lamp in action:

+++++++++++++++++++++++++++++++++++++++++++++++++
If you like this file or need some adjustments feel free to leave a comment. A rating or tip is also welcome and may check out my other designs!
Happy printing!

Print instructions
- All parts are optimized for FDM printing.
- Please use a 0.4mm nozzle (or smaller).
- I advise to use the .3mf (or gcode) files, as all parts are already aligned and ready to print. However, I’ve provided all .stl files as well!
- Print in PETG for better durability
This work is licensed under the 'Creative Commons NonCommercial' license. Please do not sell any physical or digital copies of it.
Comment & Rating (65)


