Easy Kinetic Sculpture
Easy Kinetic Sculpture


Print Profile(0)
No Print Profile yet. Add one to earn points.
Description
Has holiday stress got you tearing your hair out? Watch this mesmerizing sculpture for 3 minutes and your angst will melt away!
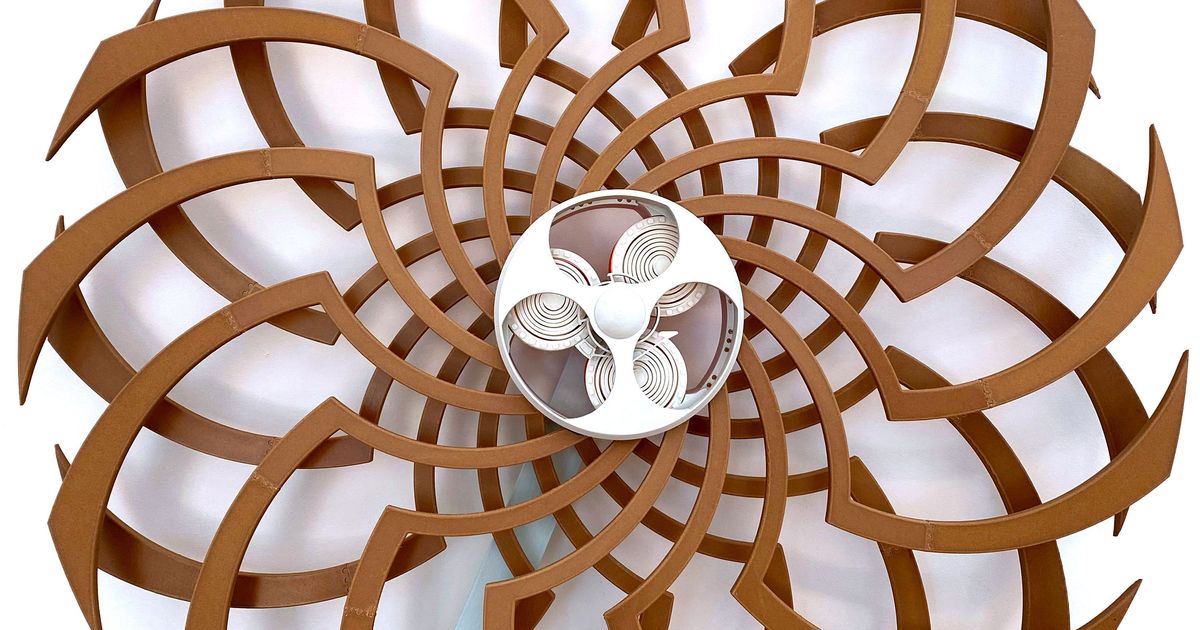
This mini-sized reinterpretation of Noci's KiMe kinetic sculpture, at 6.9"/175mm in diameter, is easy to print and assemble. Instead of the clockwork mechanism for reversing the spinners, it uses two completely independent spinners driven by weights and strings wrapped up on spools. The direction is reversed when the string completely unwinds from the spool and then re-winds in the opposite direction, driven by the inertia of the spinner. (The tips of the spinners are weighted with either 2 US pennies, or 2 Euro 2 cent coins). It'll run for about 3 minutes with a quick flick of the spinners.
In addition to the 3D printed parts you will need:
4 - 3mm bore x 10mm OD x 4mm thick bearings (623ZZ)
1 - 100mm length of 3mm diameter rod
2 - M6 bolts (and maybe a couple of M6 nuts)
48 - coins: US pennies or Euro 2 cent
Fishing line or heavy-duty sewing thread.
Printing
Print 2 of the spinners, 2 of the weights, and 1 each of the wall mount, washer and cap. I used PLA and 0.2mm layers, but I don't think either are critical. But make sure you set the speed for small perimeters very low (~20mm/s) so that the tiny hole in the hub of the spinner doesn't close up.
Note: I've provided weight-xxx.stl files for both ¼-20 bolts and for M6 bolts.
Assembly
1. First make sure that all 4 of your bearings will slide easily over your 3mm rod. If your rod is a little over sized, put it in a drill and sand it down with 400 grit emery paper. Then tap the rod into the wall mount piece until it is flush with the back. Screw the wall mount to your wall using 2 drywall screws, at least 1m above the floor or other obstacles.
2. I highly recommend washing the lubricant out of your bearings. Under light load, bearings run more freely dry. I used WD-40 and then blew them out with compressed air, but you could use almost any solvent, like alcohol. Press the 4 bearings into either side of the two spinners.
3. Cut two 1m lengths of thread or fishing line. Tie a fat knot in one end. Thread the un-knotted end into the small hole in the backside of the spinner and feed it through the front side. (Do this for both threads and spinners.) The knot should fit into the little pocket on the back side of the spinner. Trim off any tails.
4. Press stacks of 2 pennies each into the slots at the ends of the spinner arms. Note: US pennies changed weight in 1982, so make sure all of your pennies are from before, or all after 1982. If the coins are loose, lock them in place with a dot of superglue.
5. Slip one spinner onto the 3mm rod, spool side first. Next slide the washer over the rod, then the other spinner so that the two spinners are back-to-back. Finally, press the cap onto the end of the rod.
6. Thread an M6 bolt into each of the weight pieces, maybe with the addition of a nut or two for added weight. Tie the free end of each thread onto the top of the weights. Each weight should be somewhere in the 5 - 10 gram range. You want just enough weight to make the spinners turn when they are at a standstill. More weight won't hurt, but your sculpture will spend more time spinning at high speeds, which is less visually interesting.
Operation
To make it go, just simultaneously flick each spinner in opposite directions. This will start winding up the strings on each spool. Ideally, you want both weights to lift up about the same amount. If simultaneous flicking is a little challenging, just slowly wind up each string on each spool, turning the spinners in opposite directions. Then let them go at the same time.