Swivel Trays for Honeycomb Storage Wall (HSW)
Swivel Trays for Honeycomb Storage Wall (HSW)


Print Profile(1)

Description
I saw a few different pivoting designs for stand alone and got inspiration from them. I ended up designing this from scratch with OnShape. I am still learning and there are a few more things I would like to do with this so expect some updates or a v2 in the future.
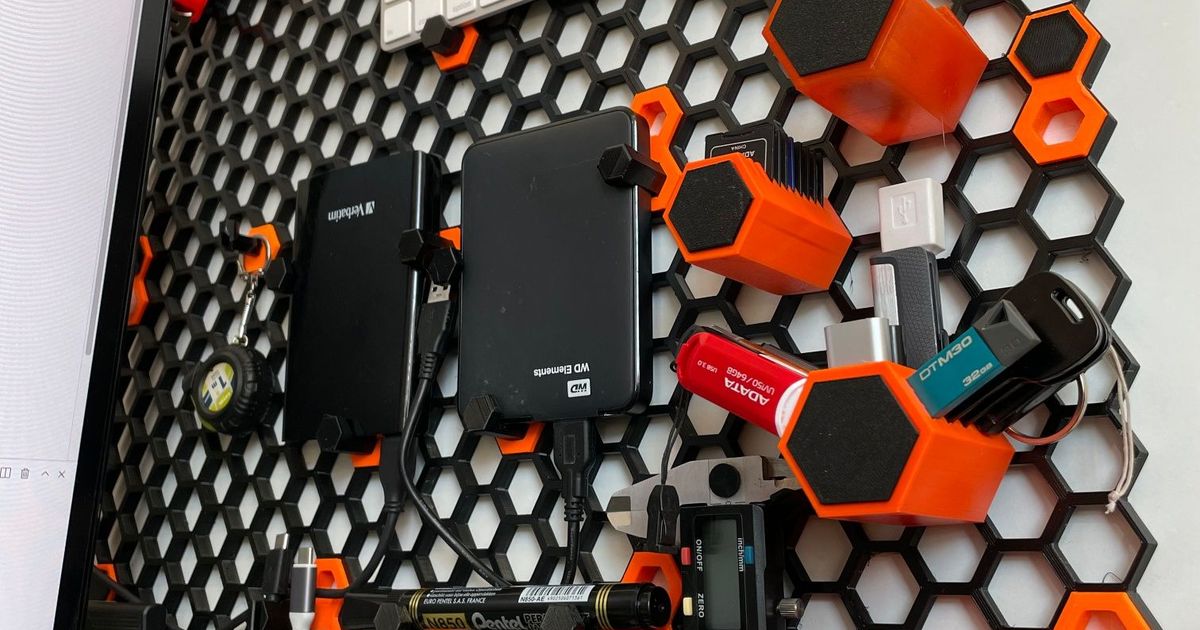
I'm all about options so I share that in this. No supports are needed and I printed them in .24. Mix and match from the options below to build out your desired arrangement. Enjoy.
BOTTOM CONNECTOR: Optional heights of the tube and another set with a hole in the bottom. The version with the hole is purely optional. I made it because I had a plug get stuck in the tube and this would have helped me push if out.
- Tube Heights: This is the height of the tube on the outside. Keep this in mind when you are mixing and matching trays/lids/spacers. Sizes: 50mm, 75mm, 100mm, 125mm, 150mm. 150mm is shown in my picture.
TOP CONNECTOR: This fits in the tube of the bottom connector completing the connection to the panel.
TRAYS: I made a fair amount of them for your selection. 10mm - 75mm height in 5mm increments. This is the outside height and what you would use when figuring out how many to fit on your bottom connector.


LIDS: Just a smattering of some covers. Use them in between or at the top. 2mm, 3mm, 4mm, & 5mm available.
SPACERS: These are what they are. Use them between or at the top/bottom. 1mm-10mm in 1mm increments.
PLUGS: These go in the tube before you put on the top connector. They bring up the tubes internal bottom height if it is too deep. I have also included half plugs if you want to mix it up. If you have problems getting the plugs out I would recommend using the bottom connector with the hole.
Comment & Rating (4)