Prusa Mini Base version El.pollo.diablo
Prusa Mini Base version El.pollo.diablo


Print Profile(1)

Description
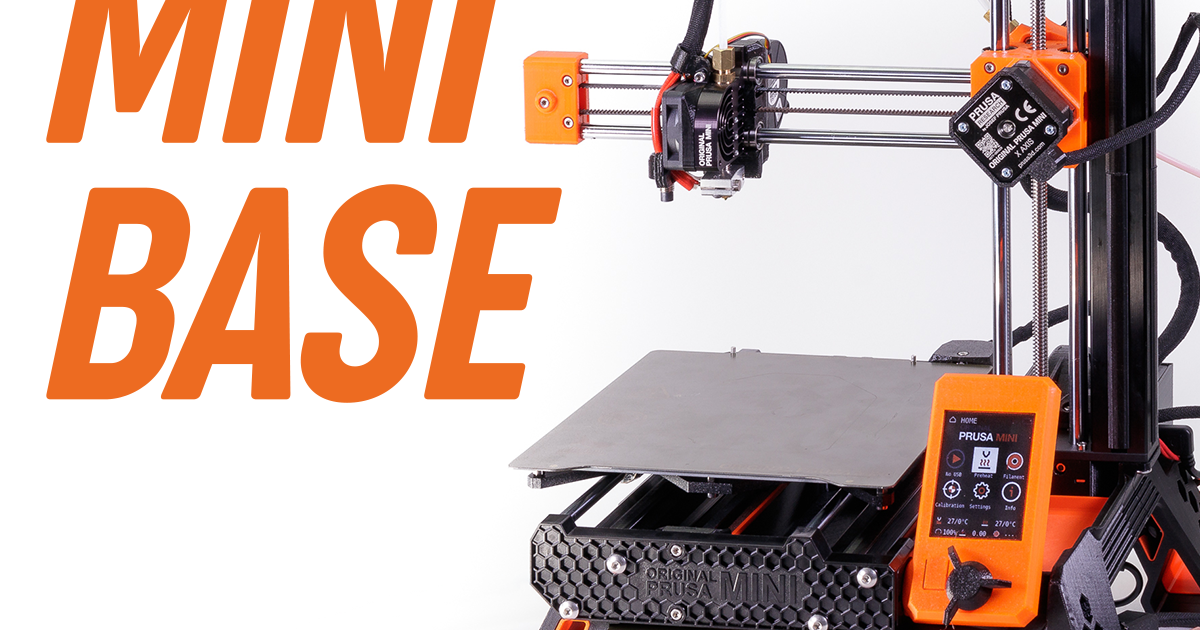
After completing the Mini Base Upgrade, I noticed the left side of my X-axis was lower than the right. This print is an attempt to both explain and correct that misalignment.
While the Mini has the anti-vibration pads placed directly under the Y-axis extrusions, the Mini Base Upgrade moves the pads on the right side all the way out beyond the right edge of the Z-axis. With the full weight of the printer, power adapter, and filament spool resting on such a wide base, this has the potential to cause the printer to sag in the middle. This deflects the Z-axis slightly, causing it to lean to the left, and this in turn causes the X-axis to drop on the left side.
After disassembling the original Mini base, I used 3030 extrusions with length 242mm and joined them together to form the starting base.
I then made a rectangle of plexiglass to attach to the top of the base, creating a di plane where I put my Prusa Mini.
Then I modified the four original legs to attach them at the bottom with 2 M5x12mm socket head screws and Extrutim's all plastic T-nuts( (which work perfectly) (https://www.printables.com/it/model/316575-t-nut-for-3030-extrusion-t-slot-nut-all-plastic)
Finally, I made brackets to attach to my 3030 extrusions that support the original PSU holder.
In addition, I also made a bracket that secures the filament guide from ironyUSA. (https://www.printables.com/it/model/154843-prusa-mini-base-filament-guide)
This is my version of Prusa Mini Base, if you make one please let me know if you like it and use your imagination to create the mods needed to make it more functional and beautiful!
Happy Printing