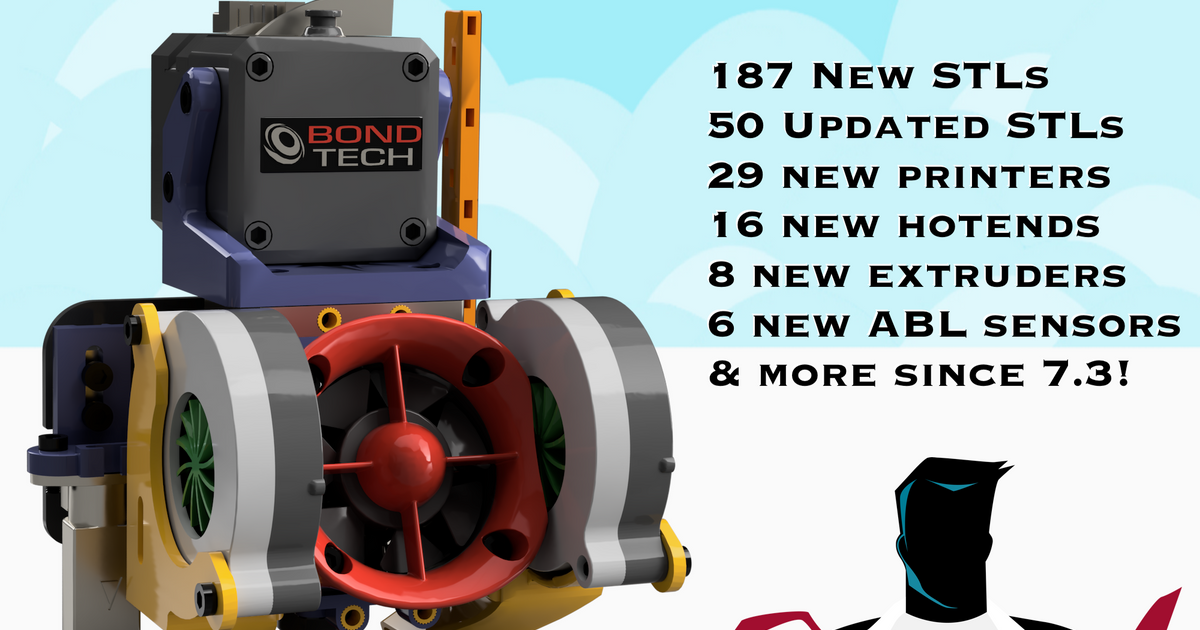
Hero Me Gen 7 part cooling for stock Neptune 3 Pro/Plus/Max Dual 5015 Cooling Shroud
Hero Me Gen 7 part cooling for stock Neptune 3 Pro/Plus/Max Dual 5015 Cooling Shroud
Print Profile(1)

Description
UPDATED 5-7-2023 7:10PM PDT: Updated to include the missing shorty version: Neptune 3 Pro Shorty Shroud -5015 Fan.stl
UPDATED 5-7-2023 10:30AM PDT: Now supports ADXL345 accelerometers. Updated the two shrouds and two fronts to have mount points for ADXL345 accelerometers. These are 14mm center to center and are fully compatible with the ADXL345 mounts used in the Hero Me Gen7.3 project. These need M3 threaded inserts. The top mount uses two M3 6mm flat head screws. the front mount screws are M3 but will vary in length based on which adapter is used. Added 9 ADXL345 top mount adapters and 11 ADXL345 front mount adapters.
UPDATED 4-25-2023 2:40PM PDT: Updated the HMG7-Neptune-3-Pro-Shroud-Top-Vents-Body to V5. Corrected the floating left top front mount for the front cap.
UPDATED 4-20-2023 12:15PM PDT: Added part cooling airflow illustrations and text below to show how the Hero Me Gen7 part cooling performance is significantly better than stock (it is not just the larger fans).
UPDATED 4-20-2023 9:30AM PDT: Added optional open face front cap, exposing the stepper for better heat dissipation. Added optional shroud body with vented top for better heat dissipation. Also reinforced the walls between the vents. These were added based upon a question concerning heat buildup. These versions may not be needed if high temp filament is used. As I do not have a Neptune 3 series printer to test, I can not confirm that these are needed, but they are here in case.
-------------
Hero Me Gen7 part cooling now available for stock Neptune 3 Pro/Plus/Max 3D Printers. No hotend disassembly needed. Just pop off old cover, disconnect fans, swap connectors from old fans to new fans and put cover back on (two screws) and BAM.
The part cooling ducts in this new shroud are the designs used in my very successful Hero Me Gen7 Printhead and part cooling assembly. If you want to replace either the hotend, extruder or both, then you want to be using the Hero Me Gen7 from here: https://www.printables.com/model/39322
Why is this shroud better than stock? Larger fans are not the main reason. The dual 4010 fans must run at 100% to try to properly cool the parts, whereas the dual 5015 fans bring more than 3X the airflow. This significant increase in airflow allows them to run at much lower power (35-45%) enabling them to run whisper quiet yet still provide more than 2X the air.
But it is the design of the Hero Me Gen7 part cooling ducts that make all the difference. If you look at the Neptune 3 series stock fan setup there was no engineering done to create a proper airflows to cool the parts.


The Hero Me Gen7 part cooling ducts are specifically designed to create laminar airflows that merge smoothly directly below the nozzle to provide excellent part cooling. See the attached images for details of why the Hero Me Gen7 ducts are significantly better at part cooling than the stock setup.


Hardware needed: Two 5015 Radial Blower fans. I recommend these: https://www.amazon.com/WINSINN-Bearing-50x50x15mm-Extruder-Makerbot/dp/B07DB7DLMM
The key is that you are looking for the following in the 5015 fan description: "Sealed Dual Ball Bearing Brushless". DO NOT buy fans that have “Hydraulic” in the description.
Needs 10 M3 threaded inserts (4.6mm OD by 3mm to 4mm length) and 14 M3 screws at 6mm or 8mm length. Reuse any matching screws from the original to lower the screw count.
The new shroud needs six M3 threaded inserts and add two M3 threaded inserts to each 5015 fans' mount points.
Remove old shroud, remove the two 4010 fans and the bracket they mount to. Add the new bracket inside the new shroud. Feed the new fan wires through the holes in the new cover. Connect the fans, and mount the new cover.
With dual 5015 fans, you only need to run them between 35-45% power, this will give you more than double the cooling of the dual 4010s running at 100% power. Extra benefit, they run whisper quiet. When you have extreme overhangs of very long bridges, adjust the fans to 65-75% power.
Photos provided by Jeff Turner (admin) ELEGOO Neptune Series 3D Printer Owners


