Elegoo Saturn (Original) Vat Warmer Fermentation Belt Clips
Remixed by
Copyright Claim
Elegoo Saturn (Original) Vat Warmer Fermentation Belt Clips
Remixed by
Boost
7
7
0


Print Profile(0)
Add the first print profile to earn points
Boost
7
7
0
0
17
0
Released
Description
Hi folks,
I found gltovar's original model for the Saturn 2 and thought it'd be a great solution for my Saturn 1 while trying to print in the middle of winter. Unfortunately, the Saturn v1 has different tank dimensions than the Saturn 2, and using original geometries I noticed that the clips actually had a short lifespan when printing a lot.
I made the following modifications:
- Modified the length of the clip body to allow it to fully seat on the vat lip
- Modified the length of the vat clip to hold the belt tighter against the vat
- Modified the width to provide less side-to-side “wiggle”
- Increased the thickness on the top and sides to reduce warping over time
- Moved the location of the temperature probe, and modified the diameter to match the “Amazon Special” heat controller I bought.
Print Settings
- Use a high temperature filament like PETG. I have not tested ABS, PLA+, or resin.
- 4 top and bottom layers, 4 walls, 50% infill
- Print 6-8 clips, and one probe clip.
Assembly Steps
- Get your hands on a fermentation belt and a temperature regulator. I purchased this generic belt, and this reptile heating pad controller.
- Start by “cinching” the belt around the vat so that the power cord is pointing to the back of the machine.
- The thermistor should slide into the 4.5mm diameter hole snugly on the belt clip probe part. NOTE: If you are going with your own temp controller, consider setting outside walls to 5 on the print and boring to your desired diameter. I recommend keeping the depth the same!
- Looking at the device head-on, install the probe clip on the right hand side, such that the thermistor cable is heading the same direction as the belt's power cable. You should be able to “cup” the belt in the clip as you lower it onto the vat.
- Clockwise from the probe clip, begin inserting the clips, cupping the belt as you're attaching the clips to the vat.
- Pay attention to the Z-Axis rails and the stop sensor, you do not want the belt to “pillow” in this area. Some pillowing is ok, try to strategically place these in the corners.
- The belt should plug into the heater controller, which should plug into a standard wall outlet. I have both this and my printer plugged into a power strip for easy on/off.
- Read the manual for your thermistor, but I have mine set to ~80F, 27C. I leave the combo running for about 20 minutes on cold startup.
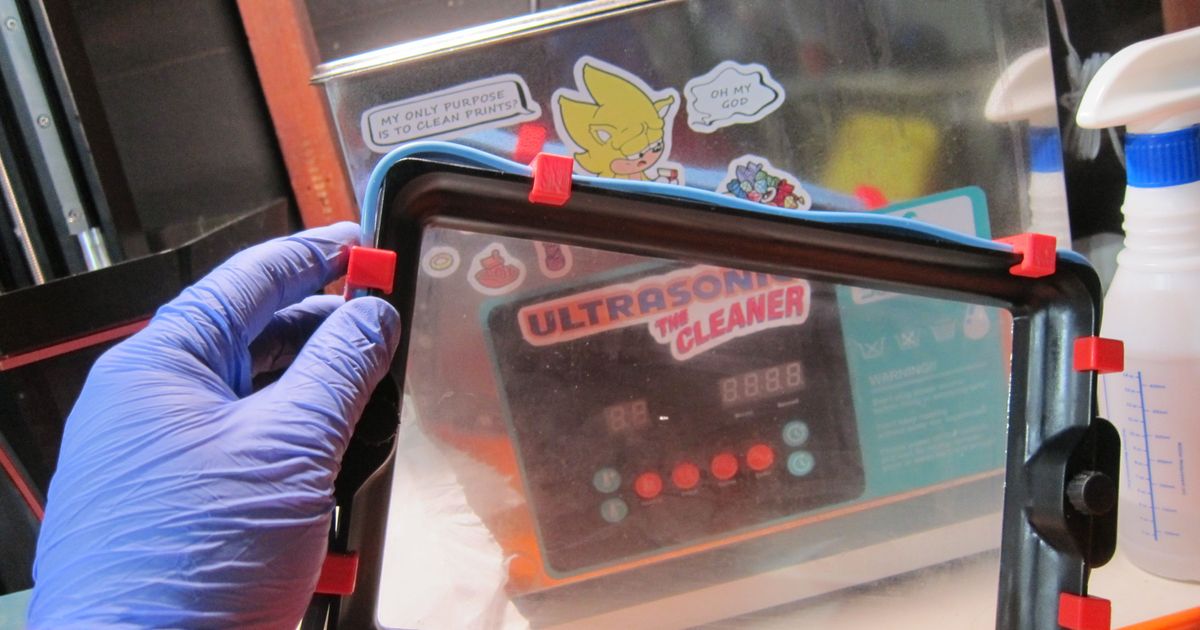
- The lid should fit snugly against the clips in the front, but should still fit! You can optionally cut out a small notch in the back of your lid, like I did.
- Print!
Using these parts I have not had to go back to using an enclosure, and have been printing in a garage that's ambient temps are around ~30-40F / ~0-5C.
Comment & Rating (0)
All
No more
This remix is based on
License
This work is licensed under a
Creative Commons Attribution-Noncommercial-Share Alike


© 2024 MakerWorld