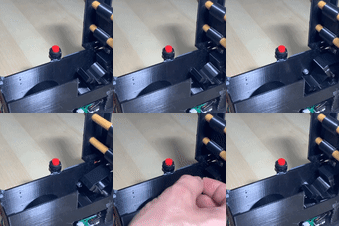
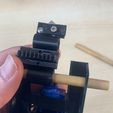
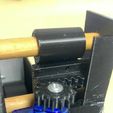
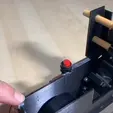
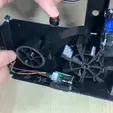
Automatic insulating tape dispenser. It is based on the fact that a toothed wheel unrolls the insulating tape and a blade cuts the pieces of tape to make it easy to obtain. The toothed wheel is driven by a motor. The blade is housed in a slide that is driven by a servo.
The operation consists of pressing a button (B2) that will rotate the motor and the toothed wheel will drag the insulating tape, by actuation of a micro end of stroke one of the teeth will be in vertical of the blade and this will move making the cut of the tape, later the wheel will rotate again so that the blade will free the tooth and will return to its initial position.
This dispenser consists of:
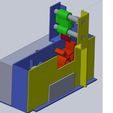
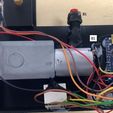
Structure. It houses the motor, sprocket, tape holder wheel, servo, battery, relay and Arduino nano board.
Sprocket.
Tape carrier wheel.
Slide for cutting. Holds the blade.
Side cover of the structure.
Servo 9g.
2 shafts of 8 cm diameter and 90 cm length.
9V battery.
Arduino nano board.
5 V relay.
1 switch. Powers the board and the motor.
2 push buttons.
1 micro limit switch.
Generic support for micro limit switch.
Part to cover the electronic elements.
Part to cover the lateral part of the structure.
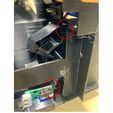
The micro limit switch must be adjusted so that the lugs on the sprocket actuate the micro when one of its teeth is in the vertical of the blade. It is necessary to make the adjustment by unfolding insulating tape because without the resistance it presents, the motor would continue to rotate by its inertia after actuating the micro. Use the B3 pushbutton that acts as a bypass to rotate the gear wheel without using the Arduino program.
To change the insulating tape operate pushbutton B3 to rotate the sprocket.
The slide has holes to place and fix the blade, either using the flat support or the one with the notch to hold it. The blade should be on the opposite side to the servo.
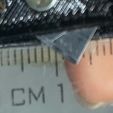
To adjust, the blade should be just at the beginning of the wheel tooth, but not touching it to allow the wheel to rotate freely. And after cutting, the blade must protrude from the wheel tooth to allow the wheel to move freely, and then the slide to return to the initial position without hindrance.
For the first operations of the mechanism and adjustment it is preferable to release the lower axis of the slide and lift it up, so that it is not engaged with the servo. After printing the base frame and the side plate with support, the holes for the slide axles are tightened to prevent the axles from sliding out due to the slide movement. Oil can be used as a lubricant to facilitate sliding of the slide.
Take care to remove any pieces generated to prevent them from wrapping around the sprocket.
The device has two Arduino codes: https://github.com/jmurmu2/Inventor.git
Adhesive tape/insulating tape dispenser.
Blade calibration. In this code, each press of pushbutton B2 causes the slider to slide to one side or the other. By means of pushbutton B3 advance the toothed wheel so that it is in the vertical of the blade and also to allow the slide to move back.
Video of the device drive: https://youtu.be/o1st9PYHCTI
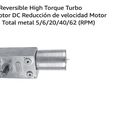
Engine:https://www.amazon.es/gp/product/B0752RHJ3X/ref=ppx_yo_dt_b_asin_title_o04_s00?ie=UTF8&psc=1

/https://fbi.cults3d.com/uploaders/16902836/illustration-file/adb4bd46-de51-4d68-974d-4b00de2ea9e7/DEMOSTRACION-CORTE-CINTA.gif)
