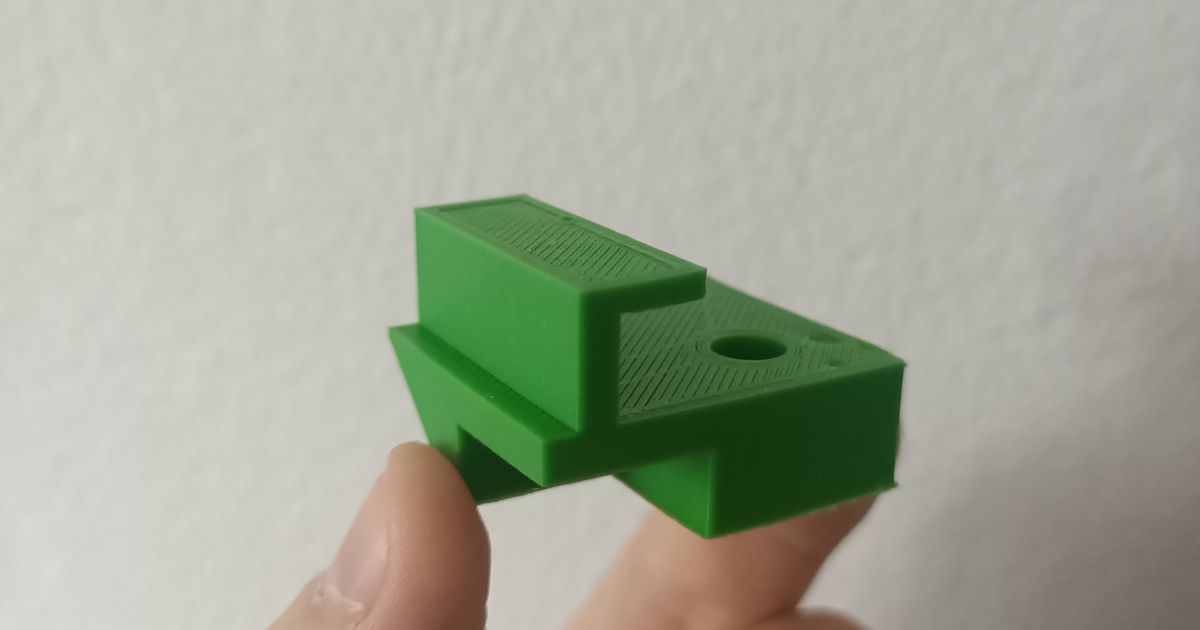
Support Magic: A Support Test Optimized for Dual Material Printing
Support Magic: A Support Test Optimized for Dual Material Printing
Print Profile(2)


Description
Change list:
- 10/8/23 round 2: Updated profile purge volumes and 3MF files.
- 10/8/23: Updated to v16, with a chamfer tweak to the model to aid testing, and fixed print profiles to be better.
Multi-material systems are great for many things, but one of the most powerful things they can be used for is near-pefect supports, particularly with the popular PLA/PETG combination. Many people are scared to try this… and I want to help you succeed.
Support Magic is a 3D model that has multiple different tests and is designed to be used with mixed-material supports. A typical example is the PLA/PETG combination, although many others are possible. Such “breakaway” supports offer typically excellent finish quality because of the dissimilar materials, and the fact that you can print with no Z-gap.
Support Magic tests the quality of your support material setup between the two materials by testing the removal, durability, and surface finish of each section. Support Magic can help you achieve perfect supports with easy removal and without scarring for your 3D printing projects.
Bambu Slicer Users:
I've done the settings work for you for a good print already. I provide 2 example files,
- PLA-supporting-PETG
- PETG-supporting-PLA
However, be sure to select the right filament profiles for your filament in your slicer. My example files and print profiles use generic PLA/PETG settings. In theory changing the two filament profiles in your slicer are all you should need to change for a good print, as the rest of the process profile settings should be good. If you've not tuned your filament, it may not work well. But test and find out!
Key tips for success:
- Use a slicer that allows for using a different material for interface supports. Bambu Slicer and Orca Slicer are good examples. Examples for Bambu Slicer are included for PLA/PETG (and vice-versa).
- Start with known working combinations like PLA/PETG, Breakaway Support/PLA, etc.
- If using PLA/PETG, find the highest-printing-temperature PLA you have. I find Sunlu PLA+ works great here, but many will be fine. This is to avoid any jams.
- Use the right settings:
- Make sure your filament profiles are setup correctly and tuned ahead of time!
- Set layer interface Z gaps to 0 (both top and bottom).
- Set the Bottom Pattern Spacing to 0. (only OrcaSlicer has this option.. Bambu Slicer uses 1 setting for top/bottom).
- Set the Top Interfacing Spacing to 0.
- Set Base Pattern + Interface Pattern to Rectilinear
- Set your filament for supports explicitly, where your Support/raft base == model filament type. For example, if printing the model in PLA, and interface in PETG, your settings should look like this:
- For PLA/PETG, in particular, to avoid extruder jams:
- Set the bed to the lowest temperature you can afford with good adhesion (~65-70). This will minimize jamming, particularly with PLA supports for PETG prints.
- If your printer is enclosed, open the doors and/or vent the top of the printer by taking the top off (for Bambu printers).
- Multiple different styles of support work fine, but the I find that Paint-on supports, with Normal (not tree) and “Snug” style often work well.
- A note on purge volumes & strength: Lower purge volumes can cause issues with layer adhesion, particularly when switching back to the main model filament. Accordingly, you may wish to increase the purge volume when switching back to the "main" (model) filament from the support interface filament. This will ensure you've got rid of most of the other filament and will have strong layer bonding. My profiles here have left defaults.. but some people suggest you may wish to use numbers as high as 600-700 if you are concerned about the next layer's Z-bonding strength. For example, if your main filament were black w/ green PETG as support, you might set the matrix like this:

Comment & Rating (41)


