Da Vinci Table
Da Vinci Table


Print Profile(2)


Description
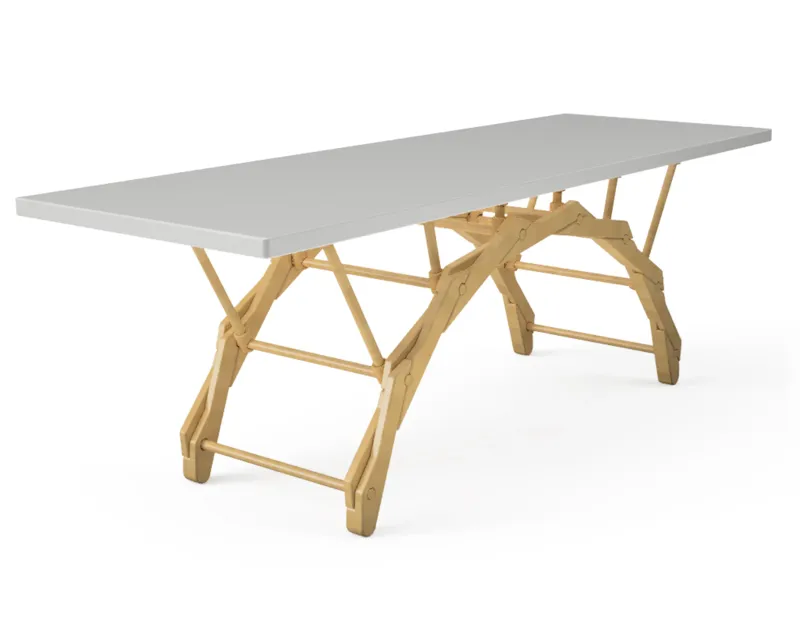
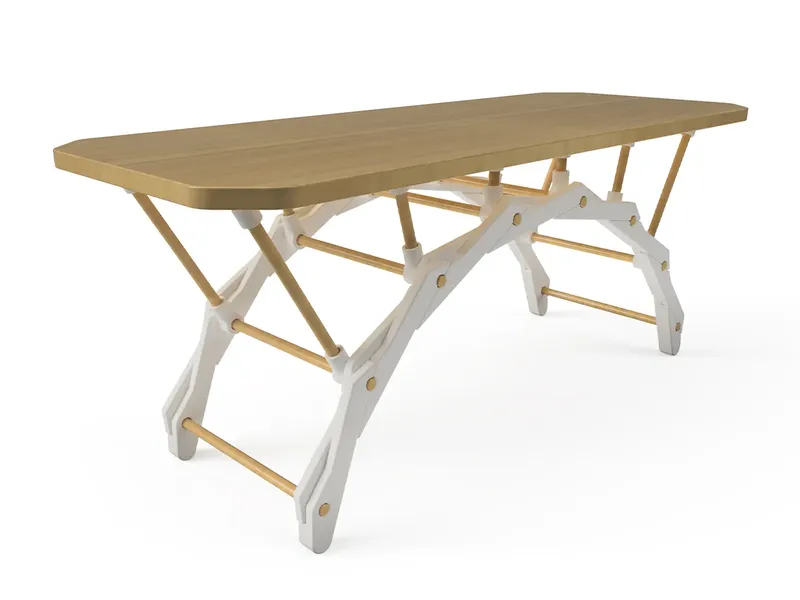
A 3D-printable and modular table based on the Da Vinci Bridge - a self-supporting bridge design by Leonardo da Vinci - that I call the Da Vinci Table. 🌐 What is a Da Vinci Bridge?
⚠️ This model requires wooden dowels and a wooden tabletop, more info below.
Table of Contents: 📋 Assembly Guide |
📋 Assembly Guide |
The following assembly guide will walk you through assembling a Da Vinci Table identical to the one below with a wooden tabletop.


| Step 1 3D-print the required components. For this assembly, we'll be using a wooden tabletop and wooden dowels. Please see the Components section below for the parts required for this build. |

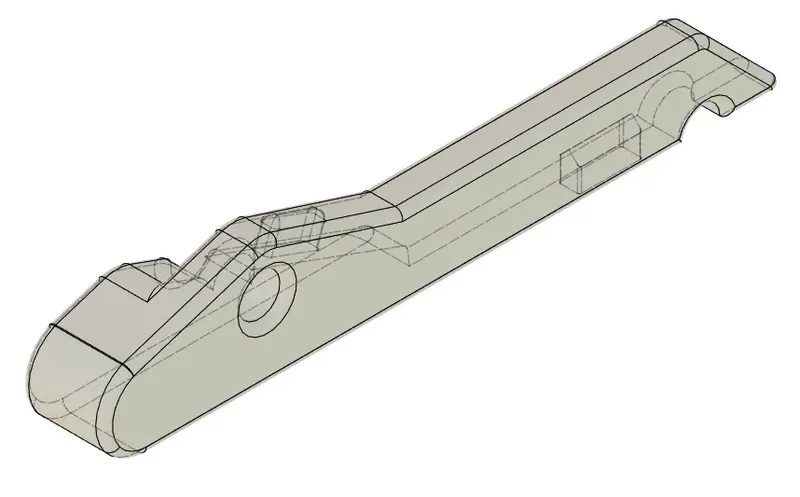
| Step 2 Connect 6 of the Support components together. (If they don't hold together with friction, I recommend using superglue in the slots) |

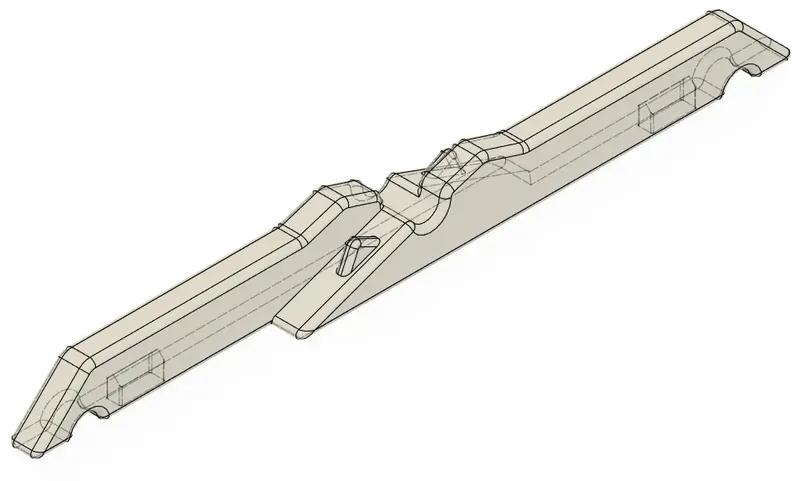
| Step 3 Repeat Step 1. You should now have 2 identical Leg assemblies as shown in the diagram. |
 
| Step 4 Connect the 4 Foot components to the ends of both Leg assemblies. |
 | Step 5 Assemble the 6 23cm Dowels, 4 3cm Dowels, 4 7cm Dowels, 4 3cm Dowels, 12 Dowel Connectors, and 12 Tabletop Connectors as shown in the diagram.
You will have 2 leftover 23cm Dowels after this step.
|

| Step 6 Insert the assembled Dowels into the holes on the Leg Assembly. |

| Step 7 Insert the other Leg Assembly on top of the Dowels. This step requires patience to line up the holes. |
 | Step 8 Carefully pick up the Table Legs Assembly and place it on the Tabletop. Then, ensure the Tabletop Connectors are centred on the Tabletop and attach them using screws.
|

| Step 9 Ensure the 12 Tabletop Connectors are centred on the Tabletop and attach them all using screws (or superglue).
|
 | Step 10 Congratulations! Please share your photos in the Makes & Comments tab! |
🔩 Components |
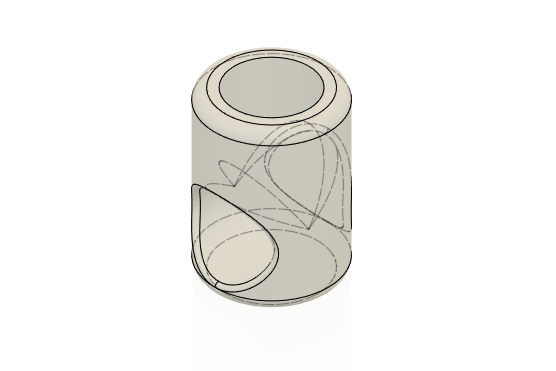
 | Support
| ||
 | Foot
| ||
 | Dowel Connector
| ||
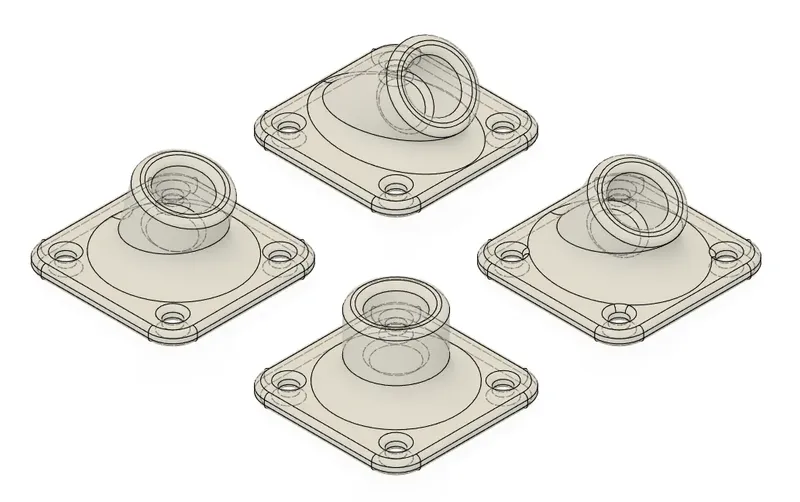 | Tabletop Connectors
| ||
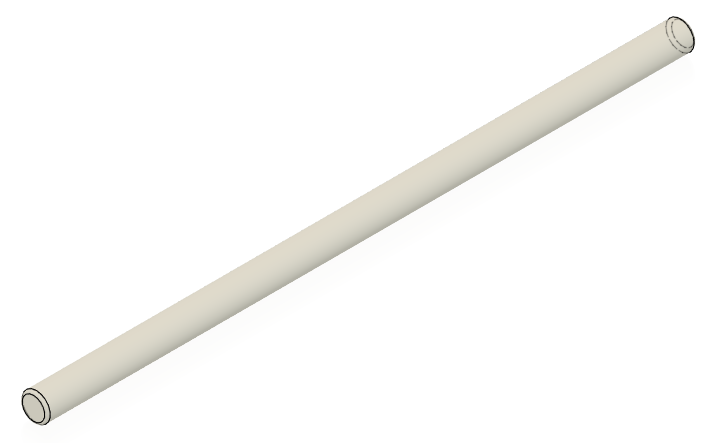 | Ø10mm Wooden Dowels I recommend using wooden dowels. Alternatively, 3D-printable dowels have also been provided in this project if you'd prefer that approach.
| ||
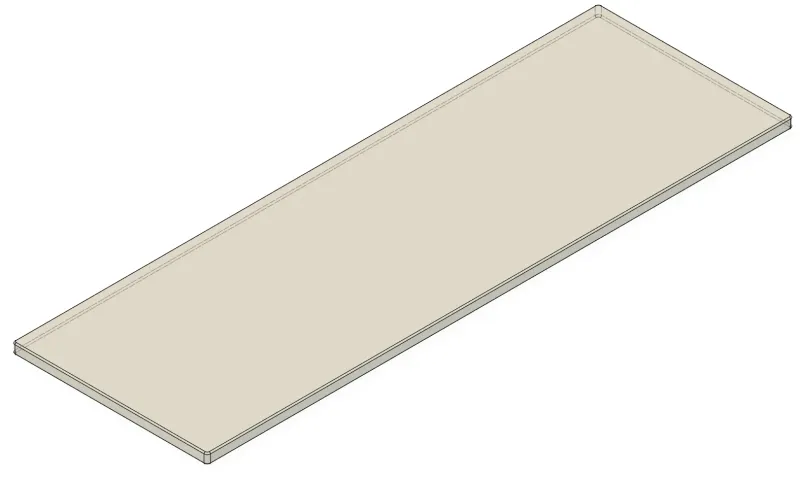 | Wooden Tabletop
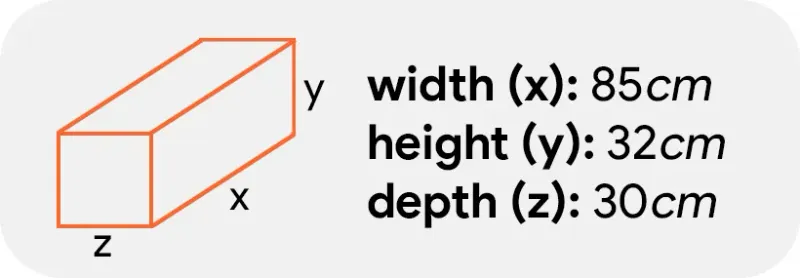
This can be any size, the tabletop in the diagrams is 300mm x 900mm. | ||
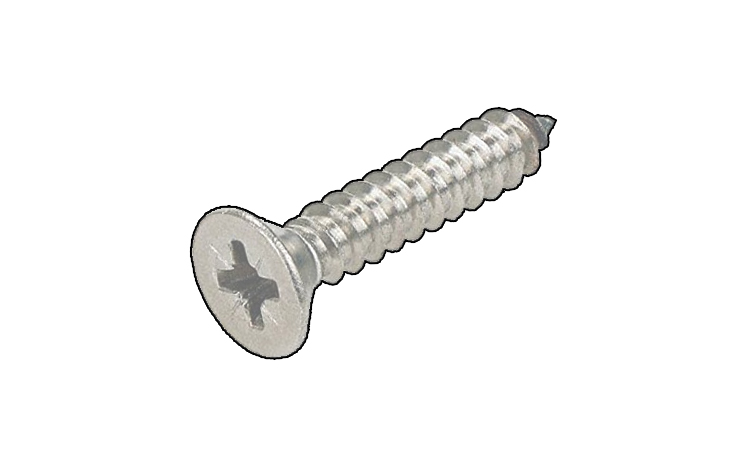 | Screws
I used 4G x 12mm screws for this, but the size depends on the thickness of your tabletop. |
🧩 Modularity |
The Da Vinci Table is modular and can be scaled up or down without issue. Components like the Supports, Connectors, and Dowels can be added, removed, extended, or placed in many different positions. For example:
- Increasing the number of Support pieces will increase the height and arch of the table.
- Increasing the lengths of the Dowels can make the table wider and/or taller.
- Printing different combinations of Tabletop Connectors will dramatically change the appearance of the table.
Below are a few examples of what's possible:
 |  |
 |
The default Da Vinci Table configuration. Shown with:
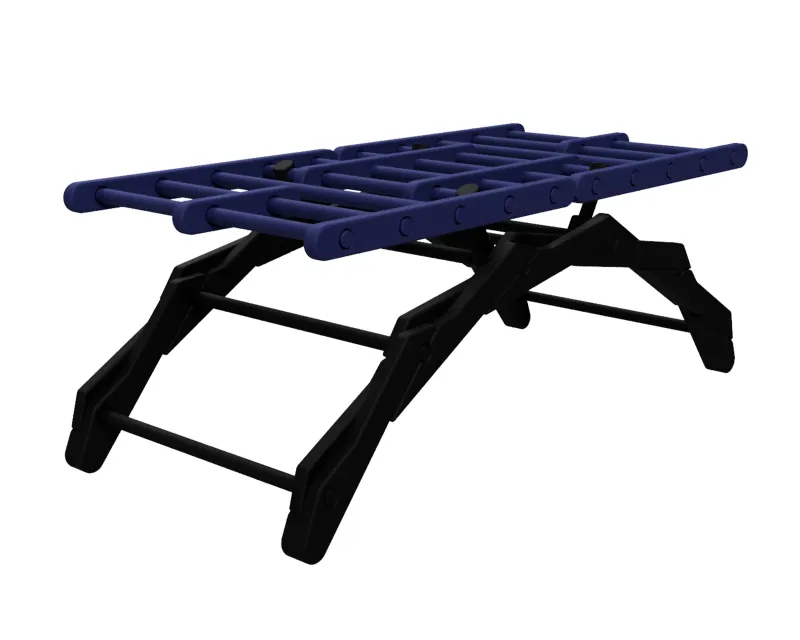
 | An alternate Da Vinci Table configuration. Shown with:
 | Da Vinci Table with 3D-printed tabletop. Shown with:
 |
Comment & Rating (22)


