Skip to content

Accent Light

Advertising
Advertising
?
Creation quality: 0.0/5 (0 votes)
Evaluation of members on the printability, utility, level of detail, etc.

  • 144 views

License
3D design format
STL Folder details Close
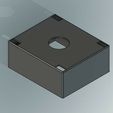
  • Base.stl
  • Front_Back.stl
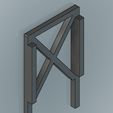
  • Side.stl

Learn more about the formats

Publication date 2024-01-30 at 03:00
Design number 1748437

3D printer file info

3D model description

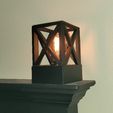
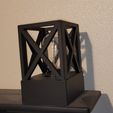
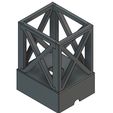
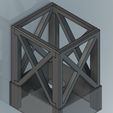
I made this in response to my wife wanting cheap $5 lamp from Dollar General. I joked that I could just make it, so she said do it then. The issue with the cheap light was that it operated off of 2 AA batteries, and only lite up firefly like LEDS in a fake bulb. She wanted an actual lamp. Well it turned out better then either of us thought.

Before painting I installed the lamps and ran them fully on, for over a day. The shade did get hot, but under a thermometer, it never got anywhere near the melting point for PLA. We don't run them all the time and don't leave them on over night. They are for decoration and accent lighting. Happy wife, Happy Life.

This lamp uses a cheap set of dimmable light sockets with hemp rope cord, Edison bulbs, and flat black spray paint + primer.
Light Sockets
Edison Bulbs
Spray paint

Steps for building:
- Print all parts
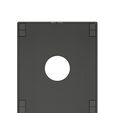
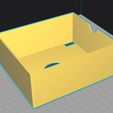
- 1x base (oriented upside on build surface)
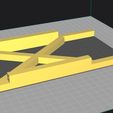
- 2x side (oriented with filleted top edge facing up)
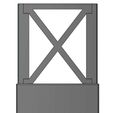
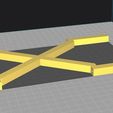
- 2x front_back (oriented with the tabs facing up)
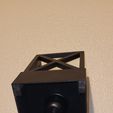
(I have pictures showing how to position all, on build plate.)
- Test fit all parts ( you may need to sand a bit, or even use an
Exacto blade to increase the rectangle shaped holes for the
walls to slide into. If you have an issue with elephants foot,
this is almost guaranteed, as its a tight fit as is. I made this to
be super tight. Since the plastic will get warm from the bulb, I
did not want it too loosen up because of this.)
- Use a piece of unused filament to thread through the holes in
the top, making sure to make it through each joint. Clip off but
leave several inches of excess on the top.
- Remove the entire shade from the base and ease out the
filament and apply a little super glue where the holes are and
fish the filament back in on all four corners, then apply glue to
the inner walls of the base where the shade legs will be
touching.
- Push the shade back into the base
- Off excess filament.
- Seal holes with glue, putty, bondo... whatever you like. ( I left
about an 1/8" of filament sticking up and heated up a blade to
just melt them flat, also pushing melted filament into the
holes.)
- Sand down (don't have to sand too much, because the paint +
primer will hide layer lines pretty good)
-Once all is dry, insert the lamp socket and bulb.

DISCLAIMER - Please fully assemble and test with bulb before painting and putting in use. I wont be held liable for anyone burning down there house, damaging property, or worse themselves because you used to high wattage bulb. You assume all responsibility for this lamp.

3D printing settings

I used grey PLA from amazon. Any PLA will work, PETG would be even better.
Layer height : .2
Wall count : 4
Infill: 10%
Supports: None

Advertising


Issue with this design? Report a problem.

Would you like to support Cults?

You like Cults and you want to help us continue the adventure independently? Please note that we are a small team of 3 people, therefore it is very simple to support us to maintain the activity and create future developments. Here are 4 solutions accessible to all:

  • ADVERTISING: Disable your banner blocker (AdBlock, …) and click on our banner ads.

  • AFFILIATION: Make your purchases online by clicking on our affiliate links here Amazon.

  • DONATE: If you want, you can make a donation via Ko-Fi πŸ’œ.

  • WORD OF MOUTH: Invite your friends to come, discover the platform and the magnificent 3D files shared by the community!


Sharing and downloading on Cults3D guarantees that designs remain in makers community hands! And not in the hands of the 3D printing or software giants who own the competing platforms and exploit the designs for their own commercial interests.

Cults3D is an independent, self-financed site that is not accountable to any investor or brand. Almost all of the site's revenues are paid back to the platform's makers. The content published on the site serves only the interests of its authors and not those of 3D printer brands who also wish to control the 3D modeling market.

100% secure payment by credit card, PayPal, Apple Pay, Google Pay, etc.
View all payment options.