Filament Spool Winder - V3 Precision Remix Collection - No fittings required

Remixed by

Filament Spool Winder - V3 Precision Remix Collection - No fittings required

Remixed by
Boost
80
151
51

Print Profile(1)

All
P1P
P1S
X1
X1 Carbon
X1E
A1

0.2mm layer, 4 walls, 20% infill
Designer
29.2 h
5 plates
4.5(32)

Boost
80
151
51
2
564
681
Released

Description

I printed the spool winder by V3 Precision as had a couple spools that were not working well in the AMS.

Although it worked and uses no fittings other than the screws to hold it down, it didn't respool as I expected.

  • I had to touch the doner to add resistance to it otherwise it free wheeled too much and filament wouldn't spool nicely.
  • I also found that a lot of filament would gather to one side but would couldn't move the spool guide over as then the gears would not mesh. The would cause it to fall to the middle and be lose on the spool. I was only able to get around 800g on the spool before I ran in to issues.
  • I also thought the spool guide moved too quickly.
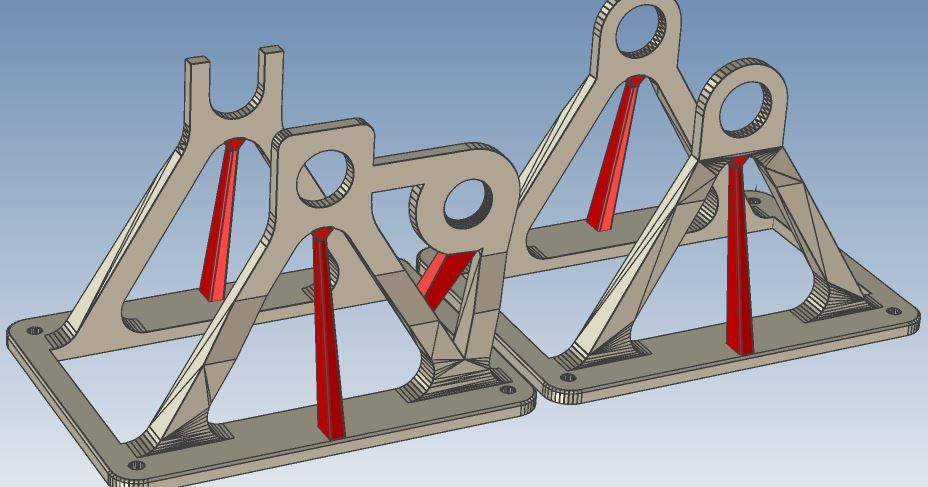
  • I also looked in to other remixes available and found it was possible to print stronger parts support free, so now only a few parts need supports.

So I have put together a profile brining the remixes together.

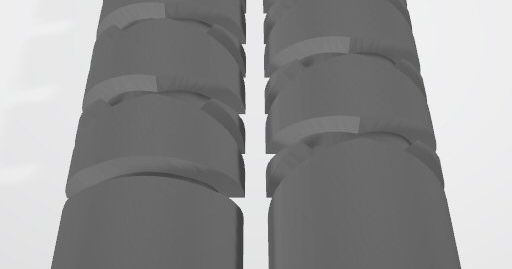
  • I was also inspired by the remix that split the worm gear but I split it myself so that I couold add connectors to make it easy to join. This can be assembled without glue and the threads keep together but I added a small amount along the length.
  • I added custom wipers inspired by the ones in the Pastamatic winder. I just used some cardboard but you can print and use the TPU winders from the winder.
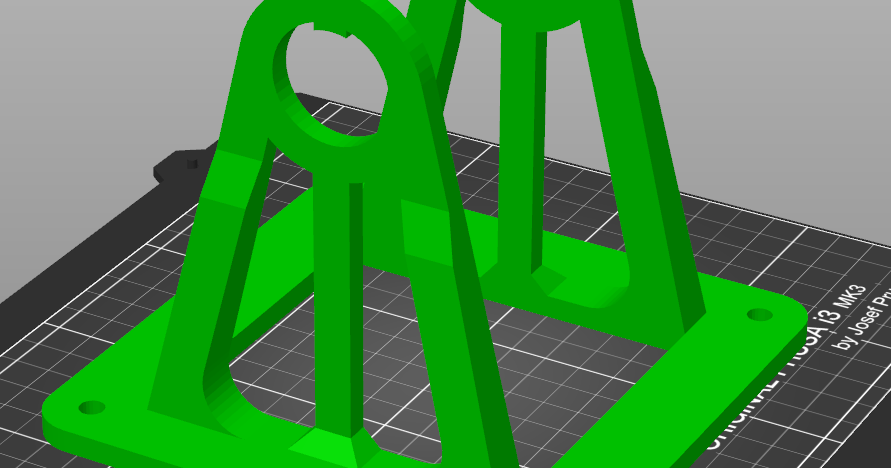
  • I cut the top from the filament guide, this allows it to be printed with its top on the build plate and therefore doesn't need supports.
  • I also made the worm gear about as large as it can be for the size of the stand to slow down the guild movement speed. It is also deeper so it can be positioned further forward so the filament doesn't gather all on one side. After my modifications I was able to transfer a brand new 1kg spool with no issues.

Another tip, avoid over extrusion as the threads are very tight (I had to do some clean up).


It would still be possible to add the manual handle. I was always intending to use with the 3/8" drive so i have not included the handle parts, but you can always get them from the source models.


This is a day in printing and the best part of 1kg in filament. Might be better to move the parts around on plates and print parts in end of rolls which is what I did as there are not that many parts that actually require a larger amount of filament.


Infill is high and the number of walls is fairly high as most parts need to be tough as will be taking the wear. However even driving mine with a drill I haven't had any issues and it tends to bed itself in.


Thanks for downloading.


Comment & Rating (51)

Please fill in your opinion
(0/5000)

Print Profile
0.2mm layer, 4 walls, 20% infill
Perfect print. Generic ABS
The designer has replied
0
Reply
nice expect abs to be a lot much shiny than that
0
Reply
hello there!! maybe the camera angle I’ll finish the other plates, and I’ll take another set of photos
(Edited)
1
Reply
Sehr schöne Druckdatei lässt sich wirklich alles gut drucken nur die Gewinde sind extrem eng, aber mir ein wenig feinem Schleifpapier lässt sich, das schnell lösen
The designer has replied
1
Reply
That is a perfect short review. The thread issue is a problem from the original model. I keep thinking about scaling down the threads but like yourself I just sanded down, and I don't have a need to reprint, so is what it is.
0
Reply
Print Profile
0.2mm layer, 4 walls, 20% infill
This unit works well. It would be nice to have reverse threads on both sides of the tube that supports the acceptor spool to counterbalance the tightening and loosening torque. The instructions were clear, and the mechanism rolls smoothly with a drill motor--using the hand crank seemed inefficient and less practical for a Bambu owner who seeks higher throughput.
The designer has replied
0
Reply
surprised you have having issues with it unwinding, it’s normally very tight. anyway, glad you found a way to make it work. thanks for the review.
0
Reply
Replying to @PCHuDSoN :
To clarify, it does not unwind or loosen while using the device. The fittings stay tight after I get them tight. I was commenting more about the initial stages of assembly. The minor but noticeable challenge I have is reverse threading and tightening the gear onto the axle of the receiving spool while holding the standard threaded bolt on the opposite side. Reverse threading the gear on one side causes the standard thread bolt on the other side to loosen, IF I intuitively hold the bolt. However, pinching the keyed washers solves this challenge. I will get used to it. Other than that, the device function is 5 stars, and my overall rating is 4.5 stars.
0
Reply
None of the tolerances fit. Had to fight every single thread. Lots of sanding.
(Edited)
The designer has replied
1
Reply
yeah same. that is from the original model. they do go but better to be under extruded than anything over.
0
Reply
Do you have instructions for assembly? I really need a respooler and this one looks awesome. Thank you for designing and I will post after I'm finished building.
The designer has replied
0
Reply
they are some videos on the original model. it’s fair self explanatory how it goes together
0
Reply
Print Profile
0.2mm layer, 4 walls, 20% infill
printed nice but none of the threads fit the thread holes
The designer has replied
0
Reply
They do go, they dont thread on how you think they would, kinda at an angle. they often needs a fair bit of processing as i dont think the original model allow much clearance. also i found a bit of oil really helped.
0
Reply
Print Profile
0.2mm layer, 4 walls, 20% infill
I find this hard to build up. Great starter set as little to not assembly is required but yet some pieces won't fit as expected. A little bit of fixing measurements and size will help get all gears and bolts to match on size and make it a successful print. 4/5. My opinion solid foundation, minimum adjustments need it.
The designer has replied
0
Reply
that’s the original model, assuming you are on about the threads. oil can help a lot. did think about scaling the fittings. thanks for the feedback
0
Reply
Print Profile
0.2mm layer, 4 walls, 20% infill
due the remixed parts, i got my spool winder working- thx
The designer has replied
0
Reply
no problem why was it not working to start with? not that much different, just improved
0
Reply
Print Profile
0.2mm layer, 4 walls, 20% infill
good file just i scaled the bolts threads down 0.2mm to fit better without fighting them
1
Reply
Print Profile
0.2mm layer, 4 walls, 20% infill
the pins started to come off on the last layer, but did print and didn't take out anything else.
The designer has replied
0
Reply
not sure what you mean by pins but I had a fail or 2 (just 3D printing). just print again or in my case I was able to put a screw though to to hold something together
0
Reply