Bambu AMS RepRack Mount
Remixed by
Copyright Claim
Bambu AMS RepRack Mount
Remixed by
Boost
27
69
7


Print Profile(3)

Rod Brackets - 0.28mm layer, 4 walls, 20% infill
Designer
9.2 h
1 plate

LEFT AMS Mount - 0.28mm layer, 4 walls, 20% infill
Designer
6.3 h
1 plate

RIGHT AMS Mount - 0.28mm layer, 4 walls, 20% infill
Designer
6.4 h
1 plate
Boost
27
69
7
0
53
12
Released
Description
After burning through multiple spools of filament with test prints, and a dozen modifications, I feel confident this is a great solution for a RepRack AMS mounting system. I will be posting detailed instructions if needed.
This is a Project! I made it as plug-N-play as possible, but does require drawer slides.
- Does NOT screw into AMS, AMS slides onto the Right/Left Mounts.
- I used 10inch Drawer Slides found on Amazon: https://a.co/d/6Vsg7Ce
- RepRack Rod Bracket (Slides onto your conduit Rods) is the same model for left and right side.
- AMS Mount has a right and left side.
- I had to move a RepRack hanger to allow for space and to be centered below my top reprack row. You might not have to do this.
PRINT SETTINGS:
- Modified 100% Infil: I used slicer modifiers to set infill to 100% on the top of the Rod Brackets and the outside mounting point point for AMS Mounting brackets (Bambu Studio .3mf files attached). Mark brackets where your drawer slides will mount, and pre-drill for screws that came with drawer slides. It's solid!
- I used Polymaker PLA PRO Dark Grey (a.k.a. DarK2 Grey - K2 Dark Grey)
- 0.28 Layer Height
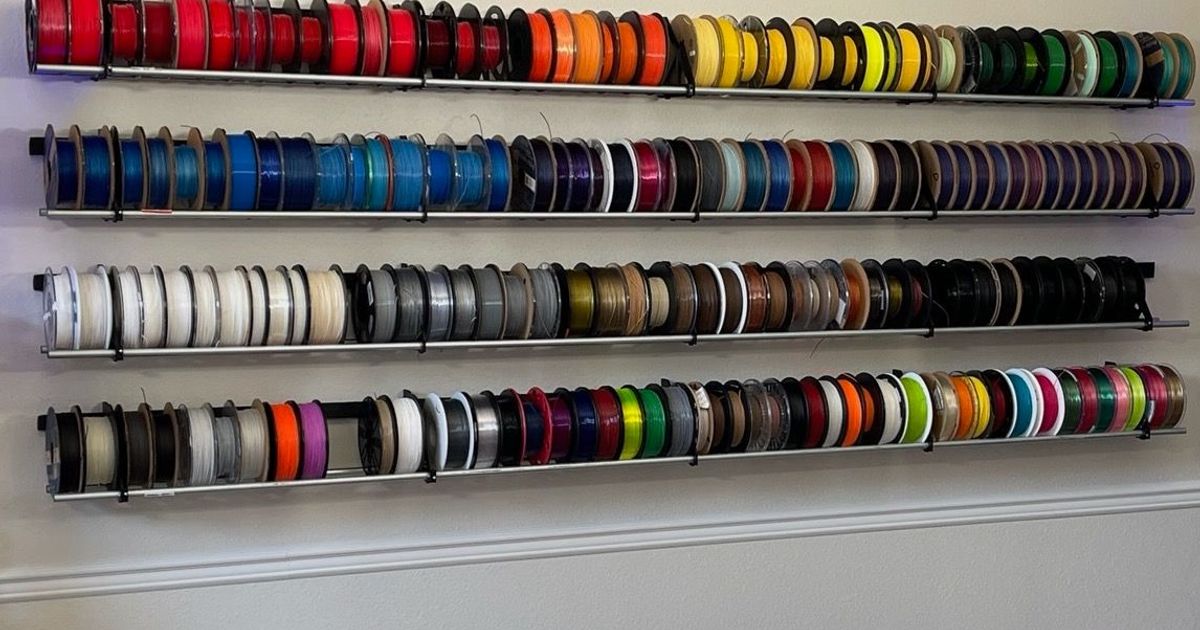
NOTE: As long as your AMS can fit on one of your RepRacks between rows, mine are 9 ¼ inches between rows (Rod bottom to the below racks Rod Top)

Comment & Rating (7)
All

Didn't really want to hang the AMS units on the wall so I cam up with another solution. And on the 100% infill blocks were very wasteful. I simply measured the holes on the drawer slides and added the 100% infill blocks at those locations.
(Edited)

0
Reply

can you send some file?
0
Reply
Replying to @lukin.kalina
I am in the process of posting this creation to makerworld very soon. It is a complex build and I want to get everything right.
0
Reply

printed these, very hefty and uses allot of filament (i printer 2 sets for 2 ams'). only problem... went to install and it does not fit the ams. seems like both of my ams' have a total of 6 slots on the side where these are made for ams' with only 4 slots down the sides :-( going to try and make these work since it took soo long to print and allot of filament. if you add splits to accommodate these slots, it would work for both styles of ams

1
Reply
Print Profile
Rod Brackets - 0.28mm layer, 4 walls, 20% infill
Great design to move the AMS off the top of the printer. I ended up making the 100% infill area smaller to 25mm in the area where the drawer slides screw in
0
Reply

What is the diameter of the holes for the tubes of the reprack? Would 20mm tubes fit?
0
Reply

Print Profile
Rod Brackets - 0.28mm layer, 4 walls, 20% infill
0
Reply
No more
This remix is based on
License
This work is licensed under a
Creative Commons Attribution-Noncommercial-Share AlikeRemixes (1)

Related Models


© 2024 MakerWorld