Flexi Tie V2
Flexi Tie V2


Print Profile(3)


Description
Flexi Tie V1
https://makerworld.com/en/models/19550#profileId-18273
Flexi tie V2
********************************************************************************************
Update: 12/10/2023
loaded pre-assembled filed under the Pre-made folder. just click the segments together and you are done. to customize the patterns print from Build your own folder.
*********************************************************************************************
I wear ties a lot. This Tie doubles as a fidget toy which is super cool during boring meetings.
The tie is totally adjustable to any length you need, as well as customizable for various patterns due to the snap connection style of the pieces. It is also the closest thing to a fabric tie that I have seen out there for 3d printed ties.
There is no need for a rope or elastic as the knot of the tie slips on over the top of the top button of your dress shirt.
the profile is set for a 23 inch tie from the top of the knot to the bottom of the tie. (my size)
to adjust the length simple take parts out the each of the segments or remove a segment completely
Please note some assembly is required. see the Assembly section below (read before printing).
Here is what you will need to print (in order):
Please use fresh glue on the build plate this is a very detailed print!
1st plate:
1x Fabric 12x12
?x Fabric 4x4 (as many as you need to complete the length of the tie you need. I used 5)
2nd plate:
1X Knot
1x Knot connection
?x Side_link and Side_link2 (Each segment of the tie can be up to 8 rows long. Side link and Side link2 are to be used on opposite sides. Note which direction of the connectors)
1x Step_up_links (these match are the 9th and 1st link providing a smooth step up to the next row.)
1X Tie_End (you may need to remove links to make this fit to your tie)
Assembly:
Once you printed all the needed files, you can assemble "Fabric 12x12" and "Fabric 4x4" into the segments. Keep all the “Side_Link" and “Side_Link2” stuck to the plate until you need them. Only pull off the "Side_link” pieces you need as you need them, so that you can keep them in order. The number of segments you will use depends on the length of tie that you would like to have in the end. You don't have to use a full segment, just play with the “Side_Link” and "Side_Link2” to make the transition between segments as smooth as possible.
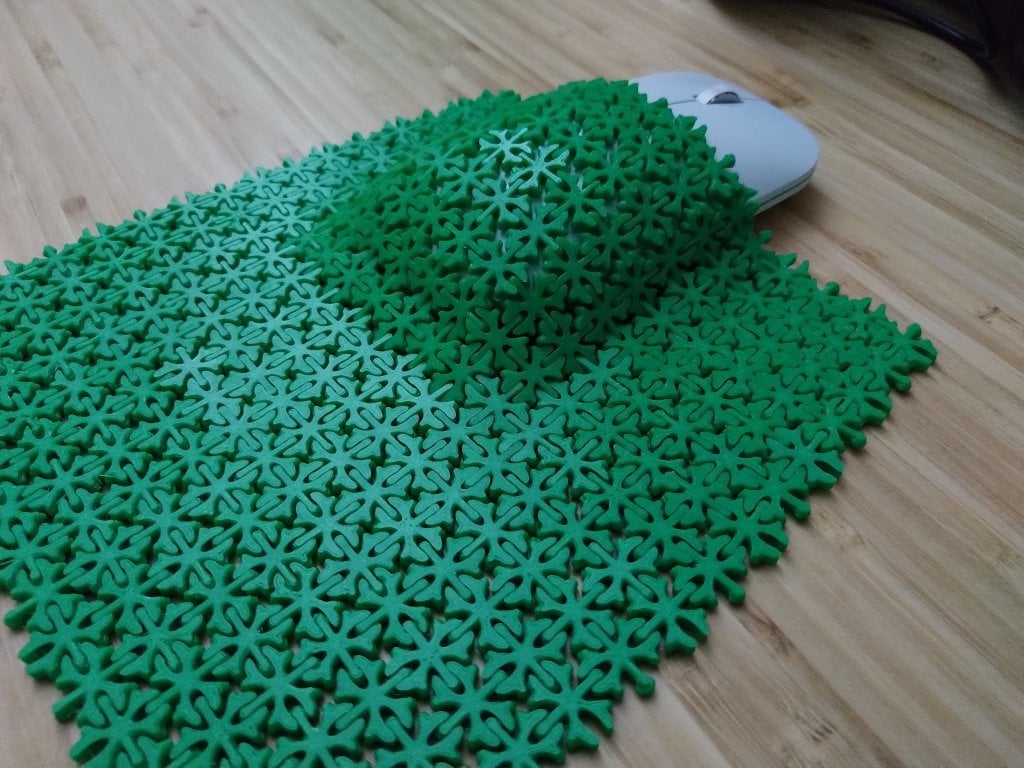
A segment is 10 full rows connected by 9 sub rows. Each segment is increased by +1 column. Also make a Tie end by making a triangle starting with a row of 6 and working down to a single piece (see the image below). The triangle size will vary based on the number of full segments that you use up to 3 full segments.
the first segment is 3 columns connected to the “Knot_connection”. the second segment is 4 columns. The 3rd segment is 5 columns as seen below: 
One by one add the “Side_link” and "Side_Link2" pieces on opposing sides of the segments starting from the smallest between the first and second rows of the segment, continue on down the column in order of size. This should give the segment a tapered look. Note that there isnt a “Side_Link” between row 9 and 10 for each segment. This will be added at a later step. Also add the “Tie_End” piece to the triangle you created. If you are only going to use two segments note that you will need to remove two opposing pieces within the “Tie_End”. You cant remove the ends it has to be one of the middle pieces.
Example:
You can now attach the segments to each other. Segment 1 will connect to segment 2. Segment 2 will connect to segment 3. Segment 3 will connect to the triangle or Tie end.
Example:

Next add the “Step_up_links” to row 9 and 10 of each of the segments. This should complete the tie other than the knot.
Example:
Remove the supports from the Knot and clean up the edges with a xacto knife. Cut a piece of filament about 30mm in length. Attach the "Knot" to the "Knot_Connection" by pushing the filament through the holes after aligning the two as below. Trim off the excess filament. 
Comment & Rating (11)