DS2 - The Next Gen Door Seal for X1 & P1 Series

DS2 - The Next Gen Door Seal for X1 & P1 Series

Boost
106
278
55

Print Profile(1)

All
X1 Carbon
P1S
P1P
X1
X1E
A1

0.2mm layer, 3 walls, 20% infill
Designer
1.5 h
1 plate
4.8(38)

Boost
106
278
55
3
286
214
Released

Description

Hej!


Welcome to the Improved DS2 (Door Seal II) for Bambu Lab X1/X1C/X1E & P1S.


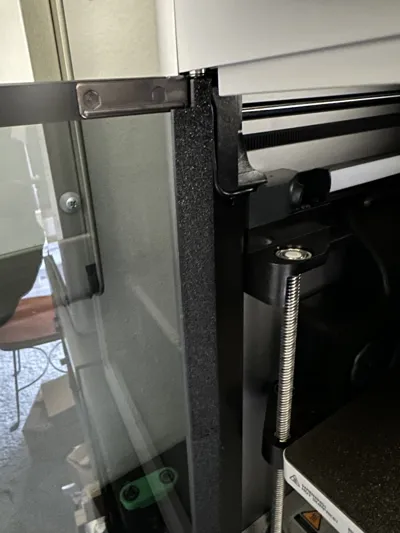
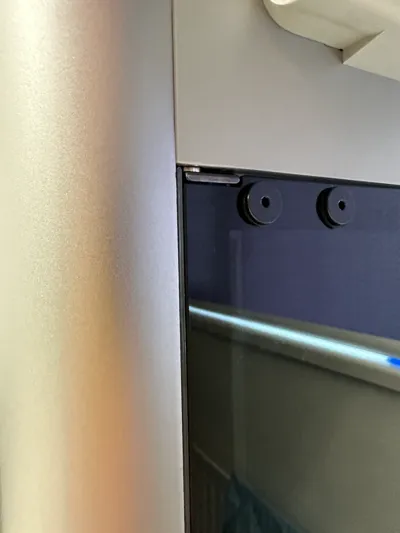
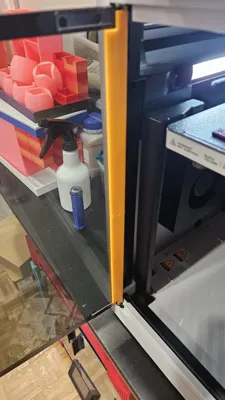
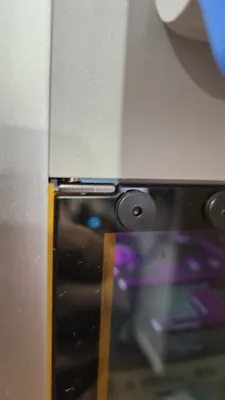
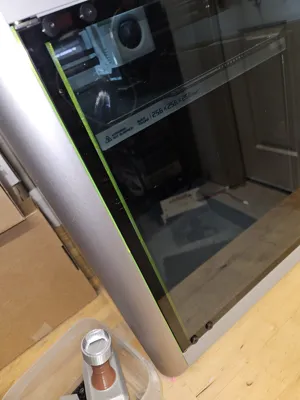
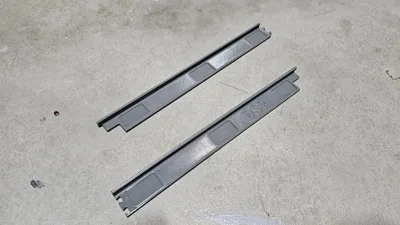
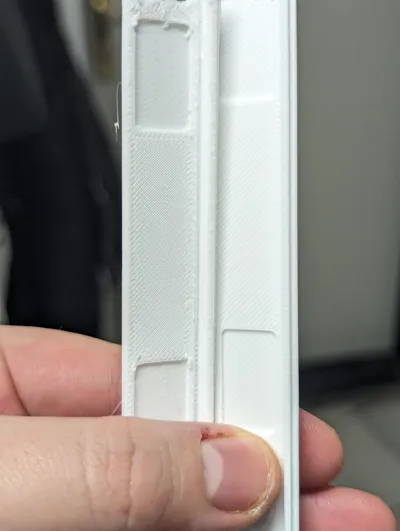
DS2 closes up the gap between the chamber door and external panel via a moving flexure design. This allows for a positive-seal to be achieved reliably without restricting the range of movement of the door nor interfering with the printhead inside through normal printing operations.


DS2 reduces heat loss (increasing chamber temp & reducing power costs are benefits of this) and VOC emissions from the chamber without compromising looks, changing significant components, or “Door-Open” operations.


DS2 improves upon DS1 with the following updates:

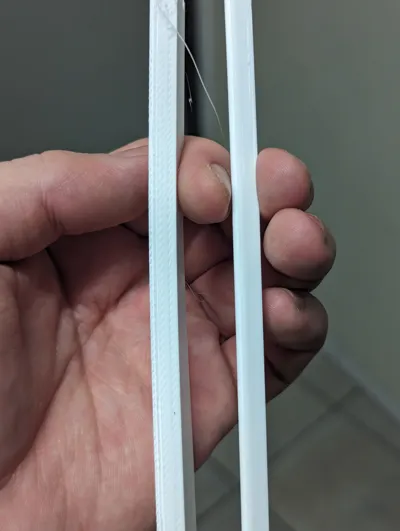
  • Decreased stress on door & left-frame panel through an improved flexure design
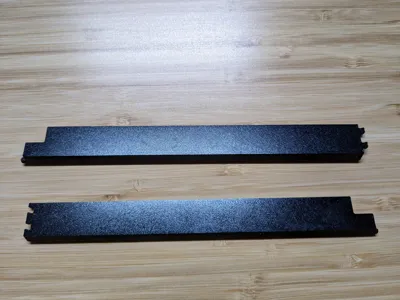
  • Dovetail-ed, 2-piece assembly
  • Increased Y-axis internal travel
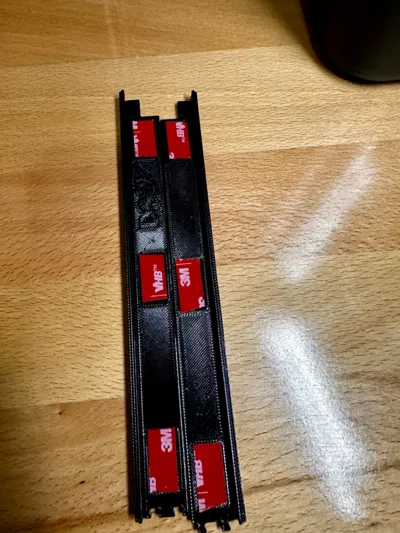
  • Decreased use of VHB tape and embossed application areas


Printing Requirements:


These are tight toleranced but long-term durable parts; materials and printing settings are important!

  1. Print the 2 parts one at a time, not 2 in a single build. The stringing of TPU between parts causes multiple problems.
  2. Please use Arachne, 3 Wall Loops, 3 Top/Bottom Shell Layers, 20% + Infill (I have used Hexagon)
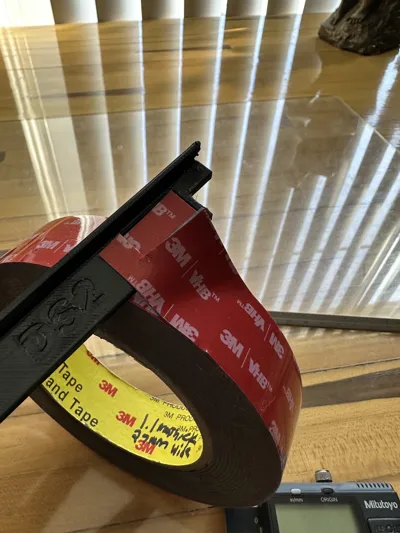
  3. Please use 10mm Width 3M VHB tape. The thickness (1.1mm) of this VHB tape is critical to the design; feel free to press the foam tape to the parts firmly to 20 seconds, this will not take the end result out of tolerance as the foam expands back to 1.1mm rapidly.


Please enjoy! :)

Comment & Rating (55)

Please fill in your opinion
(0/5000)

I saw some comments about assembly instructions and though it is relatively straight forward I’ll include some tips. I used 5952 VHB Tape: 2.5cm (~1in) wide by 152cm (5ft). It doesn’t have to be as wide as I chose as long as it is at least 20mm wide (20mm wide will prevent waste but I chose wider so I could use it for other projects and I don’t want a bunch of sizes of VHB tape lying around). Assembly Instructions Applying the VHB tape: 1. Grab your VHB tape, the strip needs to be about 10mm wide by 20mm long. 2. Remove excess blobs of filament around the recessed areas for the VHB tape if you have them. 3. You can choose to measure and cut the pieces but it is easier to unravel a bit of the VHB tape from the roll and take the end and butt it up against the edge of the recess. 4. Depress the VHB tape into the recess enough so you can see the outline of the recess through the red liner. 5. Take a utility knife or exact knife and cut along the recess. 6. If your VHB tape is wider than the 20mm, you will have a little excess. Trim it straight with your knife and redo the process for the rest of the VHB tape recesses. 7. Press each piece of the VHB tape down for about 20 seconds. Assembling onto the printer: 1. Snap the two pieces together and open the door to your X1C. It may help to mock up how it will go on while the protective liner is still on so you’re not fumbling with it once the sticky side is showing. 2. Take your knife and use it to slide between the red liner and the tape to remove it. Be careful not to pull the tape up/off. 3. Once finished make sure you are holding the seal in the correct position. Guide the seal in following the glass. It may help to tilt the end of it the end of it to index it on the bracket holding the glass on and careful guide the edge of the seal around the edge of the glass. 4. Now slowly press it in going from top to bottom. 5. Once it’s seated right slowly and firmly but gently apply pressure going top to bottom on the door seal to make sure the tape sticks and you should be all set. I notice mine makes a creeping noise when opening/closing the door, it isn’t terrible though and it seems to fit well and doesn’t interfere with the door opening. Thanks for the design!
(Edited)
2
Reply
Thanks! it was the attachment i struggled with, indexing the seal against the back of the door would've been a lot easier with it off the printer :)
1
Reply
Print Profile
0.2mm layer, 3 walls, 20% infill
DS2 is a huge improvement to DS1, the popping noise during opening of the door is almost completely gone. I've been using Geeetech TPU 95 with the provided generic profile in Bambu Studio, no further tunings/adjustments.
0
Reply
I too use Geetech TPU and use the generic profile. IT. JUST. WORKS.! regarding the seal I am not so impressed. Having a lot of creep and it rubs against multiple places. I guess the alignment is pretty different frem printer to printer.
0
Reply
Print Profile
0.2mm layer, 3 walls, 20% infill
work as expected and printed nice in TPU
0
Reply
Print Profile
0.2mm layer, 3 walls, 20% infill
Printed with no issues. Have not installed, but did a dry fit for dimensional accuracy.
0
Reply
Print Profile
0.2mm layer, 3 walls, 20% infill
Thanks, it printed fine, but I had to remix the model to fit the thickness of the lip between the glass and the side panel from 1.45mm to 1.2mm
(Edited)
0
Reply
Print Profile
0.2mm layer, 3 walls, 20% infill
works really well. helps to lower the sound and fumes fro. getting out. but still have 2 tiny gap left.
0
Reply
Print Profile
0.2mm layer, 3 walls, 20% infill
printed out pretty cleanly with fresh tried tpu.struggled a bit to get the thing attached. could maybe do with some clearer pics/instructions. looks to be sealing my door nicely now, creaks a tiny bit but that's fine., thanks for the useful print!.
GIF
0
Reply
Print Profile
0.2mm layer, 3 walls, 20% infill
fitment is weird, but it works and it is holding! Thank you
0
Reply
Print Profile
0.2mm layer, 3 walls, 20% infill
I've been looking for a door solution and this is by far the best I've come across. the joints slide together nicely and the double sided tape cutouts are a great touch
0
Reply
Print Profile
0.2mm layer, 3 walls, 20% infill
finally got it to print. your profile is excellent.... my TPU tune wasn't. tips for others. dry your filament, tune both pressure advance and flow rate! TPU us a pain in the behind to print... Progress in photos, last one turned out perfect!
0
Reply

License

This work is licensed under a Standard Digital File License.

You shall not share, sub-license, sell, rent, host, transfer, or distribute in any way the digital or 3D printed versions of this object, nor any other derivative work of this object in its digital or physical format (including - but not limited to - remixes of this object, and hosting on other digital platforms). The objects may not be used without permission in any way whatsoever in which you charge money, or collect fees.