Skip to content

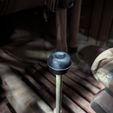
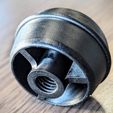
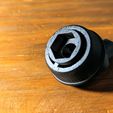
Second World War KDF dimple shifter knob

Advertising
Advertising
?
Creation quality: 0.0/5 (0 votes)
Evaluation of members on the printability, utility, level of detail, etc.

  • 684 views
  • 1 like
  • 1 download
  • 1 collection

License
3D design format
STL Folder details Close
  • (smoothed) Kubel dimple shiftknob 10.4mm thread.stl
  • Kubel dimple shiftknob 10.2mm thread.stl
  • Kubel dimple shiftknob 10.4mm thread.stl
  • Kubel dimple shiftknob M10 nut (17.1mm diameter) .stl

Learn more about the formats

Publication date 2024-02-04 at 18:13
Design number 1761701

3D printer file info

3D model description

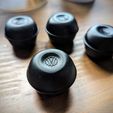
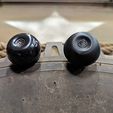
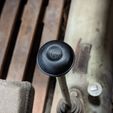
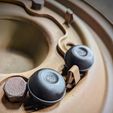
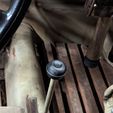
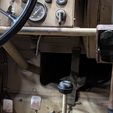
This dimple shifter knob was originally installed in the Volkswagen Kübelwagen (Typ82) and the Schwimmwagen (Typ166) just before and during the second world war. Originally the part has an M10 thread, this pack of 3 includes three versions of the knob:

1- The original M10 thread (10.2mm diameter)
2- The original M10 thread (10.4mm diameter)
3- (smoothed) The original M10 thread (10.4mm diameter)
4- An alternative space to fit an M10 nut

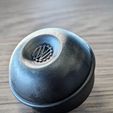
The original dimple shifter knob from the Kubel / Schwimmwagen was used as inspiration to model. As such, the dimensions of the knob should be close to 1:1, the logo dimensions are as close to 1:1 as possible.

  • Updated on 20-02-'24 - After some feedback from an expert on these knobs, I added a smoother version. If you're looking to get a replica as close as possible to the original, your best bet is this new smoothed out version.

3D printing settings

Since this part has tiny features (the logo and the thread) it is best printed on high resolution resin printers. As such, these printer settings concern that method. If you still want to print on FDM, it is recommended to use the version with the space for the M10 nut, and play around with the 'hole expansion' settings in your slicer.

Print the model in a 30 degree angle with supports connecting to the underside of the model. If you're using chitubox, you should be fine using small support connections.

Try printing in 0.05mm layers heights, and switch to lower layer heights if you experience surface artifacts.

The 10.2mm threaded version might be just a tad too tight, therefore a 10.4mm diameter threaded version is included.

Make sure you take a soft brush and brush the threads with some alcohol (or water, depending on your material) after printing and before thoroughly washing the print. Curing could best be done for around 30 minutes given the thick parts.

Advertising


Issue with this design? Report a problem.

Would you like to support Cults?

You like Cults and you want to help us continue the adventure independently? Please note that we are a small team of 3 people, therefore it is very simple to support us to maintain the activity and create future developments. Here are 4 solutions accessible to all:

  • ADVERTISING: Disable your banner blocker (AdBlock, …) and click on our banner ads.

  • AFFILIATION: Make your purchases online by clicking on our affiliate links here Amazon.

  • DONATE: If you want, you can make a donation via Ko-Fi 💜.

  • WORD OF MOUTH: Invite your friends to come, discover the platform and the magnificent 3D files shared by the community!


Sharing and downloading on Cults3D guarantees that designs remain in makers community hands! And not in the hands of the 3D printing or software giants who own the competing platforms and exploit the designs for their own commercial interests.

Cults3D is an independent, self-financed site that is not accountable to any investor or brand. Almost all of the site's revenues are paid back to the platform's makers. The content published on the site serves only the interests of its authors and not those of 3D printer brands who also wish to control the 3D modeling market.

100% secure payment by credit card, PayPal, Apple Pay, Google Pay, etc.
View all payment options.